A Bostitch stapler is a reliable tool found in offices, schools, and homes, known for its durability and performance. Whether you’re compiling important reports, creating school projects, or organizing household documents, a functioning stapler is essential. However, even the best tools need proper maintenance and handling, and that starts with knowing how to load it correctly. A simple task like refilling staples can sometimes be confusing, leading to frustration, jammed mechanisms, and delays.

Learning the proper technique for loading your Bostitch stapler not only saves you time but also extends the life of your device. An improperly loaded stapler is the primary cause of jams and misfires, which can damage the internal components over time. This guide on how to load staples into bostitch stapler provides a comprehensive, step-by-step process to ensure you can refill your stapler quickly and efficiently, keeping your workflow smooth and uninterrupted. Follow these simple instructions to master the process and get back to your tasks without a hitch.
8 Step-by-step Guidelines on How to Load Staples Into Bostitch Stapler
Step 1: Prepare Your Workspace and Gather Your Supplies
Before you begin the process of reloading your Bostitch stapler, it is wise to prepare your immediate area. Find a clean, flat, and stable surface like a desk or a countertop to work on. This prevents tiny parts, like a stray staple strip, from getting lost and gives you a controlled environment to handle the tool safely. Clear away any clutter that could interfere with your movements. It’s also a good idea to have good lighting so you can clearly see the small mechanisms inside the stapler. This initial preparation might seem minor, but it sets the stage for a smooth and trouble-free process, minimizing the risk of dropping the stapler or misplacing the staples.
Once your workspace is ready, gather the necessary supplies. You will need your Bostitch stapler and a box of the correct staples. It is crucial to use the right size and type of staples recommended for your specific stapler model. Using incorrect staples is a common mistake that leads to jamming, incomplete stapling, and potential damage to the device. Check the bottom of your stapler or the original packaging for information on the required staple size. Having everything within arm’s reach before you start means you won’t have to interrupt the process to search for what you need, making the entire task faster and more efficient.
Step 2: Open the Stapler Correctly
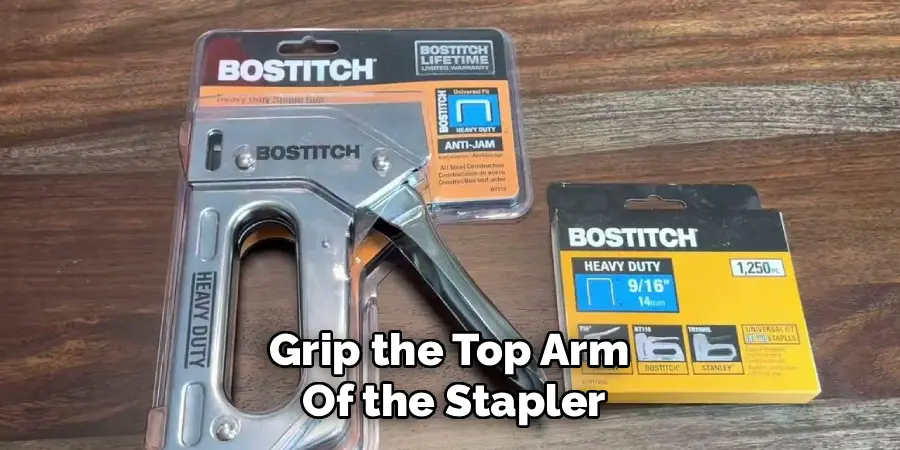
Most standard Bostitch desktop staplers are designed to open fully, laying flat on your work surface. To do this, hold the base of the stapler firmly with one hand. With your other hand, grip the top arm of the stapler and pull it upwards and backward. Continue this motion until the arm opens completely and the entire stapler lies flat in a 180-degree position. This “tacking” position is designed for stapling items to surfaces like bulletin boards, but it also provides the best access to the staple magazine for reloading. Applying gentle but firm pressure is key; you shouldn’t need to force it.
Some Bostitch stapler models might have a slightly different opening mechanism. For instance, heavy-duty or long-reach models may have a release button or latch near the back hinge that needs to be pressed to allow the top arm to open. If your stapler doesn’t open easily by simply pulling the top arm back, inspect it for any such release mechanisms. Forcing it open can damage the hinge. Opening the stapler correctly is the gateway to accessing the staple channel, and doing it properly ensures you don’t put unnecessary stress on the tool’s components, preserving its longevity and reliable function.
Step 3: Unlatch and Expose the Staple Magazine
With the stapler opened flat, you can now access the staple magazine, which is the channel where the staples are housed. The next step is to unlatch the mechanism that holds the staples and the pusher in place. On most Bostitch top-loading staplers, the top metal or plastic cover of the staple magazine is part of the reloading system. You will typically find that this cover can be lifted. Place your thumb on the rear of the magazine cover and your index finger underneath the front, near the nose of the stapler, and gently pull upward. The cover should hinge open, revealing the empty or near-empty channel beneath it.
This action releases the tension from the spring-loaded pusher, which is the component that pushes the staple strip forward. As you lift the cover, the pusher mechanism will retract toward the back of the magazine, clearing the channel for the new staples. Be mindful as you lift this cover; on some models, it might be attached to a spring, and you want to control its movement rather than letting it snap back. This step is purely mechanical and should not require significant force. If you encounter resistance, double-check that you are lifting from the correct point and that no debris is obstructing the hinge.
Step 4: Clear Any Obstructions or Debris
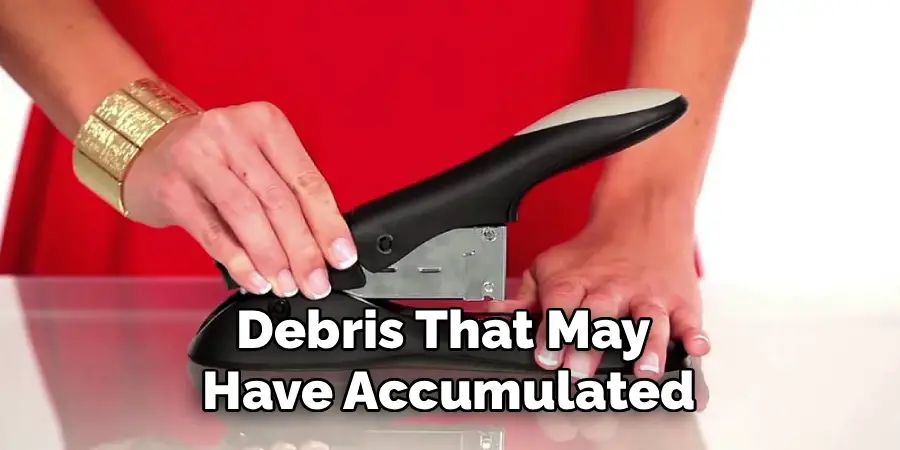
Before inserting a new strip of staples, take a moment to inspect the newly exposed magazine channel. This is an excellent opportunity for a quick bit of maintenance. Look for any remaining stray staples, broken pieces of a previous staple strip, or any dust and debris that may have accumulated inside the channel. Even a small, out-of-place metal fragment can cause a significant jam later on. A common issue is a single staple left behind from the previous strip, which will prevent the new strip from seating correctly and will almost certainly cause a misfire on the first use.
To clear any obstructions, you can turn the stapler upside down and give it a gentle tap to dislodge any loose fragments. For more stubborn pieces, a pair of tweezers can be very useful for carefully pulling them out. Avoid using sharp objects like a knife or screwdriver to pry out stuck staples, as you risk scratching the inside of the channel or damaging the delicate pusher mechanism. A clean and clear magazine is essential for the smooth feeding of staples, ensuring that each press of the stapler results in a perfectly formed staple without any frustrating jams.
Step 5: Select the Correct Staples
This step is arguably one of the most critical in the entire process. The performance of your Bostitch stapler is highly dependent on using the correct type and size of staples. Using the wrong staples is the leading cause of most stapling problems, including jams, incomplete fastening, and damage to the stapler’s driver blade. Bostitch designs its staplers to work with specific staples that have precise dimensions and materials. To find out which staples your model requires, look for markings on the stapler itself. Most Bostitch staplers have the required staple size printed or engraved on the bottom of the base or inside the staple magazine.
If you cannot find the information on the stapler, refer to the original packaging or the user manual. Common Bostitch staple sizes include standard 1/4 inch staples, but heavy-duty models may require larger sizes like 3/8 inch, 1/2 inch, or even 9/16 inch for thicker documents. Do not assume that all staples are interchangeable. Even if a strip seems to fit, subtle differences in the crown width or leg length can cause issues. Investing in genuine Bostitch staples or a high-quality equivalent designed for your model will ensure reliable performance and protect your tool from unnecessary wear and tear.
Step 6: Insert the New Strip of Staples
Once you have confirmed you have the correct staples and the magazine is clear, you can insert the new staple strip. Pick up a full strip of staples and orient it correctly. The staples should be placed into the channel with the sharp points facing down. This orientation is intuitive, as it matches the way the staples will be driven through your papers. Carefully slide the strip of staples into the open magazine. It should fit snugly but slide in easily without being forced.
Gently guide the staple strip all the way to the front of the magazine, ensuring it sits flat and is properly aligned within the channel’s guides. If the strip feels too wide or too narrow for the channel, you likely have the wrong size staples. Do not try to force it to fit. A properly seated staple strip will lie flush within the channel, with no parts sticking up or angled. This ensures that the pusher mechanism can engage with the last staple in the strip and feed the entire strip forward smoothly as you use the stapler.
Step 7: Close the Staple Magazine and Latch It Securely
After the new staple strip is correctly positioned in the magazine, the next step is to close the top cover. Gently lower the hinged cover of the staple magazine back down over the channel. As you close it, you will engage the spring-loaded pusher mechanism. You should feel a slight resistance as the pusher comes into contact with the end of the new staple strip. This is normal and indicates that the spring is applying the necessary forward pressure to the staples.
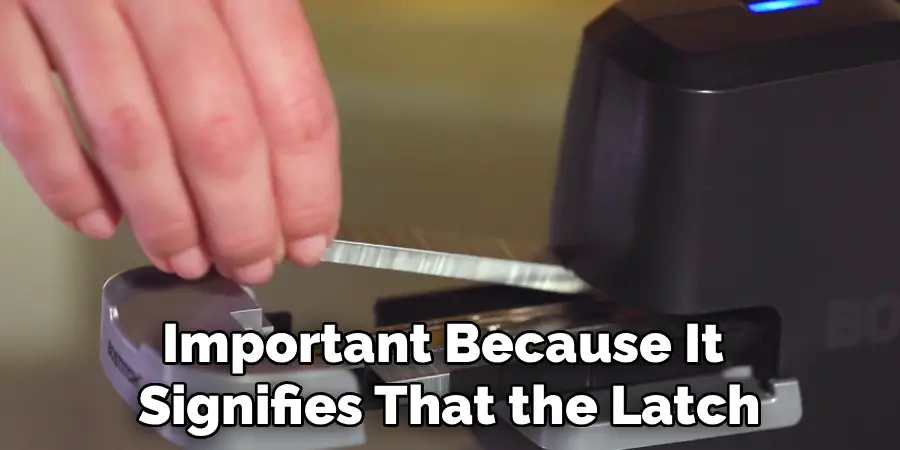
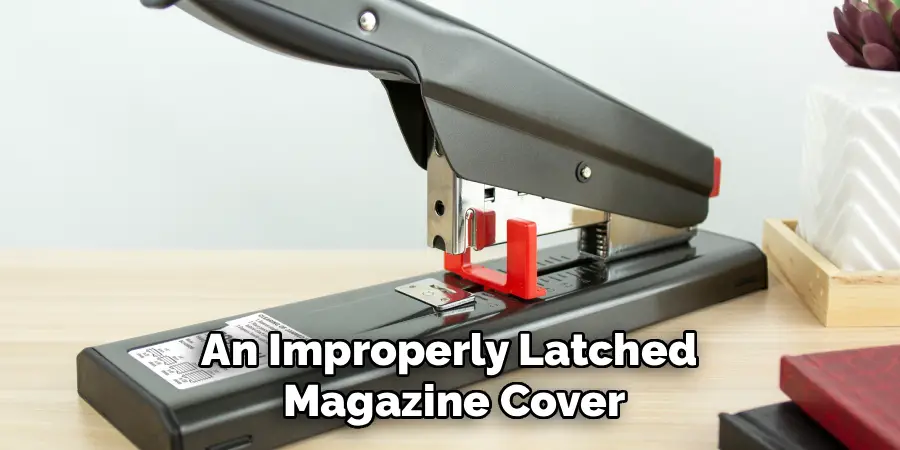
Press down firmly on the cover until you hear or feel it click into place. This audible or tactile confirmation is important because it signifies that the latch has securely engaged. An improperly latched magazine cover can pop open during use, disabling the stapler and potentially causing the staples to fall out. Double-check that the cover is flush and secure by giving it a light tug. It should not move or feel loose. This secure closure is what keeps the entire reloading mechanism contained and ready for operation.
Step 8: Return the Stapler to Its Operating Position and Test It
With the magazine reloaded and securely latched, you can now return the stapler to its normal, upright operating position. Hold the base with one hand and gently fold the stapler’s top arm forward and down until it rests in its closed position. The movement should be smooth, without any binding or resistance. If you feel it catching on anything, reopen it to ensure the staple magazine cover is fully closed and not obstructing the hinge mechanism.
Before you start stapling your important documents, it’s always a good practice to perform a test staple. Grab a few scrap pieces of paper and press the stapler arm down firmly. The stapler should drive a staple through the paper cleanly and crimp the legs neatly on the underside. If the staple jams or does not fully penetrate, reopen the stapler and re-check your work. Ensure the staples are the correct size and that the magazine is free of obstructions. A successful test confirms that you have reloaded your Bostitch stapler correctly and it is ready for use.
Following these steps on how to load staples into bostitch stapler can save you time and frustration when trying to use your stapler. It is important to regularly check and reload your stapler as needed, especially if you use it frequently. This will ensure that your stapler continues to function properly and efficiently.
Frequently Asked Questions
Q1: How Do I Know if My Stapler Is Jammed?
A1: You’ll know your stapler is jammed if you press down on the arm and it either feels stuck, doesn’t go down all the way, or if it completes the motion but fails to release a staple. You might also see a crumpled or partially ejected staple stuck in the nose of the device. In some cases, the arm may feel spongy and lack the crisp action of a normal staple cycle. If any of these occur, it is best to stop trying to force it and proceed to clear the jam.

Q2: Why Does My Bostitch Stapler Keep Jamming?
A2: Frequent jamming is almost always caused by using the wrong size or low-quality staples. Ensure you are using the specific staple type recommended for your model. Other common causes include overloading the stapler with too many sheets of paper, a dirty or obstructed staple magazine, or a worn-out driver blade. Regularly cleaning the stapler and using it within its designated capacity can greatly reduce the frequency of jams.
Q3: Can I Use Other Brand Staples in My Bostitch Stapler?
A3: While some other brands of staples might appear to be the same size, it is highly recommended to use genuine Bostitch staple. Bostitch engineers its staples and staplers to work together as a system. The staples have specific tolerances, chisel points, and wire quality that ensure optimal performance. Using off-brand staples can lead to frequent jams, incomplete stapling, and may even void the warranty on your stapler.
Conclusion
Reloading a Bostitch stapler is a straightforward process that anyone can master with a little practice. By following these eight detailed steps on how to load staples into bostitch stapler—from preparing your workspace and opening the stapler correctly to using the right staples and testing your work—you can ensure a seamless and frustration-free experience.
Proper loading and basic maintenance are key to the longevity and reliability of your tool. Take a moment to follow this guide, and you will keep your Bostitch stapler performing at its best for years to come, ready to handle any task you throw at it.