Round coffee tables have long been favored for their chic design and practicality, seamlessly fitting into various living spaces regardless of their size. Their curved shape saves space and adds a touch of elegance, creating a focal point that complements traditional and modern interiors. Crafting your own table offers numerous advantages over purchasing a pre-made one, allowing for shape, size, and finish customization that can perfectly adapt to your home’s aesthetic.

Moreover, the personal craftsmanship involved in creating your furniture piece provides a sense of satisfaction and accomplishment. This article aims to guide you through the process of how to make a round coffee table, offering clear, step-by-step instructions from choosing materials to finishing touches. By the end, you’ll have a bespoke piece that reflects your style and enhances the comfort and functionality of your living space.
Materials and Tools Needed
Materials Overview
To make a round coffee table, selecting the right materials is crucial for durability and aesthetics. For the tabletop, you have options such as plywood, MDF, or solid wood—each offering unique benefits like affordability or a premium finish. The table legs can be pre-made for convenience or crafted from wood to suit your taste. To complete your table, choose a wood finish, whether it’s a rich stain, durable paint, or protective varnish. Essential hardware includes screws and brackets for secure assembly. Additional materials you may need include sandpaper for a smooth surface, wood glue for strong joints, and either nails or wood screws for extra stability.
Essential Tools
A few essential tools will aid in crafting your table efficiently. A saw, such as a circular saw or jigsaw, is necessary for cutting the tabletop to size. A drill and screwdriver will help assemble the table and secure the legs. Measuring tape, clamps, and a pencil are indispensable for accurate measurements and holding pieces in place during assembly. For a professional finish, use a sanding block or electric sander. Finally, prioritize safety by wearing gloves, goggles, and a mask to protect yourself while working.
Preparing the Tabletop
Choosing the Right Wood
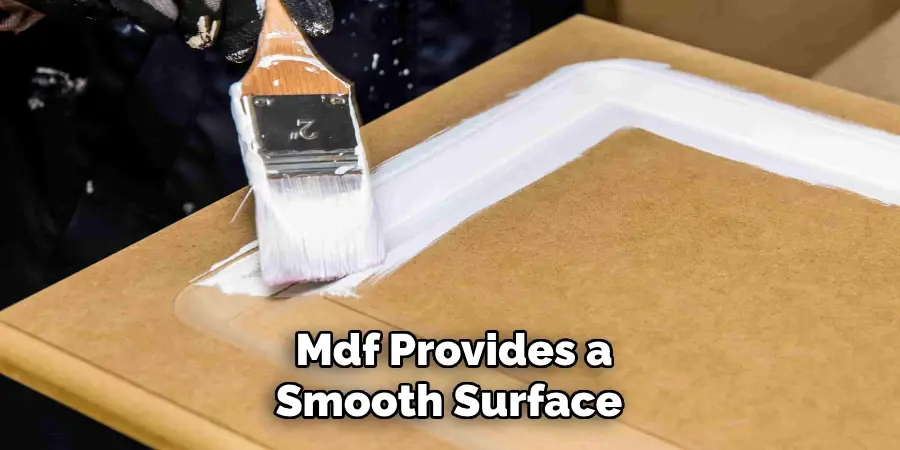
When making a round coffee table, selecting the right wood is pivotal for its durability and visual appeal. Consider the environment where the table will be placed, and choose wood that balances aesthetics and functionality. Plywood is an attractive option for those prioritizing affordability and ease of cutting, offering a smooth finish for painting or staining. MDF provides a smooth surface that is ideal for painted finishes, though it’s less durable than solid wood. Solid wood like oak or walnut is the best choice for those seeking longevity and a classic appearance, offering natural patterns and strength at a higher cost.
Cutting the Circular Shape
To begin cutting the tabletop’s circular shape, start by measuring and marking the desired diameter. Use a piece of string and a pencil to draw a perfect circle from a central point. Select a jigsaw or circular saw for the task when ready to cut. Ensure the saw blade is sharp and suitable for the wood type. Follow the marked line steadily with the saw, maintaining a consistent speed to avoid splinters and jagged edges. To achieve a smooth finish, consider sanding the edges or using a fine-tooth blade for a cleaner incision.
How to Make a Round Coffee Table: Sanding and Finishing the Tabletop
Sanding the Edges and Surface
Achieving a smooth, rounded look on your coffee table begins with carefully sanding the edges. Use medium-grit sandpaper wrapped around a sanding block or an electric sander to gently round the sharp edges and corners, ensuring smoothness and consistency. Progress to fine-grit sandpaper to further refine the surface, eliminating any rough patches or imperfections. This step is crucial in preparing the table’s top and underside for finishing, creating a flawless canvas for applying paint or stain.
Applying the Finish
To finish the tabletop, you can choose between applying a stain for a rich, natural color or a bold paint for a modern look. Begin by evenly applying the selected finish using a brush or cloth, following the wood grain to prevent streaks. Allow the initial coat to dry completely as per the manufacturer’s instructions before applying additional coats, if necessary, to achieve the desired depth of color. Finally, seal the wood with a protective varnish or sealant to enhance durability and longevity, providing resistance against wear and moisture. Ensure each layer dries thoroughly between applications to maintain the integrity of the finish.

How to Make a Round Coffee Table: Making the Table Legs
Pre-made Legs vs. Custom Legs
Consider the time, effort, and desired aesthetic when deciding between pre-made table legs and custom-crafted ones. Pre-made legs are convenient and available in various styles, materials, and finishes, allowing you to easily match them with your tabletop design. They offer the advantage of uniformity and predictable, solid stability. However, they may limit customization options, which are sometimes more expensive. Crafting your own legs, however, allows for complete customization and a personal touch, ensuring the legs perfectly complement the tabletop. This approach can be more cost-effective but requires woodworking skills and tools.
For those opting for pre-made legs, recommended options include metal hairpin legs for a sleek, modern look or turned wood legs for a classic, timeless style. These are available from many home improvement stores or online outlets, offering both DIYers and novice builders accessible choices.
Crafting Custom Legs
To craft your own table legs, begin by selecting a wood that matches or complements your tabletop. Once you have your material, measure and mark the desired leg length, leaving some room for the tenon joint if you plan to use one. Use a saw to cut the wood to size, ensuring each piece is of identical length. For shaping, consider using a lathe or hand tools like chisels and sanders to create ornate or smooth designs according to your preference.
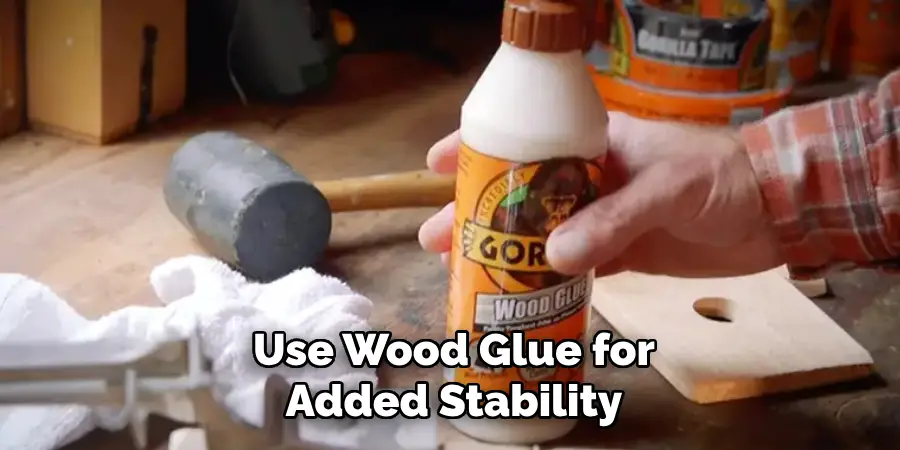
Depending on your skill and available tools, attaching legs to the tabletop can be done using dowels, mortise and tenon joints, or brackets. Mark and pre-drill holes to ensure accurate alignment, and use wood glue for added stability before securing with screws or nails.
Proper alignment and stability are crucial for table functionality. Position the legs evenly spaced from the table’s center and each other to provide balanced support. Utilize a level to ensure all legs are even and adjust if necessary. These careful considerations ensure a well-built, sturdy custom coffee table that enhances the aesthetic of your living space.
Attaching the Legs to the Tabletop
Securing the Legs to the Tabletop
Begin the process of attaching the legs by positioning them evenly at each corner beneath the tabletop. Use a measuring tape to ensure equal spacing from the edges for a balanced look and support. When attaching the legs, once aligned, drill pilot holes into the tabletop to prevent wood splitting. Use screws or metal brackets to secure the legs firmly in place, holding them square against the tabletop as you work. For best results, choose screws that are long enough to penetrate fully through the legs and into the tabletop without protruding.
Reinforcing the Structure
To reinforce the leg connections, consider adding additional screws or wooden brackets. Place these reinforcements at strategic points where the legs meet the tabletop to provide extra rigidity. After the legs are attached, gently apply pressure in multiple directions to check the table for stability. If there is any wobbling or instability, make adjustments such as tightening screws or adding more reinforcements to ensure a firm, level table.
Final Touches and Adjustments
Inspecting for Imperfections
Before considering the project complete, thoroughly inspect your coffee table for any imperfections. Look closely for rough areas or uneven finishes that may have been overlooked during construction. Check for any loose connections or joints that could compromise the table’s stability. Use wood filler to address minor gaps or imperfections, and sand the surface as needed for smoothness and uniformity. Ensuring these final corrections will enhance your finished table’s appearance and durability.
Adding Extra Features
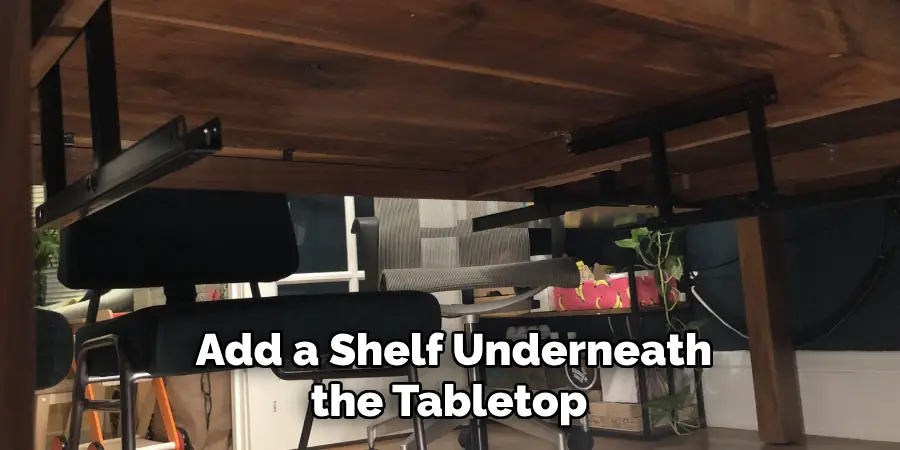
Consider incorporating additional features to elevate the functionality and design of your coffee table. You might add a shelf underneath the tabletop to conveniently store magazines or remote controls. Decorative table leg brackets can enhance the aesthetic appeal while providing extra support. Alternatively, attaching a protective table pad can offer stability and protect the surface from scratches and wear. These optional enhancements provide a personalized touch, uniquely fitting your table for your living space.
Conclusion
Creating a custom round coffee table involves several rewarding steps, from meticulously preparing the tabletop to crafting and attaching the perfect set of legs and, finally, finishing the table to your desired aesthetic. The process of learning how to make a round coffee table offers great flexibility, encouraging you to explore various finishes and leg styles to suit your personal taste and home decor.
Whether opting for a rustic charm with natural wood stains or a modern ambiance with sleek, painted finishes, the opportunity to personalize your table is endless. This hands-on project highlights your creativity and offers the satisfaction of producing a piece that reflects your individual style and craftsmanship. Embarking on this DIY journey results in a unique coffee table that enhances your living space and serves as a testament to your dedication and skill.