
Making a slipcover for a recliner is a practical and creative way to enhance the functionality and aesthetics of your furniture. Slipcovers provide an excellent solution for protecting the original upholstery from wear, spills, and stains, thereby extending the lifespan of your recliner.
Furthermore, they offer an affordable method to update the chair’s look, allowing you to refresh your living space without replacing your furniture.
One of the greatest advantages of creating a slipcover is the customization potential—by choosing from an array of fabrics, patterns, and colors, you can design a slipcover that perfectly complements your decor. Whether you aim for a cozy, traditional style or a sleek, modern look, the options are endless.
The process of how to make a slipcover for a recliner involves several manageable steps, including measuring, cutting fabric, sewing, fitting, and adding final touches, making it a rewarding DIY project for any skill level.
Gathering Materials and Tools
Before starting your slipcover project, assembling all the necessary materials and tools is essential to ensure a smooth process. Here’s what you’ll need:
Materials Needed
- Fabric: Choose a fabric that is durable and suitable for furniture. Stretchy fabrics work especially well for achieving a snug fit, while upholstery-grade fabrics offer excellent durability and a professional finish.
- Thread: Select a thread that matches or complements the color of your chosen fabric to create a seamless appearance.
- Padding or Batting (optional): If you prefer added cushioning, consider incorporating a layer of padding or batting to enhance comfort.
Tools Required
- Measuring Tape: Accurate measurements are the foundation of a well-fitting slipcover.
- Fabric Scissors: Use sharp scissors designed to ensure clean, precise cuts.
- Sewing Machine or Needle: A sewing machine speeds up assembly, but hand sewing can work for smaller projects or finishing touches.
- Pins or Fabric Clips: Essential for holding fabric pieces in place while sewing.
- Chalk or Fabric Marker: These tools help trace patterns and mark guidelines on the fabric.
Having all these materials and tools ready will set you up for success as you move to the next steps of your DIY slipcover project.
Measuring the Recliner
Accurate measurements are vital for creating a custom slipcover that fits perfectly. Start by measuring the dimensions of each key area of the recliner, including the backrest, seat, armrests, footrest, and sides. Use a reliable measuring tape to capture these sections’ width, height, and depth, ensuring that every measurement is precise.
Pay close attention to the recliner’s unique features, such as levers, hinges, or decorative seams, as these elements may require special adjustments or openings in the slipcover design. Take note of all dimensions and any details that might affect the fit of the final product.
Creating a Pattern
Once measurements are complete, use these numbers to sketch out a basic pattern on paper. Start with an outline of the recliner, marking each section’s dimensions clearly. Remember to incorporate additional components, like allowances for overlapping parts or special cutouts for handles.
Add at least one extra inch to every dimension to accommodate seam allowance, preventing a tight or restrictive fit. This extra space will ensure that your slipcover can be sewn together smoothly and provide flexibility during assembly. A detailed pattern will make fabric cutting and assembly significantly easier in the following steps of your project.
How to Make a Slipcover for A Recliner: Cutting the Fabric
Preparing the Fabric
Lay the fabric flat on a large, clean surface to prevent wrinkles or folds that could distort the pattern. Smooth out any creases and ensure the material is evenly spread. Using either chalk or a fabric marker, carefully trace the pattern pieces onto the fabric, following the measurements and shapes you previously outlined.
Double-check that all necessary allowances and markings, such as seam allowances and cutouts, are included on the fabric. Proper preparation at this stage is essential to avoid errors during assembly.
Cutting with Precision
Once the pattern has been traced, use a sharp pair of fabric scissors or a rotary cutter to cut along the marked lines. Take your time to ensure clean, straight edges, as uneven cuts can affect the overall fit and finish of the slipcover.
To keep everything organized, label each piece of fabric immediately after cutting using tags or small notes, such as “backrest,” “seat,” or “armrest.” This labeling system will help streamline the assembly process later and minimize confusion. Properly cut and labeled fabric pieces are the foundation of a professional, well-fitted slipcover.
How to Make a Slipcover for A Recliner: Sewing the Slipcover
Pinning the Fabric
Begin by aligning the fabric pieces, ensuring the right sides face inward. This will place the outer, visible fabric parts on the outside once the slipcover is turned right-side out. Use pins or fabric clips to secure the edges, keeping the alignment precise.
Pay extra attention to key areas, such as corners or curved edges, as these are more likely to shift while sewing. Proper pinning helps maintain the shape of the slipcover and reduces the risk of uneven seams during stitching.
Stitching the Pieces Together
With securely pinned fabric, sew along the seams using a durable straight or zigzag stitch. A straight stitch works well for most seams, while a zigzag stitch can provide added flexibility and durability. For a neat finish, start with the larger sections, such as sewing the backrest and seat panels together, as these form the main structure of the slipcover.
Once these sections are securely stitched, attach the smaller parts, like the armrests or corner panels. Be sure to check your stitching periodically to ensure consistent tension and alignment, avoiding puckering or loose threads.
Adding Elastic or Fasteners
To achieve a snug and secure fit, incorporate elastic bands or Velcro strips where needed, particularly at the edges or underside of the slipcover. Sew elastic bands around the bottom hem of the slipcover to help it stretch and grip the furniture tightly.
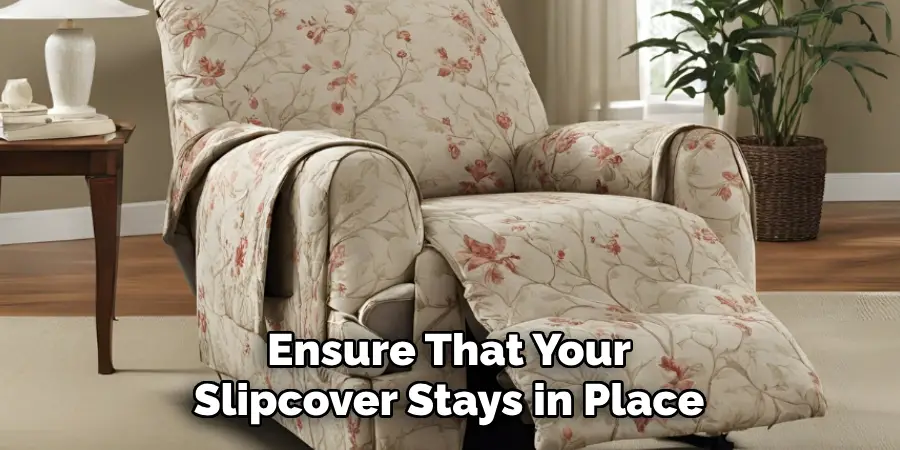
Alternatively, Velcro strips offer a convenient way to fasten sections together, making the cover easy to remove and reattach as needed. Adding these finishing touches will ensure that your slipcover stays in place during use, maintaining a polished and professional appearance.
Fitting the Slipcover
Placing the Cover
First, drape the slipcover over the recliner, ensuring it covers the furniture fully. Adjust the fabric so that seams align properly with the edges of the recliner, such as the armrests, backrest, and seat. This step is crucial for a clean and symmetrical look. Double-check that the slipcover covers all visible areas of the furniture to avoid gaps or misalignment.
Tucking Excess Fabric
For a snug and tailored appearance, carefully tuck any excess fabric into the crevices of the recliner. Pay particular attention to the spaces between the seat cushion, armrests, and backrest. Tucking enhances the slipcover’s fit and keeps it secure during use. Use thin tools, such as a wooden spatula or ruler, to help push fabric into tight spaces without damaging the material.
Making Adjustments
Once the slipcover is in place, evaluate the overall fit and mark areas that require tightening or trimming. If certain sections feel loose or baggy, pin or clip the material temporarily, then sew the adjustments as needed. Similarly, trim any excessive fabric to prevent bulk and ensure a polished finish. By refining the fit, you can achieve a professional look tailored specifically to your recliner.
Adding Decorative Touches
Enhancing your slipcover with decorative elements improves its functionality and adds a touch of personal style.
Enhancing with Trim or Piping
Sewing decorative piping along the seams of the slipcover can give it a professionally tailored and polished appearance. Choose piping that contrasts or complements the fabric for added visual interest.
For example, a neutral slipcover paired with brightly colored piping can create a subtle yet elegant focal point. Be sure to measure piping accurately before attaching it and sew carefully along the seams to ensure clean, precise lines.
Incorporating Pockets
For added practicality, consider sewing fabric pockets onto the sides of the slipcover. These pockets are perfect for storing remote controls, magazines, or other small items that tend to clutter your living space.
Use durable fabric for the pockets to ensure they withstand regular use, and sew them securely to the slipcover to prevent sagging. Customized pockets can make your slipcover both attractive and functional.
Personalizing with Patterns
Using printed or patterned fabric for your slipcover is an excellent way to enhance its visual appeal. Patterns can transform your recliner into a stylish statement piece, from florals and geometric designs to bold stripes and subtle textures. Experiment with different fabric combinations to reflect your personal taste and complement your room’s decor.
Maintaining the Slipcover
Cleaning Tips
Proper cleaning is essential for extending the life of your slipcover. Opt for a machine-washable fabric to simplify maintenance and ensure it stays fresh. When dealing with spots or spills, act quickly to avoid permanent stains by using a gentle fabric cleaner or a damp cloth to blot the affected area. Always follow the care instructions provided with the fabric to prevent damage during washing.
Preserving the Fit
Adjust and retuck the fabric as needed to keep your slipcover looking tidy and well-fitted. Daily use can cause the material to shift or loosen, but regularly smoothing it out will help maintain a polished and tailored appearance.
Replacing When Needed
Over time, your slipcover may experience wear and tear from regular use or no longer match your evolving décor. Don’t hesitate to update the slipcover to refresh your recliner and align it with your style preferences.
Conclusion
Creating a slipcover for your recliner involves a few simple steps: measuring your furniture carefully, cutting the fabric to fit, sewing the pieces together, fitting the cover snugly over your recliner, and adding decorative touches to suit your style. A homemade slipcover offers numerous benefits, including cost savings and complete customization to match your décor.
You can transform your recliner into a unique and stylish centerpiece by experimenting with different fabrics and styles. Remember, learning “how to make a slipcover for a recliner” is a rewarding project. With your DIY slipcover, your recliner can look brand new and perfectly tailored to your taste!