You might be interested in making your keyboard quieter. You’re not alone! A growing number of people are looking for ways to reduce their keyboards’ noise. Fortunately, you can do a few simple things to make your keyboard quieter. In this article, we’ll cover a few methods you can use how to make keyboard quieter. We’ll also provide a few tips on how to keep your keyboard from making too much noise. Let’s get started!

We all know how annoying it can be when someone’s keyboard is too loud. Whether you’re in a quiet office or trying to concentrate at home, hearing constant typing can be distracting and frustrating. Many people don’t realize there are ways to make the keyboard quieter. You can drastically reduce your keyboard’s noise by making a few simple changes. If you have a noisy keyboard, you can do a few things to make it quieter.
Why Is My Keyboard So Loud?
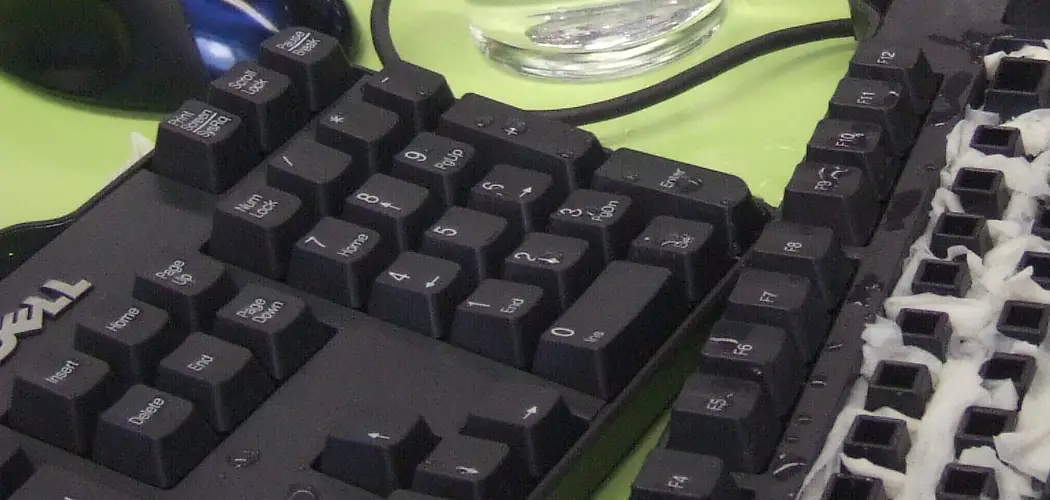
There are a few reasons your keyboard might be louder than usual. The first is that the key switches could be worn down, which causes them to produce a higher-pitched sound when they bottom out. Of course, this probably isn’t the issue if your keyboard is relatively new.
Another possibility is that your keys are becoming dirtier and grimier over time, which can make them stickier and thus louder when you press them. This is especially true if you don’t clean your keyboard regularly.
Lastly, some keyboards are designed to be louder than others. If you’re using a mechanical keyboard with clicky key switches, it will be much noisier than a rubber dome or scissor switch keyboard.
A Detailed Guide on How to Make Keyboard Quieter
Method 1: Use a Desk Mat
A desk mat is a mat that you can place your keyboard on top of to help reduce the noise your keyboard makes when you type. Desk mats help absorb the sound of your typing, which will make your keyboard quieter.
There are many different types of desk mats available on the market, so be sure to do your research to find one that will work best for you and your needs.
Step 1: Determine the Size of Desk Mat You Need.
The size of the desk mat you need will depend on your keyboard size. You want to ensure that the mat is large enough to cover the entire keyboard, with a little extra room on each side. This will help to ensure that your keyboard is properly cushioned and protected.
Step 2: Choose a Material.
Various materials are available for desk mats, so it is essential to choose one that will work best for you. Some materials, such as memory foam, will help reduce the noise of your typing even further. Others, such as rubber, may not be as effective at a sound reduction but can still offer some protection for your keyboard.
Step 3: Place the desk mat on your desk.
Once you have chosen the right size and material for your needs, it is time to place the desk mat on your desk. Make sure that the mat is positioned to cover the entire keyboard, with a little extra room on each side. This will help to ensure that your keyboard is properly cushioned and protected.
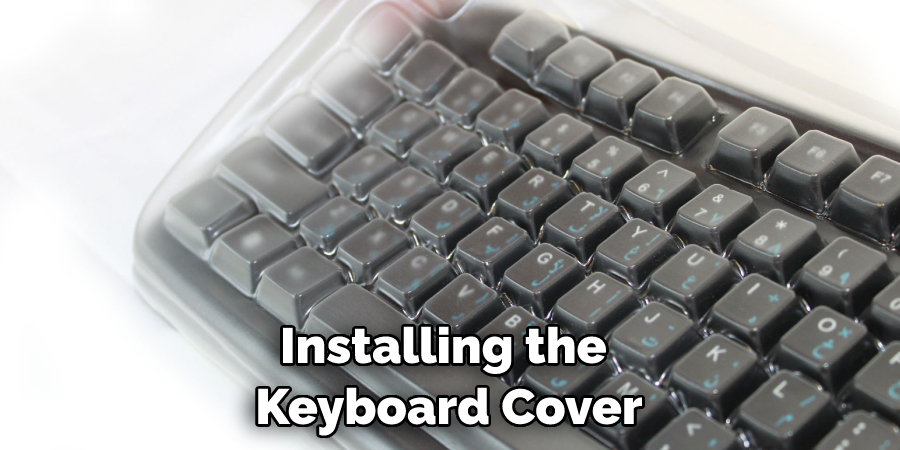
Method 2: Use a Keyboard Cover
A keyboard cover is a thin layer of silicone covering your entire keyboard. It protects your keyboard from dirt, dust, and other contaminants.
There are many benefits to using a keyboard cover. In addition to protecting your keyboard, a keyboard cover can also make your keyboard quieter. The silicone material absorbs the sound of your keystrokes, making them significantly quieter.
A keyboard cover is an excellent option if you’re looking for a way to make your keyboard quieter. However, it would help to keep a few things in mind before buying one.
First, ensure that the keyboard cover you purchase is compatible with your specific keyboard model. Not all keyboard covers are created equal. Some are designed to fit particular keyboard models, while others are universal.

Second, keep in mind that a keyboard cover will affect the feel of your keyboard. The silicone material can make your keys feel softer and more responsive. If you’re not used to typing on a soft keyboard, it may take some time to get accustomed to the new feeling.
Finally, remember that a keyboard cover is not a permanent solution. For example, if you spill something on your keyboard, the keyboard cover will not protect your keyboard from damage.
Step 1: Choosing a Keyboard Cover
First, you must choose a keyboard cover compatible with your keyboard. As mentioned earlier, not all keyboard covers are created equal. Some are designed to fit specific keyboard models, while others are universal.
If you’re unsure which type of keyboard cover to buy, consult the instructions with your keyboard or contact the manufacturer.
Once you’ve chosen a keyboard cover, it’s time to install it.
Step 2: Installing the Keyboard Cover
Installing a keyboard cover is a relatively simple process. Start by peeling off the backing from the adhesive strip on the back of the keyboard cover.
Then, align the keyboard cover with your keyboard and gently press it.
Finally, use the adhesive strip to secure the keyboard cover in place.
Step 3: Testing the Keyboard Cover
Once you’ve installed the keyboard cover, it’s time to test it out. Type a few keys and see how they feel. Pay attention to the sound of your keystrokes. You’ve successfully installed the keyboard cover if they’re noticeably quieter.
If the keyboard cover makes your keys feel too soft or unresponsive, try removing it and letting your keyboard adjust for a few hours. In most cases, your keyboard will return to its normal feel after a short period.
Keyboard covers are an excellent way to make your keyboard quieter. They’re also relatively inexpensive and easy to install. So if you’re looking for a way to reduce the noise of your keyboard, a keyboard cover is an excellent option.
Method 3: Install Rubber O-Rings
An O-ring is a small, donut-shaped piece of rubber that sits between the keys on your keyboard and dampens the sound of the keystrokes. You can buy them online or at most hardware stores.
What You’ll Need:
- O-rings (available online or at most hardware stores)
- A Phillips head screwdriver (if your keyboard has screws holding the keycaps in place)
Step 1: Determine the Size of the O-rings
O-rings come in various sizes, so you’ll need to determine what size will fit your keyboard before purchasing them. A standard-size O-ring has an inner diameter of 3/32 inches (2.4 mm).
If your keyboard has a different key size, measure the diameters of the keys with a ruler or caliper to find the right size O-rings.
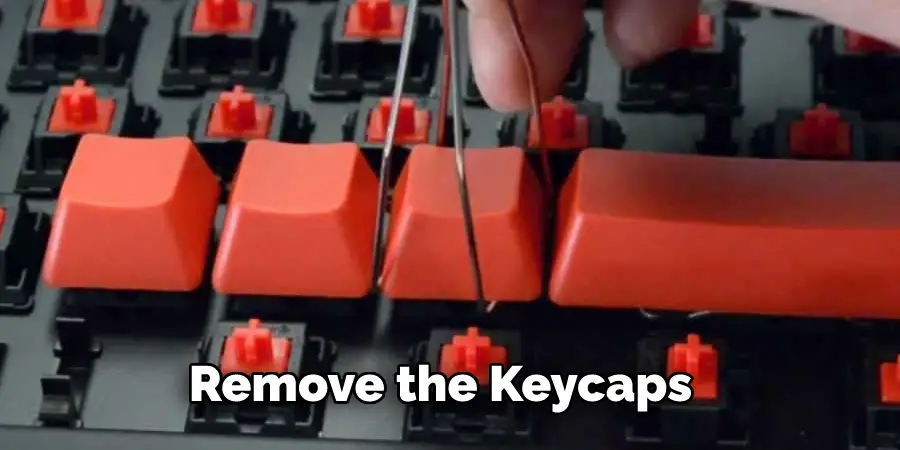
Step 2: Remove the Keycaps
If your keyboard has screws holding the keycaps, use a Phillips head screwdriver to remove them. If not, gently pop each keycap off with your fingers. Be careful not to lose any of the small springs attached to some keycaps’ underside.
Step 3: Place the O-rings on the Keyboards
Once you have the correct size O-rings, place them onto the posts on the underside of each keycap. If they’re too large, they won’t fit snugly and may fall off; if they’re too small, they won’t provide enough cushioning.
Step 4: Replace the Keycaps and Screws (if Necessary)
Once all of the O-rings are in place, replace the keycaps and screw them back into place (if applicable). Test out your new, quieter keyboard by typing a few sentences.
Method 4: Use Sound Dampening Foam
If you want to eliminate keyboard noise, you can line the bottom of your keyboard with sound-dampening foam. This will deaden the noise made by the keys as they strike the backplate. You can find this type of foam at most hardware stores.
What You’ll Need:
- Sound dampening foam
- Scissors
- Tape
Step 1: Before You Start
First, you’ll need to determine how much sound-dampening foam you need. To do this, measure the length and width of your keyboard.
Step 2: Cut the Foam
Once you have your measurements, cut the foam to size using a sharp knife or scissors.
Step 3: Attach the Foam
Now, attach the foam to the bottom of your keyboard using tape or another adhesive. Be sure to smooth out any bubbles or creases for best results.
Step 4: Test It Out
Finally, test your new keyboard to see if the sound-dampening foam has made a difference. If not, you may need to add more foam or try a different method.
Conclusion
Keyboard noise can be a distraction, and finding ways to make the keyboard quieter is essential. There are many ways to make your keyboard sound quieter, some of which we have discussed in this post. By following the tips in this article on how to make keyboard quieter, you can create a more productive work environment by making your keyboard sound quieter.