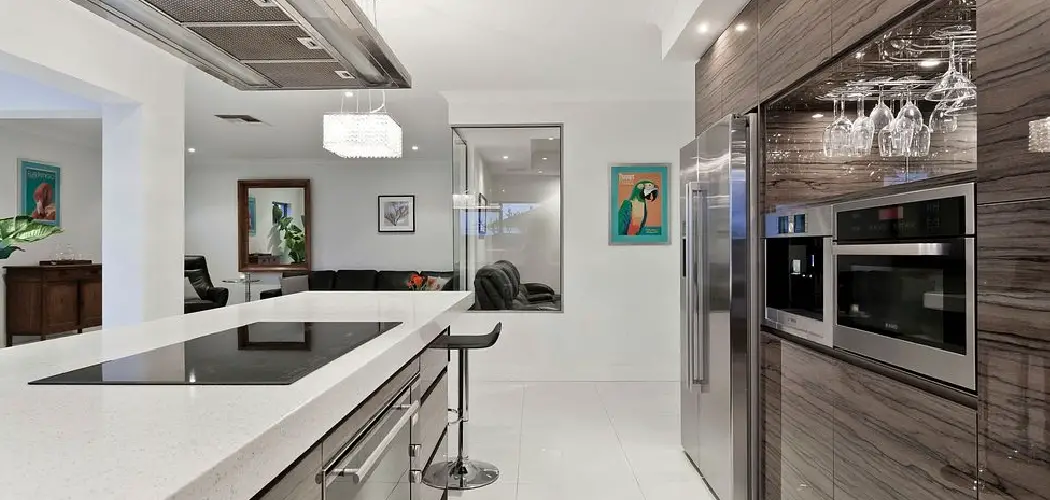
Creating mullions for cabinet doors is a rewarding woodworking project that can enhance the aesthetic appeal of any kitchen or storage area.

Mullions are the strips that divide the glass panes in a cabinet door, offering a classic and elegant look. This task requires precision, patience, and the right tools, but even beginners can achieve professional-looking results with these.
Whether aiming for a traditional or modern design, understanding the basic techniques for crafting and installing mullions will allow you to customize your cabinetry to fit your style.
In this guide on how to make mullions for cabinet doors, you’ll learn step-by-step instructions on selecting materials, cutting and assembling mullions, and installing them in your cabinet doors to transform the appearance and functionality of your space.
What Will You Need?
- Measuring tape
- Straight edge ruler or T-square
- Pencil
- Wood glue
- Brad nailer or small finish nails
- Table saw
- Miter saw (optional)
- Drill with drill bits
- Sandpaper or sanding block
Once you have gathered all the necessary tools and materials, you can start on your mullion project.
10 Easy Steps on How to Make Mullions for Cabinet Doors
Step 1. Measure and Plan:
Before you begin crafting your mullions, it is crucial to accurately measure the cabinet door openings where the mullions will be installed. Start by using a measuring tape to determine the height and width of each section where glass panes will be fitted.
Once you have these dimensions, sketch a plan detailing the layout of the mullions, including the number of vertical and horizontal strips you intend to use. This step will help ensure your mullions are aesthetically pleasing and perfectly aligned and proportioned to the cabinet door.
Proper planning reduces errors and material waste, setting a solid foundation for the cutting phase. Be sure to consider the width of the mullions themselves and the space needed to install the glass panels, leaving a small allowance for adjustments and future maintenance.
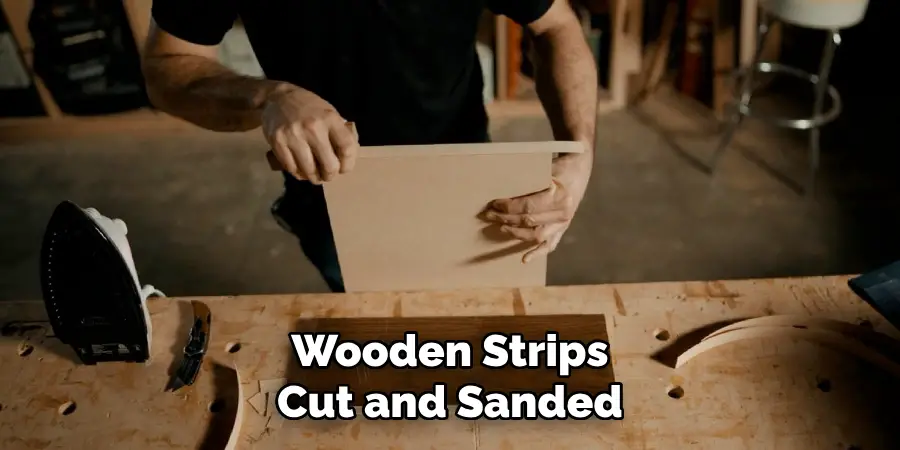
Step 2. Select and Cut the Wood
Once your design plan is complete, it’s time to choose the wood for your mullions. Select a wood type that complements your existing cabinetry, considering color, grain, and durability factors.
Hardwood types like oak, maple, or cherry are often preferred due to their strength and aesthetic quality. With the wood selected, cut the strips for the mullions using a table saw. Ensure each strip is of uniform thickness and width according to your design plan.
Accurate cutting is critical here; even slight inaccuracies can affect the overall symmetry and fit of the mullions. If you have a miter saw, use it to cut angled pieces if your design requires such, allowing precise and neat intersection of the mullion strips. Always double-check your measurements before cutting to avoid errors and material loss.
Step 3. Sand the Edges:
After cutting the wooden strips for your mullions, the next step is to sand the edges smoothly. Use sandpaper or a sanding block to gently smooth out any rough or sharp edges, ensuring that the mullions are safe to handle and aesthetically pleasing.
Sanding also helps in the final finish and allows for better adhesion of any paint or sealant you may apply later. Pay special attention to the ends of the strips where they will intersect, ensuring they fit seamlessly together. Properly sanded edges contribute to a professional appearance and ensure the mullions fit snugly against the glass and door frame.
Step 4. Assemble the Mullions:
With your wooden strips cut and sanded, it’s time to assemble them to create the mullion grid. Begin by laying out your design on a flat surface according to your plan, ensuring each piece aligns and fits appropriately. Use a straight-edge ruler or T-square to verify all angles are square, and the grid is symmetrical.
Apply wood glue to the ends of the strips where they intersect, carefully pressing them together. Once aligned and secured, use a brad nailer or small finish nails to reinforce the joints, ensuring stability and durability.
Avoid excess glue, which can be tricky to remove later and may affect finishes. Allow the glue to dry as per the manufacturer’s instructions before handling further.
Step 5. Finish the Mullions:
Finishing the mullions is an essential step that enhances their appearance and protects the wood from moisture and wear. Begin by selecting a finish that complements the look and style of your existing cabinetry; standard options include varnish, stain, or paint.
If staining, choose a color that highlights the wood’s natural grain while blending seamlessly with your kitchen decor. Apply the stain evenly using a brush or cloth, following the wood grain to achieve a uniform look. For a more protective and glossy finish, consider applying a coat of varnish after the stain dries.
Step 6. Install the Mullions:
With your mullions fully assembled and finished, you can install them into your cabinet doors. Start by cleaning the glass panels and the interior edges of the cabinet door frames to ensure a dust-free surface for a secure fit.
Carefully position the mullion framework onto the glass panes inside the cabinet doors, ensuring it aligns perfectly with your pre-measured design layout. Use a drill to attach the mullions securely to the frame with small screws, taking care not to drill too profoundly or crack the glass.
Ensure consistent spacing for a balanced look if your design includes horizontal and vertical strips. This installation phase requires precision, as proper alignment and secure fastening will determine your finished cabinet doors’ stability and aesthetic appearance.
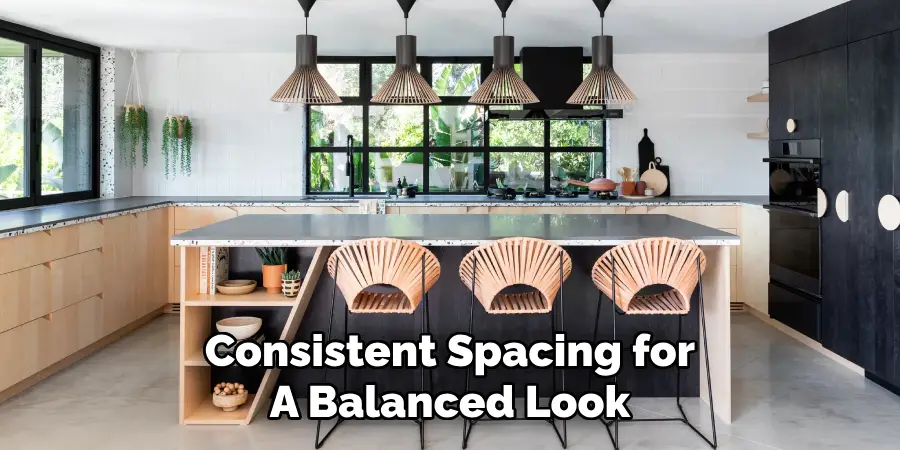
Once installed, inspect each piece to ensure no gaps or loose areas could affect the integrity of the mullions. Adjust and tighten as necessary for a polished and professional look.
Step 7. Final Touches and Inspection:
With the mullions installed, the final step is conducting a thorough inspection and adding finishing touches. Begin by examining each mullion connection and the overall structure for stability and alignment. Ensure all screws are tightened and that the framework is securely attached without leaving gaps.
Next, clean the glass panes and mullions with a soft, lint-free cloth to remove any fingerprints, dust, or debris accumulated during installation. If necessary, apply a small amount of wood polish or touch-up paint to any visible scratches or imperfections to enhance the final appearance. Additionally, confirm that the cabinet doors open and close smoothly without any obstructions from the mullion installation.
Step 8. Maintain and Care for Your Mullions:
Now that your mullions are installed and the final touches are complete, it’s important to consider regular maintenance to preserve their beauty and durability. Begin by routinely dusting the mullions and surrounding areas to prevent buildup that can dull their finish. Use a soft, dry cloth or a gentle dusting tool to avoid scratching the wood.
Periodically, check the stability of the mullions and tighten any screws as needed to maintain their secure attachment. When cleaning the glass panes, opt for a non-abrasive glass cleaner, ensuring no residue seeps into the joints where it could affect the wood or finish. A periodic application of a suitable wood cleaner or polish for wood surfaces will help maintain their shine and protect against moisture.
Step 9. Safety Precautions and Best Practices:
Safety should always be a top priority when working with wood projects and mullions. Begin by wearing appropriate safety gear, including goggles to protect your eyes from dust and potential flying debris and a dust mask to prevent inhalation of fine particles.
Operating power tools requires vigilance to avoid accidents; always follow the manufacturer’s instructions and keep your hands clear of blades and sharp edges.
Keep your work area organized and free from hazards that could cause tripping or distraction. Additionally, if solvents, paints, or stains are used during the process, ensure good ventilation to avoid inhaling harmful fumes. Understanding and following these safety measures will ensure the successful completion of your mullion project and protect your well-being throughout.
Step 10. Enjoy Your New Cabinet Design:
With your project completed, it’s time to step back and admire your work. Adding mullions to your cabinet doors can dramatically enhance the style and character of your kitchen, adding visual interest and a touch of elegance. Whether you opted for a traditional look with stained wood or a more modern aesthetic with painted mullions, your cabinets now possess a custom feel that reflects your taste.
Enjoy the transformation and consider showcasing your newly adorned cabinets by displaying complementary kitchenware or glassware highlighting the mullion design.
As you revel in your craftsmanship, extend this design concept to other areas of your home, such as bookshelves or display cases, further unifying your living space with this refined detail.
Following these steps, you can install mullions on your cabinet doors, elevating their appearance and functionality.

Conclusion
How to make mullions for cabinet doors is a rewarding project that combines craftsmanship with style.
Following the outlined steps, you have learned how to select appropriate materials, precisely cut and assemble mullions, and apply finishes to complement your cabinetry.
The installation phase demands attention to detail to ensure alignment and secure attachment for long-lasting results. With safety precautions in place and regular maintenance, your mullions will remain a stunning feature of your kitchen or living space.
This project enhances the aesthetic of your home and adds a personal touch that reflects your meticulous effort and design sensibility.