
Cabinet sliding doors offer a sleek and space-saving solution for both aesthetic and functional purposes in your home. Whether you’re looking to conceal clutter or add a touch of modernity to your cabinets, learning how to make cabinet sliding doors can be a rewarding DIY project.
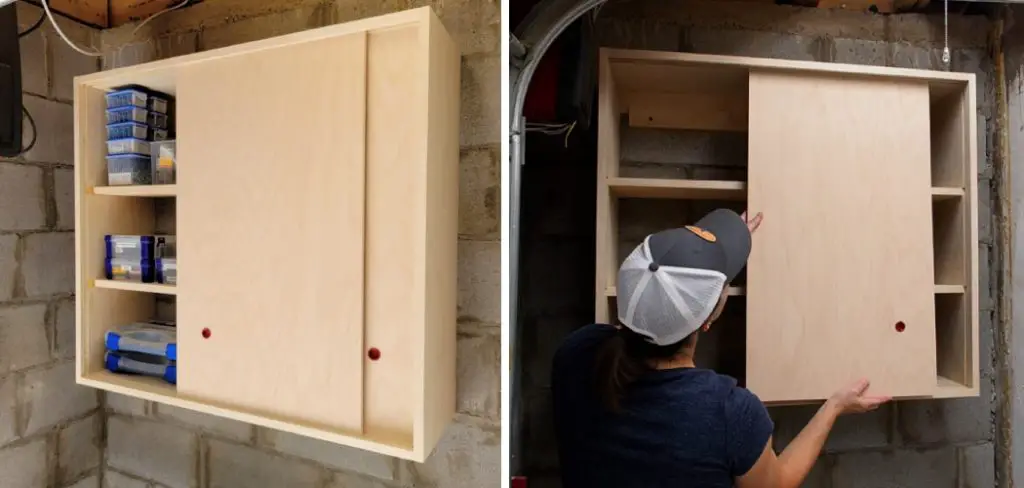
These doors not only provide easy access to your storage spaces but also give your furniture a clean, contemporary appearance. In this guide, we’ll take you through the step-by-step process of crafting cabinet sliding doors, from selecting the right materials to installing the hardware.
Whether you’re a seasoned woodworker or just starting out with DIY projects, this comprehensive tutorial will equip you with the knowledge and skills needed to transform your cabinets into functional and stylish pieces of furniture. So, let’s roll up our sleeves and embark on a journey to create custom cabinet sliding doors that will enhance the functionality and aesthetics of your living space.
The Importance of Cabinet Sliding Doors
Sliding doors are a great addition to any office or bathroom cabinets as they provide an easy way to access items stored inside without taking up extra space. Whether you’re looking for something that’s sleek and stylish, or functional and efficient, cabinet sliding doors can be a great option!
These days, there are plenty of different styles and materials to choose from, so you can create a door that matches your décor. But finding the right material and style isn’t all there is to making sliding doors for cabinets. It’s important to also consider installation and safety when selecting and installing cabinet sliding doors.
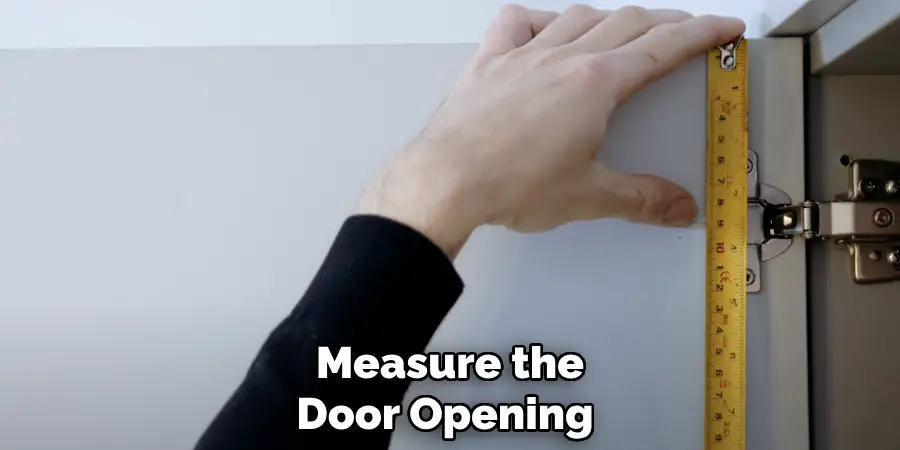
When measuring for the opening, it’s important to make sure that the measurements are precise so that the doors fit properly and can slide smoothly. You should also consider the weight of the door, as heavier sliding doors may require additional support or a different installation method.
Benefits of Making Your Own Sliding Doors
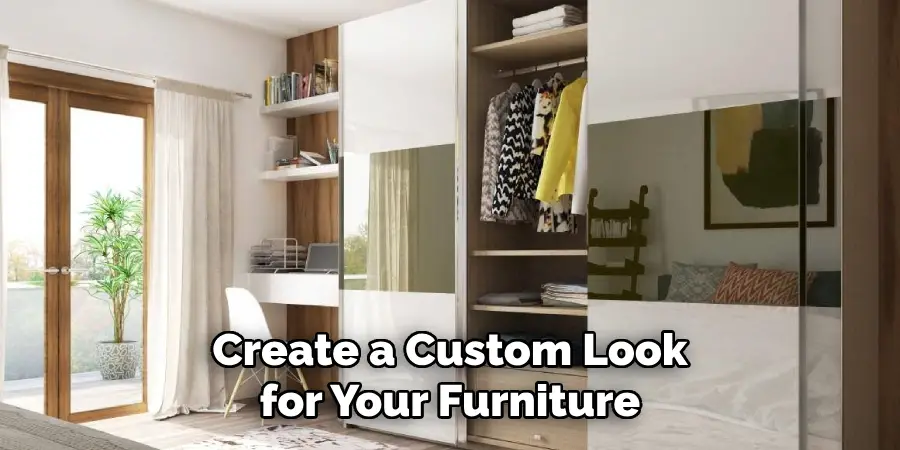
Making sliding doors for cabinets may seem like an intimidating task, but it can be a great way to create a custom look for your furniture. Sliding doors are perfect for creating more storage potential in a room or cabinet and can often provide better access than traditional hinged doors.
Additionally, you can make sliding doors from practically any material of your choice, giving you the freedom to pick the perfect color and style for your space.
The benefits don’t stop there: making sliding doors can be cost-effective since you won’t have to pay high retail prices for custom furniture. Plus, it’s an easy project that anyone can take on with a little guidance! With all of these advantages in mind, let’s take a look at how to make your own sliding cabinet doors.
Materials Needed to Make Cabinet Sliding Doors
Before you get started on your cabinet sliding doors, it’s important to understand the materials needed. Here is a list of some basic items that will be helpful for any sliding door project:
- Wood for the door frame and panel (plywood, MDF, etc.)
- Measuring tape or ruler
- Pencil or marker
- Circular saw, jigsaw, miter saw, or table saw
- Drill and drill bits
- Sandpaper and/or orbital sander
- Hammer and nails
- Screws or bolts
- Door hardware (sliding door track, handle, etc.)
- Paint or stain for the finish
- Safety glasses and gloves.
Once you have acquired all of the necessary materials, it’s time to start crafting your cabinet sliding doors!
10 Steps How to Make Cabinet Sliding Doors
Measure the Cabinet
The first step in making cabinet sliding doors is to measure the cabinet. You will need to measure the width, height, and depth of the cabinet in order to determine what size doors you will need. Additionally, you will want to make sure that there is enough clearance between the doors when they are open so that they do not hit each other or any other objects in the room.
Cut the Wood
Once you have measured your cabinet, you can begin cutting the wood for your sliding doors. You will need two pieces of wood for each door – one for the frame and one for the panel. Make sure that all of your cuts are straight and accurate in order to ensure a proper fit when assembling your doors.

Attach Tracks
Next, you will need to attach tracks to the top and bottom of your cabinet frame in order for your sliding doors to move smoothly along them. This can be done by drilling pilot holes into the frame and then securing the tracks with screws or bolts. Make sure that all of your tracks are level and securely attached before moving on to the next step.
Assemble Doors
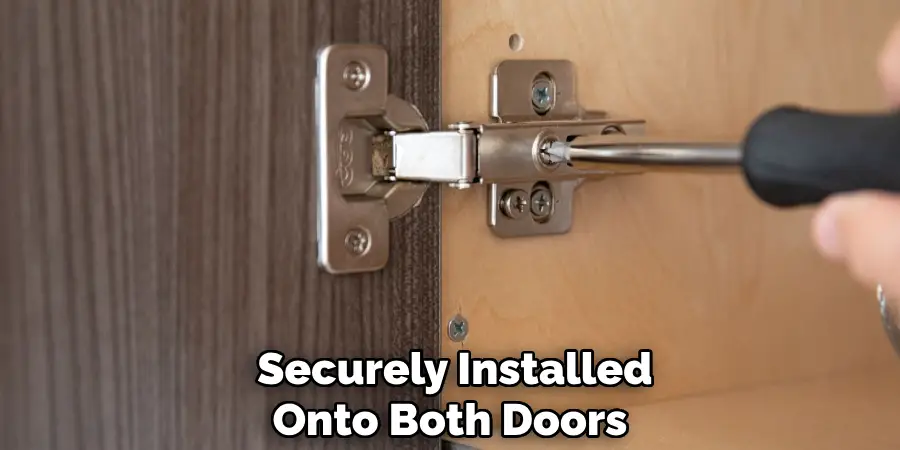
Once you have attached your tracks, it is time to assemble your sliding doors. Start by attaching one side of each door frame using glue or screws, then add a panel on top of it before attaching the other side of the frame with more glue or screws. Make sure that all edges are flush and secure before moving on to step five.
Install Wheels
Now it’s time to install wheels onto each door so they can move along their tracks properly without getting stuck or jammed up against each other or any other objects in the room. To do this, drill pilot holes into both sides of each door frame and then secure wheels into place using screws or bolts as necessary. Once all wheels are installed, check them again for security before proceeding to step six.
Hang Doors
Once all wheels are securely installed onto both doors, it is time to hang them onto their respective tracks at either end of your cabinet frame. Start by lifting one door into its track from below while someone else holds it steady from above until it clicks into place; repeat this process with the second door until both are hung securely onto their respective tracks at either end of your cabinet frame.
Add Door Handles
Now that both doors are hung securely onto their respective tracks at either end of your cabinet frame, it’s time to add handles so they can be opened easily from either side without having to pull too hard on them, which could cause damage over time if done too often or too forcefully.
To do this simply drill pilot holes into both sides of each door where you would like handles placed then secure handles into place using screws as necessary. Once all handles have been secured properly, check them again for security before proceeding to step eight.
Test Sliding Functionality
Before closing up shop on this project, it’s important that you test out how well both sliding doors move along their respective tracks at either end of your cabinet frame. To do this simply open up one side slightly then let go and see how well it slides back across its track without getting stuck or jammed up against anything else in its path.
Repeat this process with the second door then adjust accordingly if needed until both slide smoothly back across their respective tracks without issue.
Add Finishing Touches
Now that everything is functioning properly with regards to how well both sliding doors move along their respective tracks at either end of your cabinet frame feel free to finish off this project with some decorative touches such as paint/stain/varnish etc. depending on what look you’re going for here.
Enjoy Your New Sliding Cabinet Doors!
Congratulations! You’ve now successfully created two beautiful custom-made sliding cabinet doors perfect for adding a touch of style & functionality to any room in your home! So sit back & enjoy admiring these new additions knowing full well that you put in lots of hard work & effort towards making them a reality!
Things to Consider When Making Cabinet Sliding Doors
When making cabinet sliding doors, there are a few things you should consider before you start. Firstly, make sure to measure the door opening accurately – this will help ensure that the door fits perfectly and slides smoothly.
Secondly, consider the materials used for your doors; most people use wood or plastic for their sliding doors, but you can also opt for glass or metal if you prefer. Thirdly, think about the hardware that you’ll be using – this includes tracks and rollers, which need to be chosen carefully for maximum efficiency.
Finally, consider the design of your sliding doors; you should choose a style that best suits your home’s aesthetic. With these tips in mind, you can make sure your cabinet sliding doors turn out great!
Conclusion
With the right tools, materials, and step-by-step instructions, you can make cabinet sliding doors that are both functional and aesthetically pleasing. Taking a few hours to complete this project is well worth the effort – not only will your DIY skills be honed, but with a cabinet that is customized to fit perfectly into its space, the end result will truly be something special!
By following the steps outlined in this blog post, you should now have all the pieces in place for success on this exciting “do-it-yourself” project. Good luck and have fun making your own custom sliding door cabinets! Now what are you waiting for? Get out there and show off your new skills – you know how to make cabinet sliding doors!