
Crafting a wall cabinet is an empowering and rewarding woodworking project that allows you to combine practical storage solutions with your creative flair. Wall cabinets are not only functional but also serve as eye-catching pieces of furniture that can elevate the aesthetics of any room in your home.
Whether you’re a seasoned woodworker or a beginner looking to hone your skills, learning how to make a wall cabinet is a valuable endeavor. In this comprehensive guide, we’ll take you through the step-by-step process of creating a custom wall cabinet, from selecting the right materials and tools to mastering the essential woodworking techniques.
By the end of this journey, you’ll be equipped with the knowledge and confidence to design and build wall cabinets that seamlessly blend form and function, enhancing both the storage capabilities and the overall appeal of your living space. So, let’s dive into the world of craftsmanship and creativity as we explore to make a wall cabinet that reflects your style and meets your storage needs.
The Utility and Versatility of Wall Cabinets
Wall cabinets are a great way to make use of wall space in any room. Not only is it a great storage solution but also a great way to add style and beauty to any room. Wall cabinets can be used for all kinds of things from displaying collectibles and artwork, to storing books and other items that don’t fit easily on shelves or drawers.
They can be used to store anything from spices and condiments to cleaning supplies. They come in all shapes, sizes, and colors so you are sure to find the perfect cabinet for your needs.
One great thing about wall cabinets is that they are relatively easy to make yourself. With a few tools and some basic materials, you can create a custom built wall cabinet that will look great and provide the perfect amount of storage for your needs.
To get started, measure the area you want to cover with the cabinet and decide what height and depth it should be. Once this is done, draw a plan on paper that includes all measurements needed to build the frame. If you are not confident in your building skills, it’s best to consult a professional like an experienced carpenter or builder who can give you the right advice.
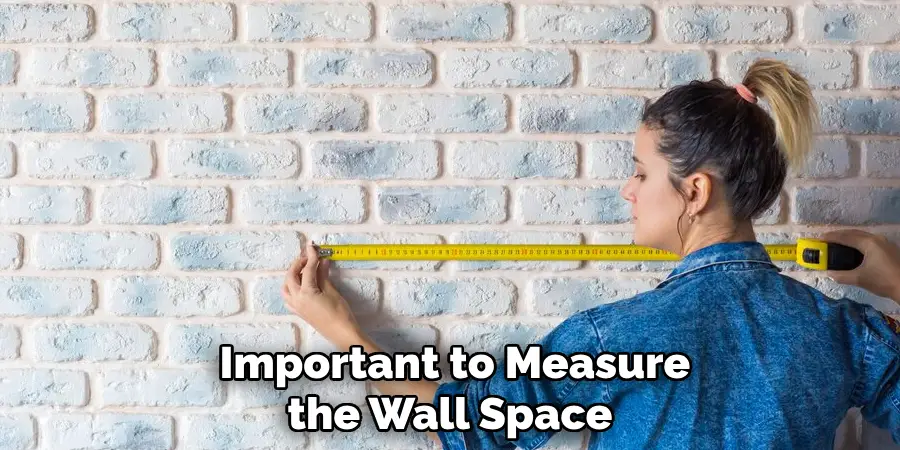
Measuring the Wall Space and Assessing Your Needs
Before beginning your wall cabinet project, it’s important to measure the wall space that you are planning to use. By taking accurate measurements of the area, you will be able to determine exactly how much wood and other materials that you need for your project.
Additionally, it’s also a good idea to assess what type of doors and shelves you want included in your cabinet. This will further help you determine the exact amount of materials that are needed for the job. Once you have taken detailed measurements and assessed what type of features you want, it’s time to begin planning out your project.
10 Steps How to Make a Wall Cabinet
1. Gather the Materials
Before you begin building your wall cabinet, make sure you have all the materials you need. You will need wood, screws, nails, hinges, and a saw. Make sure to measure the area where the cabinet will be installed so that you can buy the correct size of wood for the project.
2. Cut the Wood
Once you have all of your materials, it’s time to cut the wood for your cabinet. Measure and mark where you need to cut on each piece of wood with a pencil or marker. Then use a saw to carefully cut each piece according to your measurements.
3. Assemble the Frame
Now that you have all of your pieces cut, it’s time to assemble them into a frame for your cabinet. Start by attaching two side pieces together with screws or nails and then attach the top and bottom pieces in the same way. Next, attach a back piece to complete the frame of your cabinet.
4. Attach Hinges
Now that you have assembled your frame, it’s time to attach hinges so that you can open and close your cabinet easily. Place two hinges on one side of the frame and mark where they should be attached with a pencil or marker before attaching them with screws or nails. Repeat this process on the other side of the frame as well.
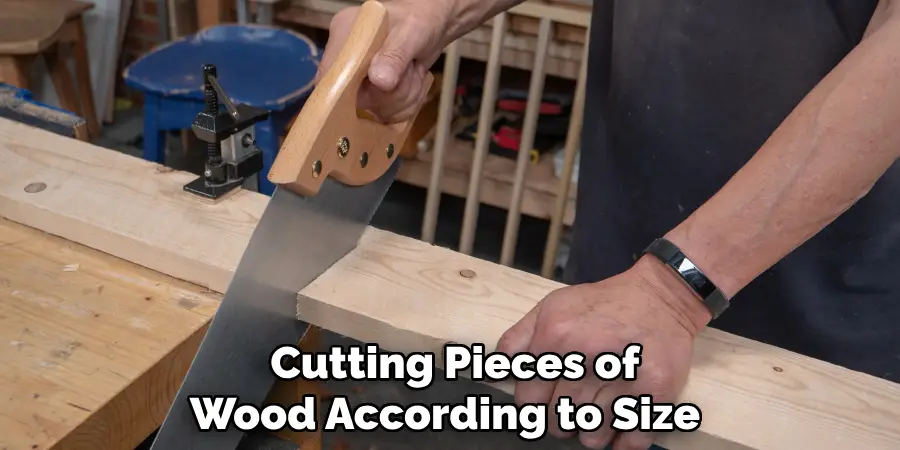
5. Install Shelves
Next, install shelves inside your wall cabinet by measuring and cutting pieces of wood according to size and then attaching them inside with screws or nails. Make sure that each shelf is level before moving onto the next step in order for everything to fit correctly when completed.
6. Add Trim
Once all of your shelves are installed, it’s time to add trim around them in order to give it a finished look. Measure and cut trim pieces according to size before attaching them around each shelf using screws or nails as needed.
7. Attach Face Frame
Now that all of your interior components are in place, it’s time to attach a face frame onto the front of your wall cabinet in order for it to look complete once installed on the wall.. Measure and cut pieces of wood according to size before attaching them together with screws or nails. Once assembled, attach this frame to one side of your wall cabinet using more screws or nails as needed.
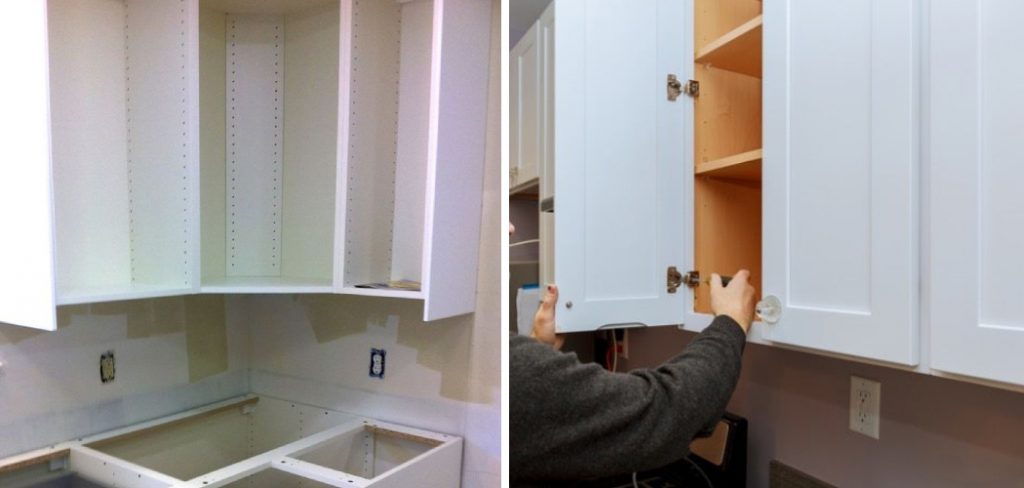
8. Install Wall Cabinet
The last step is installing your wall cabinet onto an appropriate surface such as drywall or brick walls. Mark out where each screw should go based on measurements taken beforehand. Then use an electric drill with appropriate sized bits in order to insert each screw into place securely. Once done correctly, hang up both sides evenly before standing back and admiring your work!.
9. Paint Wall Cabinet
If desired, paint over any exposed areas on your wall cabinet using high-quality paint designed specifically for furniture projects. Follow instructions provided by the manufacturer when applying paint in order for best results. Allow paint ample time specified by the manufacturer in order for it to set properly before adding any additional decorations such as knobs or handles if desired.
10. Add Decorations (Optional)
Finally, if desired, add decorations such as knobs, handles, or even decorative molding around edges .. Choose decorations that match existing interior design elements in the room so that everything looks cohesive. With these simple steps, anyone can make their own beautiful wall cabinets at home!
Things to Consider When Making a Wall Cabinet
When making a wall cabinet, you will need to consider several factors. First, determine the size of the space available for your cabinet and if any utilities or outlets could interfere with it.
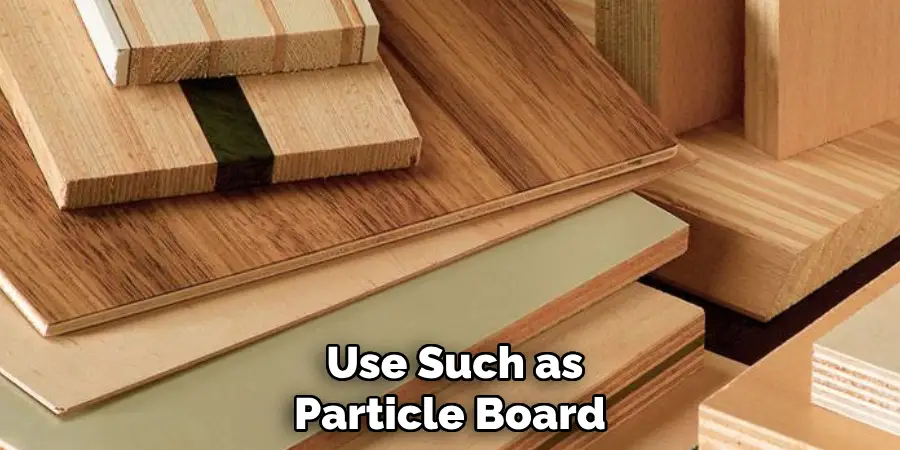
This can effect how large or small your cabinet may be. Next, decide what type of materials you want to use such as particle board, plywood, MDF board, hardwood, composite wood, etc. Each type of material will have different pros and cons to consider.
You will also need to decide on a hardware kit for the door and drawer fronts. There are many types available ranging from simple cabinet knobs and pulls to more elaborate decorative handles or even pull-out storage containers like lazy susans. Once you have chosen your materials and hardware, you can plan out the overall design of your cabinet.
Common Mistakes to Avoid when Making a Wall Cabinet
Making wall cabinets is an enjoyable and rewarding experience, but it can be daunting for those who are new to woodworking. To help make the process easier, here are some common mistakes to avoid while making your wall cabinet.
- Avoid Buying Too Little Material: Make sure you have enough material for any additional cuts or pieces you may need. Overestimating the amount of material is usually better than underestimating it if you’re unsure.
- Don’t Take Shortcuts on Measurement: Always measure twice and cut once. Doing so will ensure that your pieces are cut accurately, reducing the chance of wasting time and materials in the process.
- Use a Quality Wood Glue: Wood glue is a crucial component when creating furniture, so make sure you use one that is strong and reliable.
- Sand Properly: Make sure to sand the pieces properly before staining or varnishing them. Doing so will help give your cabinet a smooth and professional finish once it’s completed.
- Measure Twice Before Making Final Cuts: This is especially true when it comes to making angled cuts. Measure twice and triple check before cutting into the wood, as this could lead to costly mistakes further down the line.

Conclusion
After reading this post, you should now have a better understanding of how to make a wall cabinet. Whether you are a DIY novice or an experienced carpenter, this simple step-by-step guide can help you create the perfect storage for any room.
With the right list of materials and careful preparation, your new wall cabinet will be an attractive addition to your home. For those more experienced woodworkers out there, think outside the box and don’t be afraid to experiment with different designs and techniques.
There is always something new to learn about carpentry and making furniture. Armed with these tips, go forth and begin your journey with constructing a wall cabinet today!