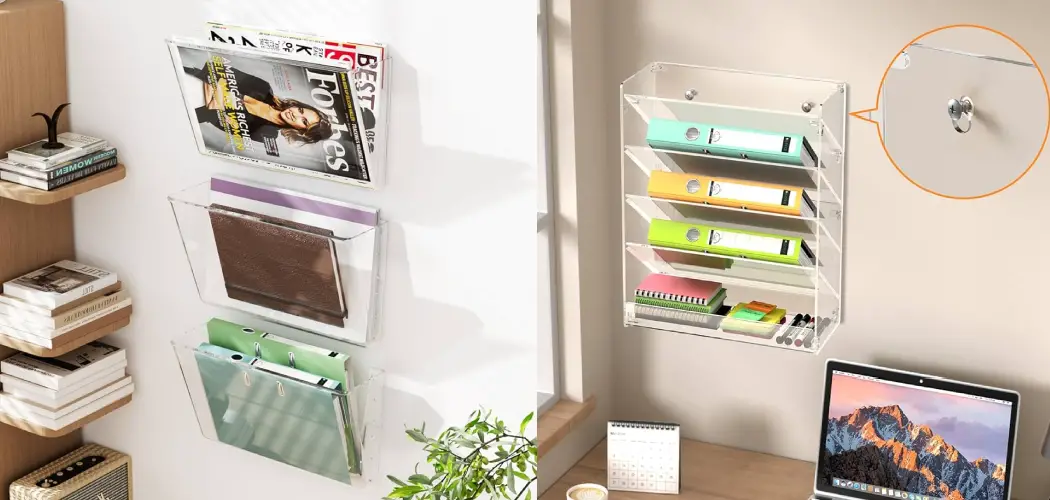
A wall file organizer holder is an essential tool for maintaining order and efficiency in both home and office environments. By providing a dedicated space for important documents, memos, and files, these organizers help reduce clutter and improve accessibility. Whether you’re managing paperwork in a busy workplace or keeping personal items organized at home, a wall file organizer can streamline your workflow and enhance productivity.
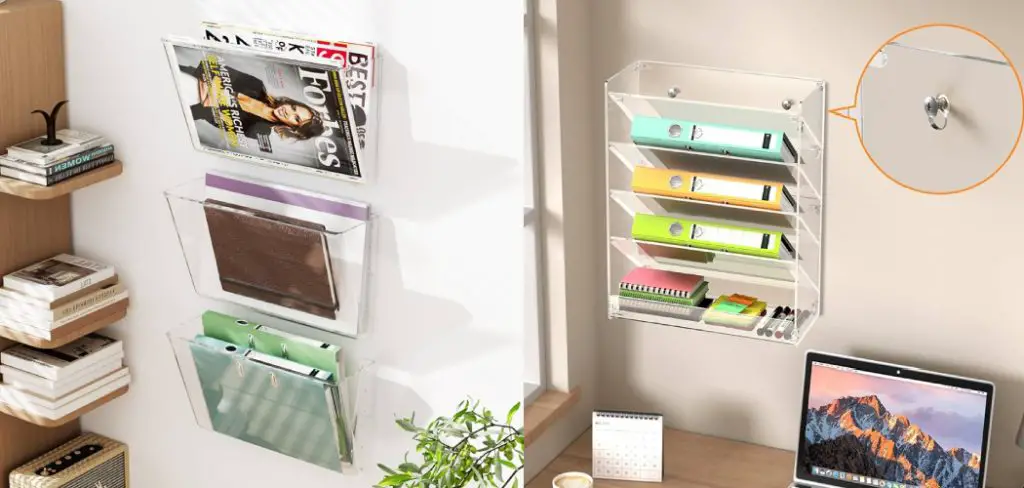
In this guide on how to mount wall file organizer holder, we’ll walk you through the steps to properly mount your wall file organizer holder, ensuring it is securely placed for optimal use.
Why Mount a Wall File Organizer Holder?
Mounting a wall file organizer holder offers several advantages that contribute to an organized and efficient workspace. Firstly, it maximizes vertical space, freeing up valuable desk or counter areas and creating a more spacious environment. This not only helps in keeping documents easily accessible but also enhances overall aesthetics by reducing clutter.
Additionally, having a designated place for important files reduces the risk of losing vital documents, improves workflow, and minimizes stress. By ensuring that all paperwork is neatly organized and visibly displayed, a wall file organizer holder promotes better time management and productivity, enabling users to focus on their tasks without unnecessary distractions.
What You’ll Need
Before mounting your wall file organizer holder, ensure you have the following tools and materials ready:
Wall File Organizer Holder
Purchase a wall file organizer holder that fits your specific needs and space requirements. You can choose from various sizes, materials, and designs to suit your style and functionality preferences.
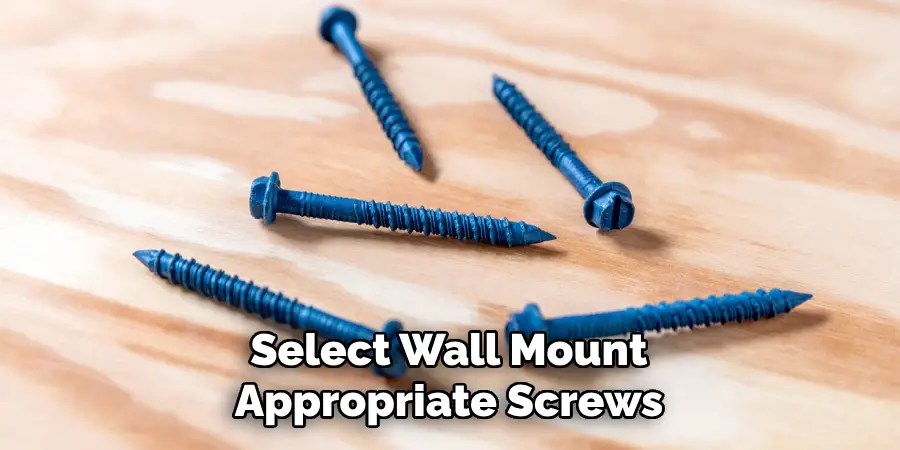
Screws
Depending on the type of wall you’re mounting on (drywall, wood, or concrete) and the weight of your organizer, select appropriate screws for a secure hold.
Screwdriver
A screwdriver will be needed to attach the organizer holder to the wall using screws. Ensure it is compatible with the type of screws being used.
Level
For a professional-looking finish, use a level to ensure that your wall file organizer holder is mounted straight.
8 Step-by-step Guidelines on How to Mount Wall File Organizer Holder
Step 1: Choose The Location
Selecting the right location for your wall file organizer holder is crucial for optimal functionality and accessibility. Start by identifying a wall space that is free from obstructions and within easy reach. Consider areas near your desk, workstation, or any place where you frequently handle paperwork. Ensure that the chosen location allows the organizer to be visible and accessible, reducing the time spent searching for documents.
Additionally, be mindful of potential sunlight exposure or humidity, as these factors can affect the materials of the organizer and the documents within it. Once you have settled on a suitable spot, mark the area lightly with a pencil to aid in the installation process.

Step 2: Preparing the Wall
Before mounting, ensure that your wall is clean and free from any dirt or debris. Use a damp cloth to wipe down the surface thoroughly, removing any dust or residue that may prevent the organizer from adhering correctly.
If you are attaching the organizer to drywall, it’s essential to locate wall studs as they provide extra support for heavier organizers. You can use a stud finder tool or tap gently on the wall until you hear a solid sound indicating a stud’s presence. Mark these spots lightly with a pencil.
For concrete walls, drill pilot holes using a masonry bit where you intend to fix screws and anchors.
Step 3: Mark Drill Holes
Once you have prepared the wall and ensured a clean surface, the next step is to accurately mark the drill holes for your wall file organizer holder. Position the organizer against the wall at the desired height, using the level to make sure it is straight. Once you are satisfied with its placement, use a pencil to mark the locations of the screw holes on the wall through the mounting holes of the organizer.
If your organizer has multiple mounting points, mark all of them. This will help in ensuring that the screws are aligned properly, providing a secure fit when you proceed to drill the holes. Double-check your markings for accuracy before moving on to the next step.
Step 4: Drill Pilot Holes
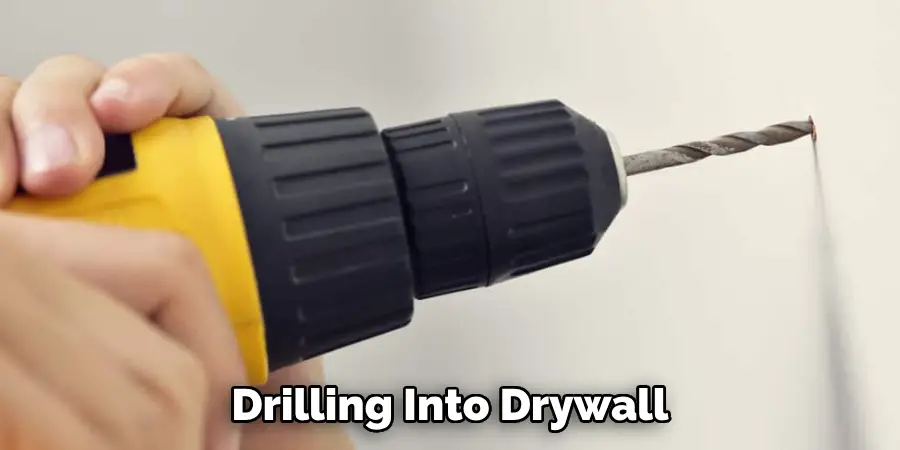
With your drill hole markings in place, it’s time to create pilot holes for the screws. Using a drill fitted with the appropriate drill bit size for your screws, carefully drill into the marked spots on the wall. If you’re drilling into drywall, ensure that the bit is straight and at a 90-degree angle to the wall for neat holes.
For concrete or masonry walls, you might need to use a hammer drill to effectively penetrate the surface. Drill to a depth that corresponds to the length of your screws, allowing for secure anchoring without compromising the integrity of the wall. Once all pilot holes are drilled, remove any dust or debris from the holes to ensure a clean installation and prepare for the next step.
Step 5: Insert Wall Anchors
If you’re mounting on drywall, it’s essential to insert wall anchors before attaching the organizer holder. These small plastic or metal pieces provide extra support for the screws and prevent them from slipping out of the wall over time. Simply push the anchor into each pilot hole until it is flush with the wall surface.
For concrete walls, skip this step as the drilled holes will serve as anchors themselves.
Step 6: Securely Attach The Organizer Holder
With your wall anchors in place (if applicable) and pilot holes prepared, it’s time to attach the wall file organizer holder securely. Align the mounting holes of the organizer with the pilot holes or anchors you have prepared. Begin by inserting the screws through the organizer’s mounting holes and gently into the wall or anchors.
Using a screwdriver, tighten the screws while ensuring that the organizer remains level throughout the process. Take care not to overtighten, as this could damage the organizer or the wall. Once all screws are in place and the holder is firmly attached, give it a slight tug to ensure stability. Your wall file organizer holder should now be securely mounted and ready for use!
Step 7: Organize Your Files
With your wall file organizer holder mounted, it’s time to start organizing your files. Depending on the design of your organizer, you can sort documents by category, date, or priority level. You can also label each section to make it easy to identify and retrieve documents. Remember to regularly declutter and rearrange to maintain an organized and efficient system.
You can also use your wall file organizer holder to display important documents or inspirational quotes, adding a personal touch to your workspace. Get creative and make it your own!
Step 8: Maintenance Tips
To ensure the longevity of your wall file organizer holder, regular maintenance is crucial. Dust or wipe down the surface regularly, especially if you are storing paper documents, to prevent buildup and maintain its appearance.
Additionally, periodically check the screws for any signs of loosening and tighten them if necessary. If you notice any damage to the organizer or the wall it is mounted on, take immediate action to fix it before it worsens. With proper care and maintenance, your wall file organizer holder can continue to serve as a valuable tool in keeping your workspace organized and efficient.
Frequently Asked Questions
Q1: Can I Mount a Wall File Organizer Holder on Any Type of Wall?
A: It is generally safe to mount a wall file organizer holder on drywall, concrete, or masonry walls. However, it is essential to use the appropriate tools and techniques for each type of wall to ensure proper installation and stability.
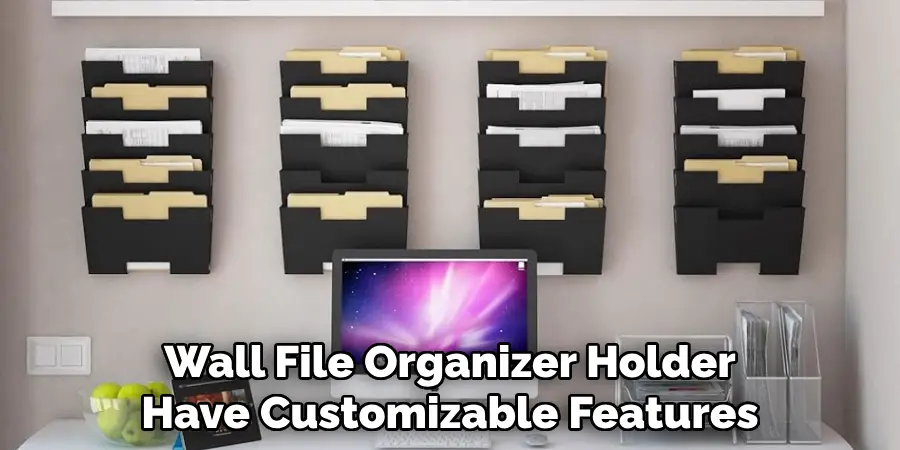
Q2: Can I Customize the Design of My Wall File Organizer Holder?
A: Yes, many wall file organizer holders come with customizable features such as adjustable sections and interchangeable labels. You can also get creative and personalize your organizer with stickers, paint, or other materials.
Q3: How Many Documents Can a Wall File Organizer Holder Hold?
A: The number of documents a wall file organizer holder can hold depends on its design and size. It is best to check the product specifications for an estimate of its capacity. Overloading the organizer can compromise its stability and effectiveness, so it’s essential to regularly declutter and rearrange files.
With these steps and tips on how to mount wall file organizer holder, you can easily install a wall file organizer holder and maintain an organized workspace. Remember to always prioritize safety when drilling into walls and regularly check for any signs of damage or wear.
Conclusion
In conclusion, installing a wall file organizer holder is a straightforward process that greatly enhances your workspace’s organization and functionality. By carefully selecting the location, preparing the wall, and following the outlined steps on how to mount wall file organizer holder for installation, you can create a clean and efficient area for managing paperwork.
The benefits of having a dedicated space to store and display important documents not only streamline your workflow but also contribute to a more aesthetically pleasing environment. Regular maintenance further ensures that your organizer remains in good condition and continues to support your productivity. Embrace this simple yet effective solution to take your organizational skills to the next level!

