
Are you having trouble opening your First Alert smoke alarm? Don’t worry. We’ve got you covered. Here’s a step-by-step guide on how to open First Alert smoke alarm and access the battery compartment.

Opening a First Alert smoke alarm is a straightforward process, essential for maintenance tasks such as battery replacement or cleaning to ensure the device operates effectively. This guide will walk you through the steps to safely open your First Alert smoke alarm without damaging the unit or compromising its functionality.
Understanding how to properly access the interior components of your smoke alarm is crucial for maintaining its performance and ensuring your safety. Whether you’re looking to replace batteries, clean the unit, or simply familiarize yourself with its components, this guide will provide you with the necessary instructions to do so confidently.
What are the Benefits of Opening Your First Alert Smoke Alarm?
There are several benefits to learning how to open your First Alert smoke alarm. Some of these include:
- Easy maintenance: By knowing how to open your smoke alarm, you can easily perform routine maintenance tasks such as battery replacement and cleaning without having to call a professional.
- Increased safety: As with any electronic device, dust and debris can accumulate over time, affecting the performance of your smoke alarm. By regularly opening and cleaning your unit, you can ensure that it functions properly in case of a fire emergency.
- Cost savings: Instead of paying for costly repairs or replacements, learning how to open your First Alert smoke alarm allows you to troubleshoot any issues yourself and potentially save money.
- Familiarization with the device: Opening your smoke alarm gives you an opportunity to become familiar with its internal components and how they work. This can come in handy if you ever encounter any problems or need to make adjustments in the future.
These are just a few of the benefits of knowing how to open your First Alert smoke alarm. Now, let’s go over the steps.
What Will You Need?
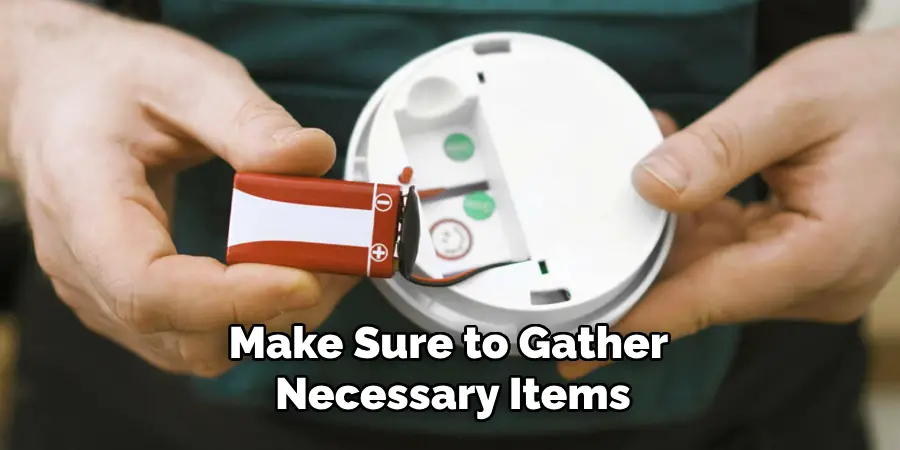
Before you begin, make sure to gather the following items:
- Step ladder or stool: Depending on the placement of your smoke alarm, you may need a step ladder or stool to reach it safely.
- Screwdriver: First Alert smoke alarms typically have a locking mechanism that requires a screwdriver to open. Make sure you have one with the appropriate head size.
- New batteries: If your smoke alarm’s battery is due for replacement, have some fresh batteries ready to install.
Once you have these items, you’re ready to open your First Alert smoke alarm.
10 Easy Steps on How to Open First Alert Smoke Alarm
Step 1. Ensure Safety:
Before you proceed with opening your First Alert smoke alarm, it’s crucial to ensure safety first. Make sure your smoke alarm is deactivated or turned off to avoid triggering it while opening it. If your smoke alarm is hardwired into your home’s electrical system, you should also turn off the power at the circuit breaker to prevent any electrical hazards.
Step 2. Locate and Access the Mounting Bracket:
The First Alert smoke alarm is attached to the ceiling or wall via a mounting bracket. Use your step ladder or stool to safely reach the smoke alarm. Once in position, examine the smoke alarm to locate the mounting bracket. This bracket typically holds the smoke alarm in place through a twist-off mechanism or clips.
Step 3. Remove the Smoke Alarm from the Mounting Bracket:
You’ll need to use a gentle but firm twisting motion to detach the smoke alarm from the mounting bracket. Grasp the smoke alarm with both hands and rotate it counterclockwise. In some models, you may encounter resistance; continue to apply steady pressure until the smoke alarm disengages from the bracket.
If your model uses retaining clips instead of a twist-off mechanism, carefully press these clips to release the smoke alarm. Ensure you’re supporting the unit with your hands to prevent it from falling once detached.
Step 4. Open the Battery Compartment:
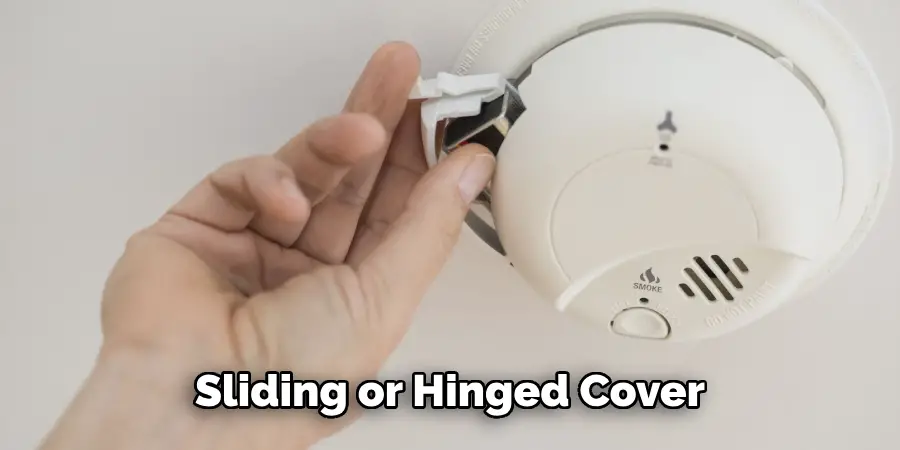
With the smoke alarm removed from the mounting bracket, locate the battery compartment. It’s usually found on the back side of the smoke alarm or at its side and is typically secured with a sliding or hinged cover. If your model has a screw securing the battery compartment, use your screwdriver to remove it.
Then, either slide the cover off or open the hinge to access the batteries. Handle the cover gently to avoid breaking any tabs or components that secure it in place.
Step 5. Replace or Check the Batteries:
Remove the old batteries by gently lifting them out of the battery compartment. Before inserting new batteries, check the compartment for any signs of damage or corrosion. If everything looks clear, proceed to insert the new batteries, making sure to align them correctly according to the positive (+) and negative (-) terminals as indicated inside the compartment.
It’s important to use the recommended battery type for your specific First Alert smoke alarm model to ensure optimal performance.
Step 6. Close the Battery Compartment:
Once the new batteries are securely in place, close the battery compartment cover. If your smoke alarm’s compartment cover is secured with a screw, replace the screw and tighten it without over-tightening to avoid damaging the cover.
Make sure the cover is securely fastened to prevent any exposure of the batteries or the internal components of the smoke alarm. Be careful not to pinch any wires or damage any components while closing the cover.
Step 7. Reattach the Smoke Alarm to the Mounting Bracket:
After replacing or checking the batteries and securing the battery compartment cover, it’s time to reattach the smoke alarm to the mounting bracket. Align the smoke alarm with the bracket and apply a gentle but firm clockwise motion until the unit clicks into place.
For models with retaining clips, ensure the clips snap securely onto the smoke alarm. It’s important to make sure that the smoke alarm is firmly attached to the bracket to prevent it from coming loose or falling.
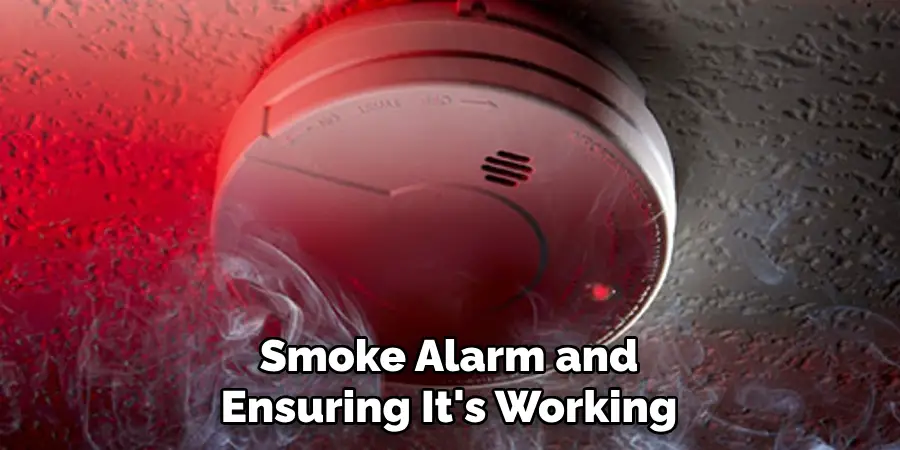
Step 8. Test the Smoke Alarm:
Once the smoke alarm is securely reattached to the mounting bracket, it’s crucial to test its functionality. This can typically be done by pressing the test button located on the surface of the alarm. Hold the button down for a few seconds until the alarm sounds.
If the alarm chirps or does not sound at all, double-check the battery installation and ensure the batteries are properly seated and the compartment is securely closed. Testing your smoke alarm after any maintenance or battery change ensures that it is operating correctly and will provide the necessary protection in the event of a fire.
Step 9. Reactivate the Smoke Alarm or Restore Power:
After successfully testing the smoke alarm and ensuring it’s working correctly, the final step is to reactivate it or restore power if it is hardwired into your home’s electrical system. If you deactivated the smoke alarm manually, follow the manufacturer’s instructions to reactivate it.
For hardwired models, safely head back to your circuit breaker and turn the power back on. Once power is restored, check the smoke alarm once more to ensure it is still functioning correctly. This step confirms that your smoke alarm is fully operational and ready to alert you in case of smoke or fire.
Step 10. Regular Maintenance and Testing:
To ensure your First Alert smoke alarm remains in optimal working condition, it’s essential to conduct regular maintenance and testing. Aim to test the alarm monthly by pressing the test button as described in Step 8. Additionally, clean the smoke alarm at least once a year to remove dust and debris that could interfere with its operation.
This can be done using a soft brush attachment on a vacuum cleaner. Also, the batteries should be replaced annually, even if they haven’t expired, to guarantee the alarm’s reliability. By following these maintenance guidelines, you’ll help ensure your First Alert smoke alarm continues to provide essential protection to your home and loved ones.
By following these ten simple steps, you can easily and effectively replace the batteries in your First Alert smoke alarm.
5 Additional Tips and Tricks
- Use the Right Tools: Sometimes, a smoke alarm cover may require a slight prying open or the loosening of screws. Use a small flat-head screwdriver for prying and a Phillips head screwdriver for screws. Ensure that you do not apply too much force to avoid damaging the unit.
- Consult the User Manual: Each First Alert smoke alarm model might have slight variations in design. The user manual for your specific model can provide exact instructions on how to open your alarm safely, ensuring you’re following the correct procedure tailored to your device.
- Look for Hidden Tabs or Buttons: Some models have tabs or buttons that release the cover or battery compartment. Examine your smoke alarm closely, as these could be subtly integrated into the design. Pressing or sliding these components can unlock the compartment or cover.
- Try Different Techniques: If you’re having trouble opening your First Alert smoke alarm, don’t be afraid to try different techniques. Applying gentle pressure or twisting the cover might release it from its locked position. Just make sure to be careful and not use excessive force.
- Contact Customer Support: If all else fails, don’t hesitate to contact First Alert’s customer support team. They can provide specific instructions on how to open your particular smoke alarm model and may even be able to troubleshoot any issues you are experiencing.

By following these additional tips, you can ensure that you are safely opening your First Alert smoke alarm without causing any damage.
5 Things You Should Avoid When Opening a First Alert Smoke Alarm
- Do Not Use Excessive Force: Applying too much force when trying to pry open or remove the battery compartment can damage the smoke alarm. Always start with gentle pressure and increase slightly if necessary, but never to the point of causing damage.
- Avoid Using Sharp Objects: While it might be tempting to use a knife or other sharp objects to pry open the smoke alarm, this can lead to scratches or more severe damage to the unit. Stick to using the recommended tools, like a flat-head or Phillips-head screwdriver.
- Never Disregard Safety Precautions: Always make sure your smoke alarm is deactivated and safely removed from any power source before attempting to open it. Ignoring this step can result in electrical shocks or damage to the device.
- Do Not Ignore the User Manual: Skipping the consultation of the user manual in favor of guessing how to open your smoke alarm can lead to mistakes. The manual contains model-specific instructions crucial for correctly and safely opening the device.
- Avoid Opening the Alarm Unnecessarily: Frequent opening of the smoke alarm, especially without need, can lead to wear and tear or accidental damage. Open your smoke alarm only when necessary, such as for battery replacement or maintenance checks.
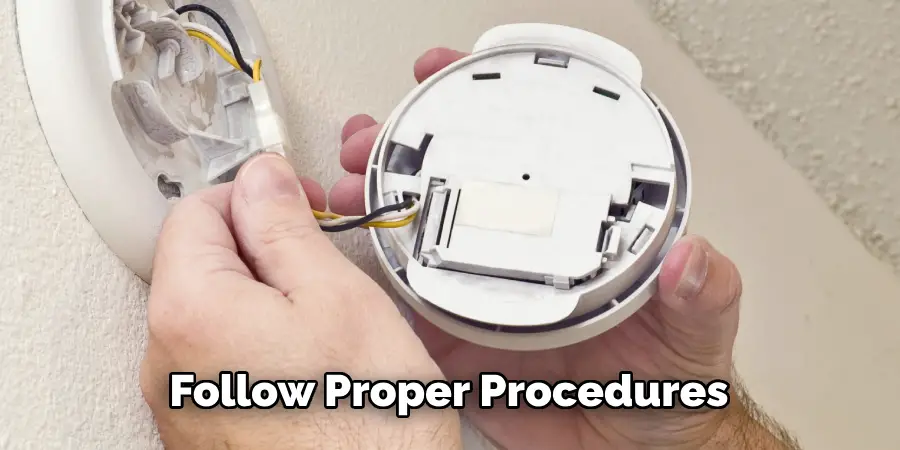
By avoiding these common mistakes, you can ensure that your First Alert smoke alarm remains in good condition and functions properly. Always take the time to follow proper procedures and consult resources like the user manual or customer support when needed.
This will not only keep your smoke alarm working effectively but also help prevent any accidents or damage during the opening process. Overall, with the right tools and techniques,
How Do You Stop First Alert Smoke Detector From Beeping?
If your First Alert smoke detector is beeping, it is usually an indication of a low battery or malfunction. Here are some steps you can take to stop the beeping:
- Change the Batteries: The most common reason for a First Alert smoke detector to beep is a low battery. Replace the old batteries with new ones and test the alarm again.
- Reset the Alarm: If changing the batteries does not stop the beeping, try pressing and holding down the test button on the alarm for 15-20 seconds. This will reset the alarm and may stop the beeping.
- Clean the Alarm: Sometimes, dust or debris can accumulate inside the smoke detector and cause it to beep. Use a soft brush or vacuum cleaner to gently clean the alarm and then test it again.
- Check for Malfunctions: If none of the above steps work, the smoke detector may be malfunctioning. Contact First Alert customer support for troubleshooting assistance, or consider replacing the unit if it is old or damaged.
Remember to always check the user manual for specific instructions on how to troubleshoot your particular First Alert smoke alarm model.
What Type of Battery Does a First Alert Smoke Detector Need?

First Alert smoke detectors typically use 9-volt or AA batteries. Check the user manual for your specific model to determine the correct type of battery required. Some models may also have options for both types of batteries, so make sure to choose the appropriate one according to the instructions provided.
Additionally, it is recommended to use high-quality and fresh batteries for optimal performance and to prevent false alarms. It is also a good idea to test the batteries regularly and replace them at least once a year or when the low battery indicator starts beeping. Proper maintenance of the batteries in your First Alert smoke detector can ensure that it functions effectively in case of an emergency.
Overall, by following these tips and guidelines, you can safely open your First Alert smoke alarm, avoid common mistakes, and troubleshoot any issues you may encounter.
How Do You Turn Off Smoke Detector Battery Alarm?
If your First Alert smoke detector battery alarm is beeping due to a low battery, the best way to turn it off is by replacing the battery with a fresh one. This should stop the beeping and ensure that your smoke alarm is functioning properly.
However, if you want to silence the alarm temporarily without changing the batteries, most First Alert models have a “silence” or “hush” button. Pressing this button will silence the alarm for a short period of time (usually 8-10 minutes), after which it will start beeping again if the issue is not resolved.
It is important to note that silencing the alarm should only be done if there is a low battery or false alarm. If there is an actual fire or emergency, do not silence the alarm and follow proper evacuation procedures immediately.
Conclusion
Navigating the process of opening a First Alert smoke alarm can initially seem daunting, but by adhering to the outlined precautions and steps, homeowners can confidently maintain their devices.
Remembering to approach the task with patience, using the right tools, and following the manufacturer’s instructions ensures the alarm remains functional and safe to use. The importance of regular maintenance, such as battery checks and cleanliness, cannot be overstated, as these actions directly impact the effectiveness of the smoke alarm in emergency situations.
Ultimately, understanding how to open first alert smoke alarm contributes to the overall safety and well-being of your household, ensuring that you are prepared in the event of a fire.