
Whiteboards are valuable tools for brainstorming, planning, and visualizing ideas in both professional and educational settings. However, without proper organization, a whiteboard can quickly become cluttered and confusing. Effectively organizing your whiteboard is essential for clear communication and efficient use.

Whether you use it for project management, team collaboration, or teaching purposes, having a well-organized whiteboard can enhance productivity and facilitate better understanding. In this article, we will explore practical strategies and techniques to help you how to organize whiteboard.
From sectioning and labeling to utilizing color-coded systems and erasing techniques, we’ll provide you with tips and tricks to maintain a clean and structured whiteboard. Get ready to transform your whiteboard into a visual powerhouse that promotes clarity and enhances productivity in your workplace or classroom.
Importance of an Organized Whiteboard
Organizing a whiteboard is an important part of any office’s workflow. An organized whiteboard ensures that everyone in the workspace knows exactly what tasks need to be completed, when they need to be completed, and who is responsible for them.
This can help boost productivity and team morale, as well as improve communication between staff members. Additionally, an organized whiteboard can help reduce clutter in the workspace and help to maintain a professional appearance throughout the office.
Organizing a whiteboard also allows for more effective brainstorming sessions. Having all of the tasks clearly written down helps everyone stay on the same page and encourages collaboration between team members.

It also makes it easier to keep track of ideas that have been discussed and tasks that need to be completed in order to keep progress moving forward. This can lead to increased efficiency within the workplace, as well as higher quality work overall.
Finally, having an organized whiteboard helps create a sense of accomplishment when tasks are completed or projects are finished. Seeing their hard work displayed in such a visible way can give staff members a sense of pride and motivation to keep striving for success.
This can be beneficial for the team as a whole, as it encourages everyone to stay focused and work together to reach their goals.
10 Methods How to Organize Whiteboard
1. Define Sections:
Divide your whiteboard into clearly defined sections based on the purpose or content. For example, you can create sections for to-do lists, project timelines, meeting agendas, or brainstorming sessions.
Use horizontal or vertical lines to separate the sections and maintain visual clarity. Although you can use different colors to denote different sections, be aware that this might make it difficult for some people with color blindness to recognize and differentiate between the sections.
2. Label Each Section:
Assign labels or headers to each section of the whiteboard. This helps viewers quickly understand the content and navigate the information. Use bold and legible fonts for the labels to ensure readability from a distance.

Additionally, you can color-code each label to make it easier to scan. This step can be as simple or elaborate as needed; for example, a simple “To Do” list can be labeled in the top right corner, or you may want to create separate boxes for each team member’s tasks.
3. Utilize Color-Coding:
Color coding is an effective way to visually organize your whiteboard. Assign different colors to specific categories or topics. For example, use one color for tasks, another for deadlines, and a different color for important notes or ideas.
This system helps in easily distinguishing and grouping related information. Place a legend at the bottom of the board listing what each color represents. This will be especially helpful if multiple people are using the whiteboard or if you need to quickly refer back to a particular topic.
4. Strategic Placement:
Place essential information in prominent and easily accessible areas of the whiteboard. Prioritize content based on relevance and frequency of use. Important items such as deadlines or key points should be placed where they can be quickly seen and referred to during meetings or discussions.
Place less important content, such as notes or brainstorming ideas, lower on the board. Utilize the entire whiteboard to ensure maximum visibility and space for content. Place text at eye level and use arrows or other visual cues to draw attention.
Use the four corners of the board to section off different parts of the same topic, or to separate related topics. This will make it easier to find and reference specific information during a meeting.
5. Clear and Concise Writing:
Write legibly and use concise language when adding content to the whiteboard. Use bullet points or short phrases instead of lengthy sentences. Clear and concise writing enhances readability and prevents clutter on the whiteboard.

Additionally, if there is a lot of content to cover, consider using different color markers or highlighters for key topics. This helps viewers quickly grasp the main points of discussion. However, try not to use too many colors because it can be visually confusing.
6. Erasing Techniques:
Regularly erase outdated or unnecessary information from the whiteboard. This prevents the board from becoming cluttered and ensures that only relevant content remains visible. Use erasers, dry cloths, or whiteboard cleaning solutions to maintain a clean surface. Be careful not to use abrasive materials that might damage the board.
Additionally, consider using a permanent marker occasionally to emphasize important points and make them stand out. Finally, remember to return the whiteboard to its clean state before leaving it for an extended period of time. This will reduce the chances of smudging and other problems.
7. Time Management Tools:
If your whiteboard includes timelines or schedules, utilize time management tools such as magnetic or removable adhesive strips to create a visual representation of deadlines or project timelines.
This allows for easy adjustments and helps team members stay organized and on track. Additionally, tracking tasks on the whiteboard helps keep everyone accountable and ensures that tasks are completed in a timely manner. You can also use post-it notes to easily track tasks and make sure that they are completed.
8. Utilize Magnetic Accessories:
Magnetic accessories such as holders, clips, or containers can be attached to the whiteboard to keep markers, erasers, and other small supplies within reach. This reduces clutter on the board’s surface and ensures that necessary tools are readily available.
For larger items, you can attach magnetic strips to the wall near your whiteboard to hold scissors, rulers and other supplies. You can also use magnets to hang posters and other visuals for a visual reminder of tasks or projects. Magnetic accessories are a helpful way to keep your board organized and the supplies you need close at hand.
9. Incorporate Visuals:
Consider using visual aids, such as icons, symbols, or images, to enhance understanding and organization on the whiteboard. Visual elements can be used to represent ideas, highlight important points, or create a visual hierarchy. Use simple and recognizable visuals to maintain clarity and avoid visual overload.
When using visuals, make sure to label them clearly so that everyone present can understand the message. Additionally, use a color system throughout the whiteboard to help organize information. Use different colors to represent different ideas, topics, or categories. Color coding can help keep your whiteboard organized and draw attention to important points.
10. Regular Maintenance:
Maintaining an organized whiteboard requires regular maintenance. Take a few minutes at the end of each day or week to review and update the content. Remove any irrelevant or outdated information and make necessary adjustments.
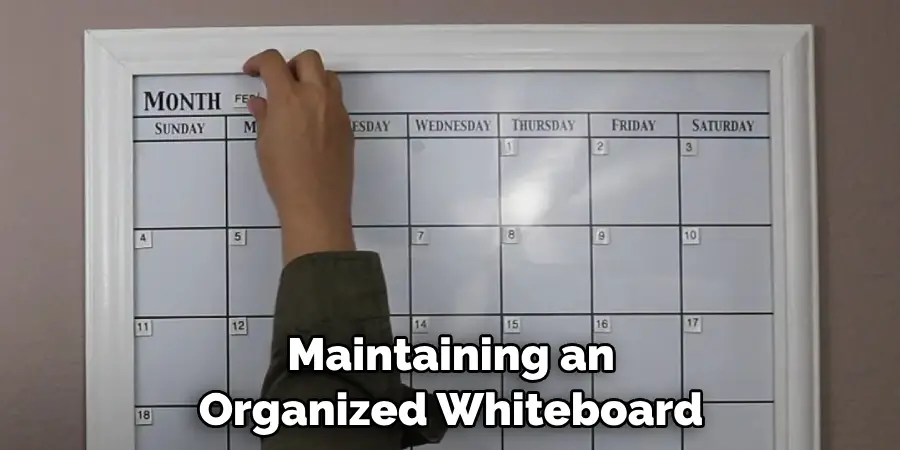
Regular maintenance ensures that the whiteboard remains organized and up to date. It also prevents excess clutter from building up. This will help make the information simpler to comprehend and easier to reference.
Keeping a clean whiteboard is an important step in ensuring the information contained is useful and relevant. Organizing a whiteboard may seem like a daunting task, but it’s essential for a successful and functional workspace.
With a little bit of time and effort, it’s not hard to keep your whiteboard neat, organized, and up to date. When it comes to keeping your whiteboard organized, regular maintenance is the key.
Conclusion
Organizing a whiteboard is essential for effective communication, collaboration, and productivity. By implementing strategies such as defining sections, labeling, color-coding, and utilizing magnetic accessories, you can transform your whiteboard into a well-structured and visually appealing tool.
Clear and concise writing, regular maintenance, and incorporating visual aids also contribute to an organized whiteboard.
Whether you are using it in a professional setting for project management or in a classroom for teaching purposes, an organized whiteboard promotes clarity, enhances understanding, and keeps information easily accessible.
By following these methods, you can optimize the functionality of your whiteboard and create a workspace that fosters efficiency and creativity.
So, take charge of your whiteboard organization and enjoy the benefits of a well-organized and visually engaging tool that facilitates effective communication and collaboration. Hopefully, this article gave you some helpful tips about how to organize whiteboard successfully, so now that you have the proper knowledge on how to get the job done, why not give it a try today?