Are you looking for ways to revamp your old secretary’s desk? Painting it is an easy and cost-effective way to give it a fresh look!
How to paint a secretary desk is a fantastic way to breathe new life into a classic piece of furniture. Whether upcycling an old thrifted find or refreshing a family heirloom, a fresh coat of paint can completely transform its appearance and harmonize with your interior design. With the right tools, techniques, and patience, you can achieve a professional finish, highlighting the desk’s unique features while adding your personal touch.

This guide will walk you through the steps to prepare, paint, and finish your secretary’s desk for a stunning result.
What Are the Benefits of Painting a Secretary Desk?
Before diving into the painting process, let’s explore some benefits of giving your secretary desk a makeover.
- Cost-effective: Instead of purchasing a new desk, you can save money by painting and updating your existing one.
- Personalization: By choosing your color and finish, you can add a personal touch to your desk that reflects your style and personality.
- Preservation: In many cases, secretary desks hold sentimental value as family heirlooms or have unique features worth preserving. Painting allows you to update its appearance while keeping its original charm intact.
- Versatility: With endless color options and techniques like distressing or antiquing, you can transform your desk to fit any design aesthetic.
- Creativity: Painting a secretary’s desk is a fun and creative project that allows you to experiment with different colors and techniques.
What Will You Need?
To get started, gather the following supplies:
- Sandpaper: Use medium-grit sandpaper to smooth out any rough areas on the desk’s surface.
- Primer: A good quality primer will help the paint adhere to the wood and prevent any bleed-through.
- Paint: Choose a high-quality paint in your desired color and finish. Latex or acrylic paints are recommended for their durability and ease of use.
- Paintbrushes/Rollers: Depending on your preference, you can use brushes or rollers to apply the paint.
- Drop cloths/Plastic sheets: Protect your workspace from spills by covering it with drop cloths or plastic sheets.
- Painter’s tape: Use painter’s tape to cover areas you don’t want to paint, such as hardware or glass panels.
- Tack cloth: After sanding, use a tack cloth to remove any dust and debris from the desk’s surface.
- Optional: Sealant/Topcoat: If desired, you can apply a sealant or topcoat to protect your newly painted desk from scratches and wear.
Once you have all your supplies, you’re ready to begin the painting process!
10 Easy Steps on How to Paint a Secretary Desk
Step 1: Prepare Your Workspace

Before you start painting, creating a clean and organized workspace is essential to ensure a smooth process. Choose a well-ventilated area to work in, preferably a space with plenty of natural light to help you see your progress clearly and avoid missing spots. Lay down drop cloths or plastic sheets on the floor to protect it from paint splatters if you’re working indoors, open windows, or use fans to improve airflow, preventing fumes from accumulating.
Clear your workspace of unnecessary items or clutter to provide ample room for the secretary’s desk and your supplies. Place your tools, such as brushes, rollers, and painter’s tape, within easy reach in an organized manner.
Step 2: Prep the Desk
Start by removing any hardware, such as drawer pulls and knobs, from the desk. This will make it easier to paint and avoid getting paint on them. If you can’t remove certain parts, use painter’s tape to cover them.
Next, use medium-grit sandpaper to gently sand the entire desk surface. This step is crucial for ensuring that the primer and paint adhere well to the wood. Sanding also helps smooth out any imperfections or rough spots on the desk’s surface.
After sanding, wipe down the desk with a tack cloth to remove dust and debris.
Step 3: Apply Primer

Using a high-quality primer is essential for achieving a smooth and professional-looking finish. Choose a primer suitable for the type of paint you plan to use, whether it’s latex-based or oil-based. Begin by stirring the primer thoroughly to ensure an even consistency.
Using a brush or roller, apply a thin, even coat of primer to the entire desk surface. Pay special attention to the edges and corners, as these areas can be easy to miss. Allow the primer to dry completely, following the manufacturer’s recommended drying time. Depending on the original color or condition of the wood, you may need to apply a second coat of primer for better coverage. Once the primer is completely dry, lightly sand the surface again with fine-grit sandpaper to smooth out any brush strokes or uneven spots.
Step 4: Start Painting
Now that the desk is primed and prepped, it’s time to start painting. Choose a high-quality paint that complements your project’s desired finish and durability. For furniture like desks, semi-gloss or satin finishes are particularly popular as they balance aesthetics and ease of cleaning. Stir the paint thoroughly to ensure the pigments are evenly distributed.
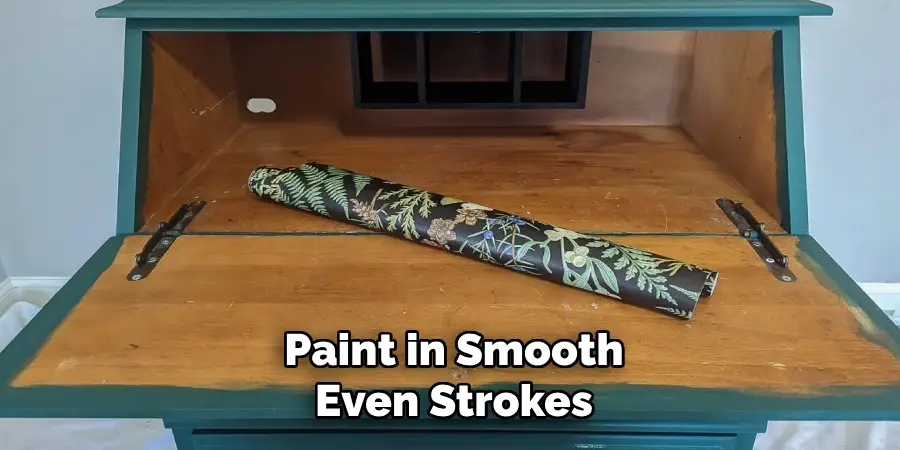
Using a clean brush, roller, or paint sprayer, apply the first coat of paint in long, even strokes, following the grain of the wood whenever possible. Be mindful of overlapping strokes to avoid streaks or uneven coverage. Start with the larger, flat surfaces before moving on to smaller areas and edges. Allow the first coat to dry completely, adhering to the manufacturer’s recommendations for drying times.
Step 5: Apply a Second Coat
After ensuring the first coat is completely dry and inspecting for imperfections, it’s time to apply a second coat of paint. This step will enhance the depth of color and ensure even coverage across the entire surface. Lightly sand the painted surface with fine-grit sandpaper to remove any raised fibers or inconsistencies, then wipe it clean with a damp cloth to remove dust.
Using the same technique as before, apply the second coat of paint in smooth, even strokes. Pay attention to edges and corners to ensure no areas are left uncovered. Allow the second coat to dry thoroughly per the paint manufacturer’s instructions. Once dried, inspect the desk to ensure the finish is flawless.
Step 6: Apply a Protective Finish
Applying a protective finish is essential to ensure the durability and longevity of your painted desk. Choose a clear topcoat, such as polyurethane or a water-based finish, depending on the type of paint used and the desired sheen. Stir the finish thoroughly before application to ensure an even consistency.
Using a clean brush or foam applicator, apply the protective finish in long, even strokes, following the grain of the wood if visible. Be cautious to avoid overloading the brush, as this can lead to drips or uneven coverage. Allow the first coat of finish to dry completely, as the manufacturer recommends. If a smoother finish is desired, lightly sand the surface with fine-grit sandpaper between coats, wiping away any dust before reapplying. Apply additional coats for optimal protection, letting each layer dry properly to achieve a smooth and professional-looking surface.
Step 7: Reassemble and Enjoy Your Desk
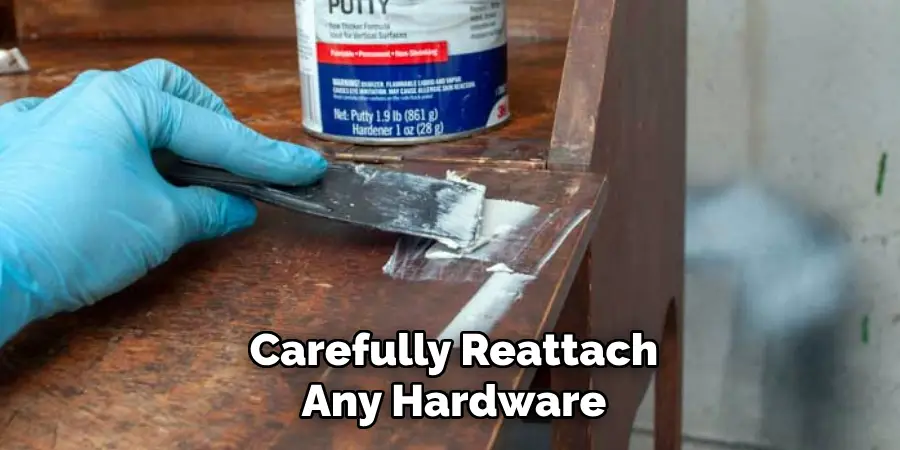
Once the protective finish has thoroughly dried and cured, it’s time to reassemble your desk and enjoy the results of your hard work. Carefully reattach any hardware, such as handles, knobs, or hinges, that were removed during the preparation process. Ensure everything is securely fastened and aligned.
Place the desk in its designated space, and admire the transformation you’ve achieved. Your freshly painted desk adds a personal touch to your workspace and enhances the room’s aesthetic appeal.
Step 8: Maintain Your Desk
To ensure your newly painted desk stays in excellent condition, it’s essential to practice regular maintenance. Clean the surface gently using a soft, damp cloth and avoid harsh chemicals that could damage the finish. Use coasters or protective mats under items like mugs, stationary holders, or electronics to prevent scratches and stains. Keep the desk away from excessive sunlight or moisture, as these can cause fading or warping over time.
Step 9: Enjoy Your Workspace
Once your desk is painted, placed, and adequately maintained, take the time to personalize your workspace further. Add decorative elements like desk organizers, plants, or pictures to make the space inspiring and uniquely yours. A well-designed workspace can boost your productivity and creativity while making your environment more enjoyable. Celebrate the effort you’ve put into transforming your desk and enjoy the benefits of a refreshed, functional area.
Step 10: Share Your Project

Now that your desk is beautifully revamped consider sharing your project with others! Take photos of the before and after to showcase the transformation. You can share your experience on social media, in home improvement forums, or with friends and family. This not only allows you to express pride in your work but may also inspire others to take on creative projects of their own. Personal connections and shared creativity can turn a simple desk makeover into a motivating story for others.
By following these steps, you can quickly transform a dull or outdated desk into a stunning and functional piece of furniture.
Conclusion
How to paint a secretary desk can be a rewarding project that revitalizes its appearance and enhances its functionality.
You can achieve a professional-looking finish by following careful preparation methods, selecting the right materials, and employing thoughtful techniques. Whether you aim for a modern, colorful style or prefer a classic, neutral tone, the transformation can breathe new life into an old piece of furniture.
Take your time, enjoy the creative process, and be proud of the unique touch you’ve added to your living or working space.