Painting an old bulletin board is a fantastic way to breathe new life into a once-neglected piece of furniture. Whether you’re looking to refresh your home office, add a touch of color to your kitchen, or create a stylish display in a classroom, rejuvenating a bulletin board can be both a fun and rewarding project.

With just a few simple materials and some creativity, you can transform an outdated bulletin board into a vibrant focal point that enhances your space while providing a functional surface for notes, reminders, and decorations.
In this guide on how to paint an old bulletin board, we’ll walk you through the steps necessary to prepare, paint, and personalize your old bulletin board, ensuring you achieve a beautiful result that complements your environment.
Why Paint an Old Bulletin Board?
Before we dive into the nitty-gritty of painting, you may be wondering why it’s worth investing time and effort into sprucing up an old bulletin board. Here are a few reasons why painting your bulletin board can be a great decision:
Cost-effective:
Instead of buying a new bulletin board, repainting an old one can save you money. This is especially true if you have a large or custom-sized board that would be costly to replace.
Personalization:
Painting an old bulletin board allows you to add your own personal touch and match it with the decor of your space. You can choose any color or design, making it unique and reflecting your style.
Sustainability:
By painting an old bulletin board, you are giving it a new lease on life instead of contributing to unnecessary waste in landfills. It’s a great way to practice sustainability and do your part for the environment.

Materials Needed
To paint an old bulletin board, here are some materials you will need:
Sandpaper or Sanding Block:
Before painting, you’ll need to sand the surface of your bulletin board to create a smooth and even base.
Primer:
Primer is necessary to ensure the paint adheres well to the bulletin board’s surface and provides a lasting finish.
Paint:
Choose any type of paint that suits your preference – acrylic, chalk, or spray paint are all great options for painting a bulletin board.
Paintbrushes or Rollers:
Depending on the size and texture of your bulletin board, you may need both brushes and rollers for an even application of paint.
Painter’s Tape:
Use painter’s tape to protect any areas of your bulletin board that you don’t want to get paint on, such as the frame or edges.
Optional Materials:
You can also use stencils, stamps, or other decorative elements to personalize your bulletin board further.
8 Step-by-step Guidelines on How to Paint an Old Bulletin Board
Step 1: Prepare the Surface
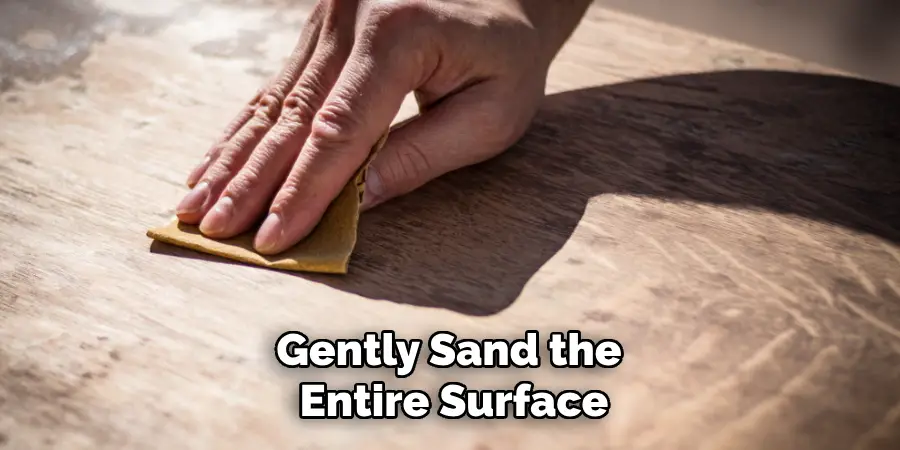
The first and most crucial step in painting your old bulletin board is to prepare the surface properly. Begin by removing any pins, papers, or decorations from the board. Once cleared, take your sandpaper or sanding block and gently sand the entire surface to eliminate any rough spots or peeling material.

This will create a smooth base for the primer and paint to adhere to effectively. After sanding, wipe the board with a damp cloth to remove dust and debris, ensuring a clean surface for painting. Allow it to dry completely before moving on to the next step. Proper preparation is key to achieving a lasting and beautiful finish.
Step 2: Apply Primer
Primer is essential for preparing the surface and ensuring the paint adheres well to your bulletin board. Using a brush or roller, apply an even coat of primer to the entire surface of the board, including the frame and edges if desired. Allow it to dry completely before continuing.
Primer also helps to cover any existing colors or patterns on your bulletin board, creating a blank canvas for your new design.
Step 3: Choose Your Paint
Now comes the fun part – choosing your paint! Acrylic and chalk paints are popular choices for painting bulletin boards as they provide a durable finish that can be easily personalized with various techniques. Spray paint is another option for a smooth and even application, but it may not work well on all types of bulletin board surfaces.
Choose a paint color that complements your space and allows any decorations or pinned items to stand out.
Step 4: Apply Paint
With your primer dry and your paint color chosen, it’s time to apply the paint to your bulletin board. Using a clean brush or roller, start at one corner and work your way across the surface, applying the paint in even, smooth strokes. Be mindful to cover all areas, including the edges and frame, if you opt to paint those as well. Depending on the type of paint you selected, you may need to apply two or more coats for full coverage.
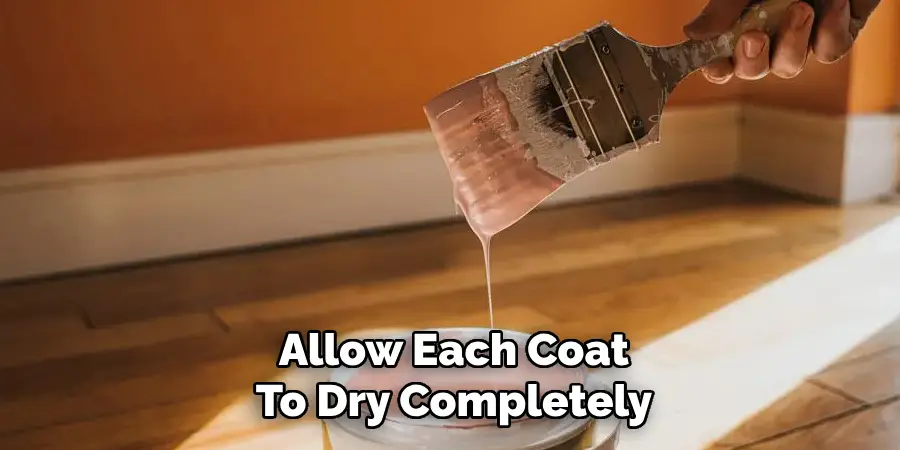
Allow each coat to dry completely before applying the next to achieve a vibrant and consistent finish. If you’re feeling creative, consider using stencils or painter’s tape to create patterns or designs as you paint, adding a unique touch to your bulletin board.

Step 5: Dry and Cure
Once you have applied your final coat of paint, it is crucial to allow the bulletin board to dry completely. Follow the drying time recommended on the paint can, which typically ranges from 1 to 4 hours depending on the type and thickness of the paint used. After the initial drying period, it’s best to let the paint cure for at least 24 hours before attaching any items to the board.
This curing time is important as it ensures that the paint has hardened fully and will withstand the wear and tear of everyday use, providing a long-lasting finish to your rejuvenated bulletin board. During this time, it’s advisable to keep the board in a well-ventilated area, avoiding damp or humid conditions that could affect the drying process.
Step 6: Reattach Decorations and Items
After allowing your bulletin board to dry and cure completely, it’s time to reattach your decorations and any items you wish to display. Start by planning the layout of your items on the board before securing them in place. This allows you to visualize the arrangement and make any adjustments as needed. Once you’re satisfied with the layout, use pushpins, clips, or another form of attachment to secure items such as photographs, notes, or artwork to the board.
Ensure that you don’t overcrowd the space; maintaining a balanced and visually appealing arrangement will enhance the overall look of your painted bulletin board. Remember to periodically update and refresh the items on display to keep your bulletin board lively and engaging!
Step 7: Seal the Paint (Optional)
If you want to provide extra protection and longevity for your painted bulletin board, consider applying a sealant or topcoat. This can help prevent scratches, chips, and fading of the paint over time. Choose a clear sealant that is suitable for the type of paint used on your bulletin board and follow the manufacturer’s instructions for application.
It’s important to note that sealing is not necessary for all types of paint, and you should test the sealant on a small area before applying it to the entire board.
Step 8: Enjoy Your Rejuvenated Bulletin Board
Congratulations! You have successfully revived an old bulletin board into a functional and visually appealing piece of decor. Not only have you saved money by repurposing rather than buying new, but you’ve also contributed to reducing unnecessary waste in landfills.

With the right tools and materials, painting an old bulletin board is a simple and cost-effective project that can be completed in just a few steps on how to paint an old bulletin board. So go ahead, gather your supplies, and give your old bulletin board new life with a fresh coat of paint! Happy crafting!
Additional Ideas for Decorating Your Bulletin Board
While painting your bulletin board is a great way to refresh its appearance, there are plenty of other creative ways to personalize and decorate it. Here are a few additional ideas to consider:
- Cover the bulletin board in fabric or patterned paper for a unique and textured surface.
- Use washi tape or ribbon to create borders, frames, or patterns on the board.
- Attach small shelves or hooks to the board for added functionality and storage space.
- Create a themed bulletin board with seasonal decorations, inspiring quotes, or motivational images.
- Use magnets instead of pushpins for a cleaner and more versatile display option.
The possibilities are endless when it comes to decorating your bulletin board, so don’t be afraid to get creative and make it truly your own!
Conclusion
In summary, transforming an old bulletin board into a personalized and stylish focal point in your space is both a rewarding and enjoyable project. By following the outlined steps on how to paint an old bulletin board—from prepping the surface and choosing the right paint to reattach decorations—anyone can breathe new life into a stale board. The creative options for decoration are limitless, allowing you to tailor it to your individual tastes and needs.
Whether for home, office, or school, a revitalized bulletin board not only serves a practical purpose but also adds a touch of personality and charm to your environment. So gather your supplies, unleash your creativity, and revel in the satisfaction of completing such a fulfilling endeavor!

