
Painting an iron table is an effective way to refresh its appearance while protecting it from rust and corrosion. Whether your iron table is kept outdoors or indoors, exposure to elements like moisture and air can lead to deterioration over time. By learning how to paint iron table, you can extend its life and maintain its aesthetic appeal.
The process of painting an iron table involves several critical steps to ensure durability and a flawless finish. It starts with thorough surface preparation to remove any rust, dirt, or existing paint, followed by applying a primer that aids in paint adhesion.
After priming, the table is painted with quality iron paint, ensuring complete coverage and an even coat. Finally, sealing the painted surface is crucial to protect it from wear and environmental factors, ensuring long-lasting results and a beautifully restored piece of furniture.
Materials Needed
To successfully paint an iron table, you must gather several essential materials.
- Wire Brush or Sandpaper: These tools are crucial for removing rust and old paint and smoothing the surface of the iron table. They help prepare the metal for better paint adhesion and finish quality.
- Degreaser or Mild Soap: Before painting, it’s vital to clean the surface thoroughly to remove any grease, dirt, or grime. This ensures a clean base for the paint to stick to, preventing peeling or flaking.
- Rags or Cloths: Use these to wipe down the table after cleaning, ensuring the surface is dry and free of debris before applying primer or paint.
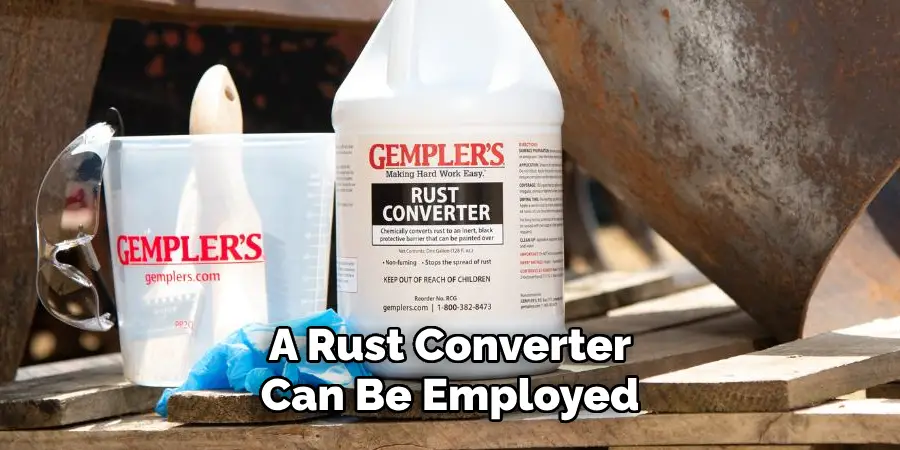
- Rust Converter (Optional): If areas with stubborn rust can’t be entirely removed, a rust converter can treat these spots, converting rust into a stable material that can be painted over.
- Rust-Inhibiting Primer: Applying a primer is necessary to prevent rust reformation and create a smooth painting surface. Choose a primer specifically designed for metal surfaces to ensure optimal performance.
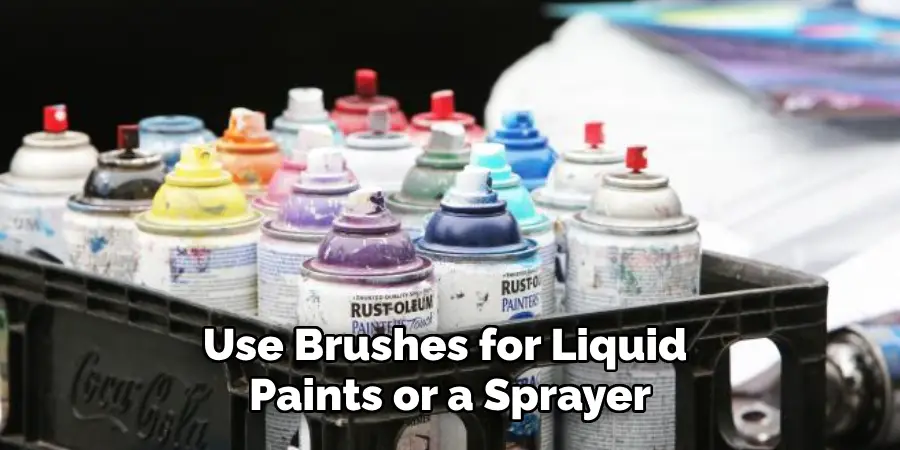
- Spray Paint or Metal-Specific Paint: Select paint that is formulated for metal surfaces. It is available either in spray cans for ease of application or liquid form for brushing.
- Paintbrush or Paint Sprayer: Depending on your paint’s form, use brushes for liquid paints or a sprayer for a smooth, even finish with spray paint.
- Drop Cloths or Plastic Sheeting: Cover the floor or surrounding spaces with drop cloths or plastic sheeting to protect your working area from paint drips.
- Protective Gloves and Mask: Safety is paramount when sanding or spraying paint, so be sure to wear gloves and a mask to protect yourself from dust and paint fumes.
- Clear Coat or Metal Sealant (Optional): Consider applying a clear coat or metal sealant for added protection. This step enhances durability and helps maintain a lasting finish on your newly painted table.
Surface Preparation
Removing Old Paint and Rust
To begin preparing your iron table for painting, removing any old paint, rust, and dirt on the surface is essential. Start by using a wire brush or sandpaper to meticulously scrape away flaking paint and rust. Focus on areas with visible deterioration, applying gentle pressure to ensure the complete removal of loose particles. For hard-to-reach places or stubborn rust patches, use a wire brush with a smaller head or more abrasive sandpaper.
This step is crucial to creating an even surface that will allow the paint to adhere properly. Once the major debris has been removed, proceed to sand any rough or uneven table areas. Work on the entire table using medium-grit sandpaper, smoothing out any imperfections to achieve a level surface. This not only helps achieve a professional finish but also prolongs the paint job’s durability, as the paint adheres best to a clean and uniform surface.
Using a Rust Converter (Optional)
In some cases, rust may be too ingrained to be entirely removed with brushing or sanding. For such areas, a rust converter can be employed. This product transforms rust into a stable, paintable surface. Apply the converter with a brush, covering only the rusted sections. Follow the product’s instructions carefully, as some might require multiple coats or specific drying times. Allow the rust converter to dry completely, ensuring the treated areas are ready for the next steps in the painting process.
Cleaning the Surface
After you have dealt with rust and old paint, the next step is thorough cleaning to remove any remaining dust, grease, or oils. Use a degreaser or mild soap mixed with water to wash down the entire surface of the table. This process is vital because even small traces of soil or oily residues can prevent the new paint from adhering properly. Once cleaned, rinse the table with clean water to remove all soap residue. Finally, dry the surface completely using a clean rag to avoid water spots and prepare the table for priming and painting. A thoroughly cleaned table provides an ideal base for the paint, contributing to a smooth and lasting finish.
How to Paint Iron Table: Applying Primer
Choosing the Right Primer
Using a rust-inhibiting primer is essential for painting iron tables, particularly if they are exposed to moisture or outdoor elements. Such primers are specially formulated to prevent the formation of rust, which can otherwise deteriorate the table over time. By creating a protective barrier between the metal surface and the environment, a rust-inhibiting primer extends the lifespan of the finish and ensures the paint adheres properly. Selecting a primer specifically designed for metal surfaces ensures optimal performance and longevity.
Applying Primer with a Brush or Spray
When applying the primer, you can use either a brush or a sprayer, depending on the specific needs of your project. For tables with intricate designs or detailed curves, using a brush can help you cover small, hard-to-reach areas with precision. A sprayer is ideal for achieving a smooth and even coat for larger or flat surfaces.
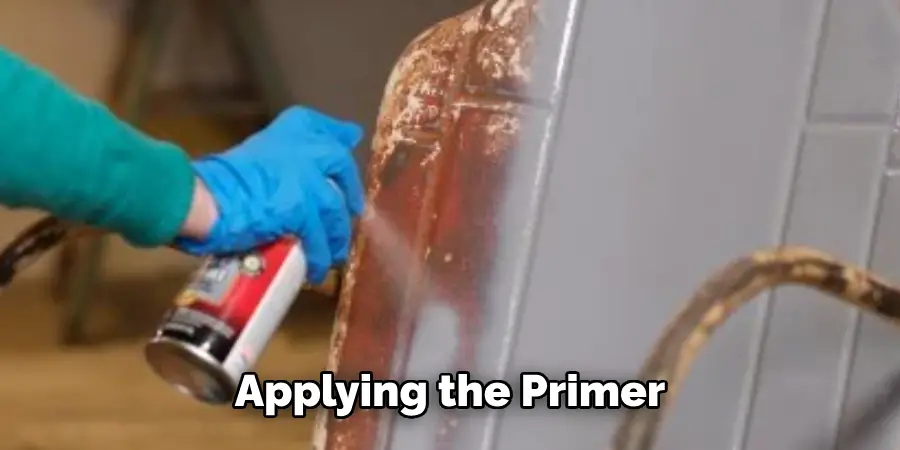
Regardless of the method, ensure that the primer thoroughly covers all areas. Applying multiple thin coats is often more effective than one thick coat, as it minimizes dripping and ensures even coverage. Follow the primer manufacturer’s instructions regarding drying times between coats, typically allowing 1-2 hours for each coat to dry fully.
Allowing the Primer to Dry
After applying the final coat of primer, allowing it to dry and cure for at least 24 hours before moving on to painting is crucial. Ensuring the primer is completely dry provides a stable and even base, which is vital for the paint to adhere correctly and last longer.
If the primer is not fully cured, it can lead to peeling or flaking of the paint. A well-dried primer coat sets the groundwork for a durable, long-lasting finish that can withstand exposure to various environmental factors, preserving the beauty and functionality of the iron table. Proper planning and patience during this stage are key to achieving professional results.
How to Paint Iron Table: Painting the Iron Table
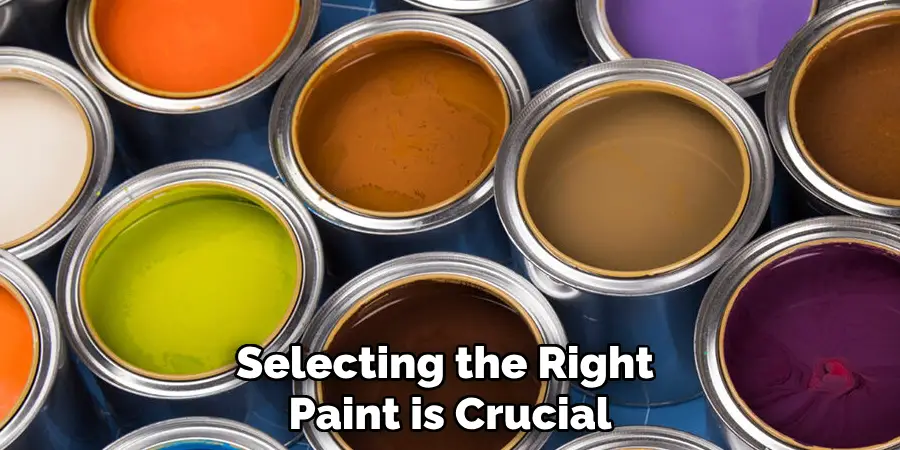
Choosing the Right Paint
Selecting the right paint is crucial for achieving a beautiful, durable finish on iron tables. It’s important to opt for paint specifically designed for metal surfaces, such as enamel or acrylic-based paints, that offer excellent durability and rust resistance.
These types of paint provide a robust finish that can withstand environmental elements and prevent rust from forming. When deciding between spray paint and liquid paint, consider the application style. Spray paint is ideal for a smooth, even finish and is typically easier to apply to intricate designs, while liquid paint is more suitable when using a brush or roller for larger areas.
Using Spray Paint for a Smooth Finish
To apply spray paint effectively, shake the can vigorously for at least a minute to ensure the paint is properly mixed. Hold the can about 8-12 inches away from the table, and use a sweeping motion to apply the paint in thin, even coats.
This helps to avoid drips or runs and ensures uniform coverage. Begin with the top surfaces and gradually work your way down to the legs and underside of the table. Make sure to cover intricate designs and hard-to-reach areas thoroughly. Allow each coat to dry for 15-30 minutes before applying the next one. For a professional finish, multiple thin coats are preferred over a single thick coat.
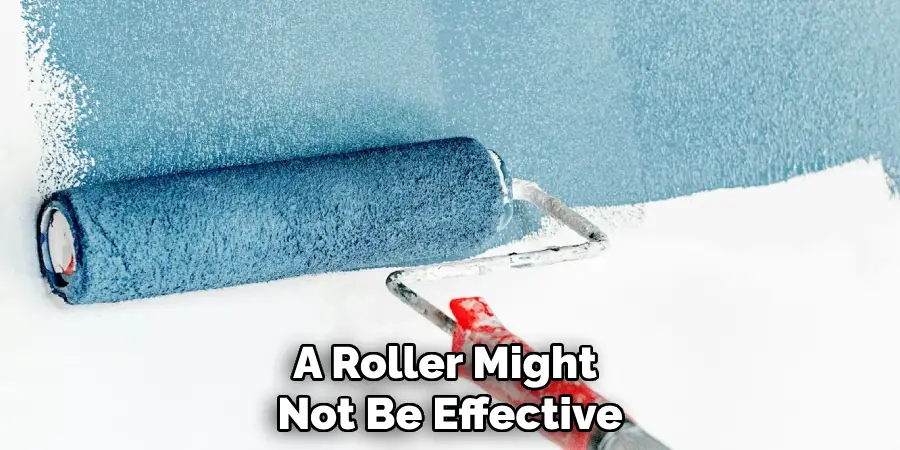
Using a Brush or Roller (Alternative)
If you choose to use a brush or foam roller application, select a high-quality metal paint and apply it with long, even strokes to minimize brush marks and ensure consistent coverage. Use a small, angled brush to reach detailed areas or corners of the table where a roller might not be effective. Focus on painting toward the table’s natural lines to achieve a seamless look. Do not overload the brush or roller with paint to avoid streaks or uneven texture.
Applying Multiple Coats
Applying two or three thin coats of paint rather than one thick coat is key to achieving both durability and an even appearance. Ensure each coat is allowed to dry completely before applying the next, a process that can take anywhere from 2-4 hours depending on the type of paint used and environmental conditions. This method enhances the paint job’s longevity and gives a refined, long-lasting finish, making your iron table a resilient piece for years to enjoy.
Sealing and Protecting the Paint
Using a Clear Coat for Protection
Once the final coat of paint has dried, applying a clear topcoat or sealant specifically designed for metal is essential to protect your iron table. A clear coat is an extra barrier against environmental factors such as moisture, UV rays, and temperature fluctuations, making it especially beneficial for outdoor furniture. This protective layer enhances the durability of the paint, maintaining its vibrancy and preventing chipping or peeling over time.
Spraying or Brushing the Clear Coat
Apply the clear coat in thin, even layers, similar to the painting process. Depending on your preference, you can use either a sprayer or a brush. If using a sprayer, maintain a distance of 8-12 inches from the surface and use smooth, sweeping motions to ensure even coverage. For those opting for a brush, use long strokes following the table’s natural lines. Allow the clear coat to dry thoroughly between applications, and ensure a complete curing period of typically 24 hours before using the table.
Inspecting for Imperfections
After sealing, carefully inspect the table for any missed spots, drips, or uneven areas. Address any imperfections by lightly sanding affected areas with fine-grit sandpaper and reapplying the clear coat where necessary. This step ensures that your iron table is aesthetically pleasing and well-protected, providing a long-lasting, resilient finish that withstands the test of time and varying weather conditions.
Conclusion
In conclusion, learning how to paint iron table involves a series of essential steps that ensure a lasting and professional-quality finish. Begin with thorough preparation, including surface cleaning and rust removal, and apply a suitable primer to create an optimal base. Choosing the appropriate paint—preferably enamel or acrylic formulated for metal—and deciding between spray or liquid application can impact the final outcome. Apply multiple thin coats for the best finish, allowing sufficient drying time between each layer.
Lastly, seal the paint with a clear protective coat to guard against environmental elements and enhance durability. By adhering to these comprehensive steps, anyone can rejuvenate an old or rusty iron table, achieving a visually appealing and resilient result. Embrace this easy DIY project to breathe new life into your furniture, whether it will be proudly displayed indoors or withstand the outdoor elements.