Painting plywood cabinets offers an excellent opportunity to transform the look and feel of your living space while maintaining budget-friendly options. Whether you’re renovating your kitchen, bathroom, or any other area with plywood cabinets, learning how to paint them effectively can breathe new life into your surroundings.
This article serves as your comprehensive guide to navigating the process of painting plywood cabinets, providing step-by-step instructions and expert tips on how to paint plywood cabinets.
From selecting the right paint and preparing the surfaces to achieving a smooth and professional finish, you’ll gain insights into every aspect of the painting process. By mastering the art of painting plywood cabinets, you’ll not only revitalize your interior but also infuse your space with a touch of personal style that reflects your unique taste and preferences.
The Benefits of Painting Plywood Cabinets
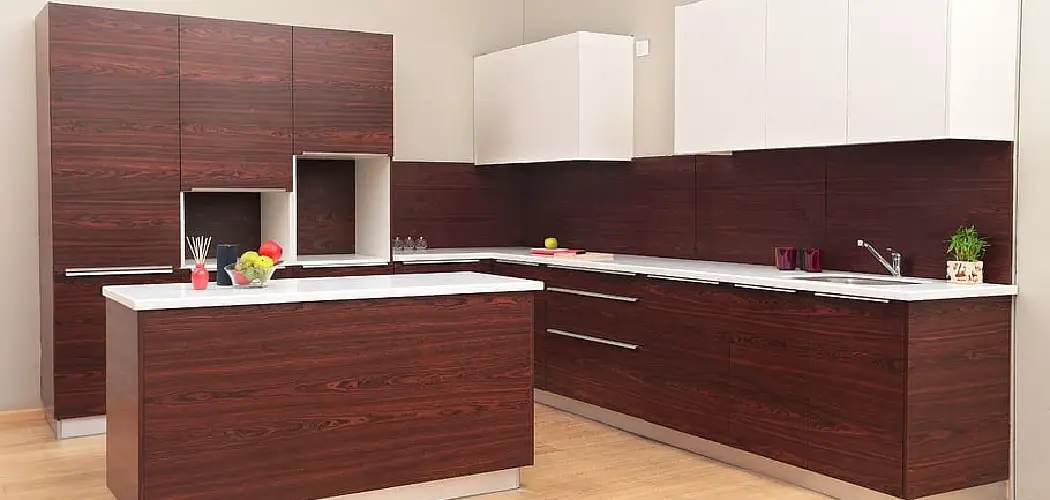
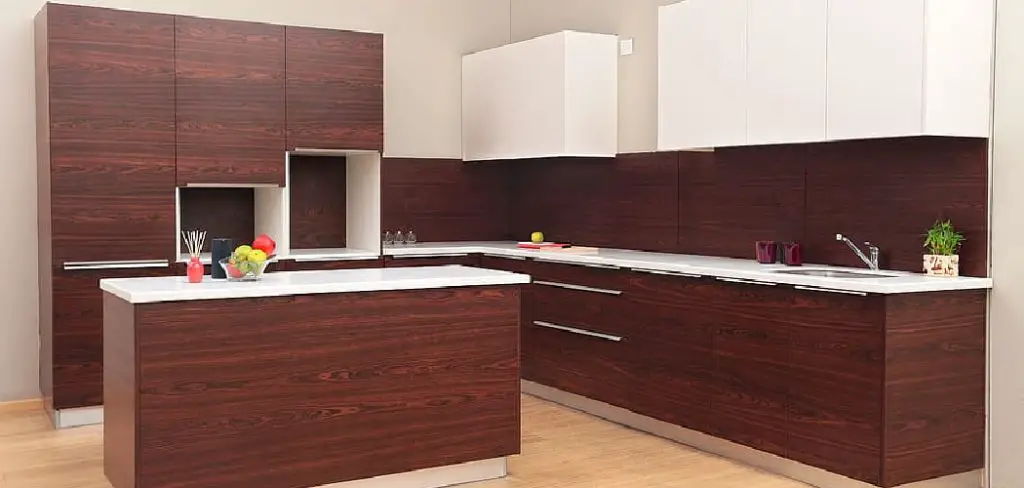
If you have plywood cabinets that need a refresh, painting them is an easy and inexpensive way to update the look of your kitchen or bathroom. Painting can significantly modernize any room while also adding durability and protection to the plywood surface. Plus, with today’s paints available in a wide range of colors and finishes, it is easy to find just the right look for your cabinets.
Before you get started, make sure to gather all of the necessary supplies. You will need sandpaper, primer, a good quality paintbrush, and paint that is suitable for use on wood surfaces. It is important to choose a high-quality paint that will stand up to regular wear and tear. Additionally, don’t forget to purchase any necessary paint accessories, such as drop cloths and stirring sticks.
Once you have gathered the supplies, begin by sanding down the cabinets with medium-grit sandpaper. This will remove any dirt or imperfections on the surface of the plywood and create a better base for painting. Once you have completed this step, make sure to wipe away any dust or debris.
Discussing Paint Types Suitable for Plywood Cabinets

When it comes to painting plywood cabinets, oil-based paints are the most suitable option. These types of paint provide a long-lasting finish that can withstand wear and tear, as well as frequent cleaning.
Latex or water-based paints are also suitable for use on plywood surfaces, but may need more frequent reapplication in order to keep up with wear and tear. It’s important to choose the right type of paint, as some paints contain chemicals that can damage plywood cabinets over time. Always read the instructions on the paint tin before use.
When it comes to choosing a colour for your plywood cabinet, go for neutral colours such as white or grey which will provide a timeless look. Alternatively, you can be adventurous and go for a bright colour to add a statement to your room. You may also want to consider using a primer before painting, as this will provide an even surface for the paint to adhere to and prevent any dripping or splotches.
Finally, when it comes time to paint your plywood cabinets, be sure to use the correct tools. If you’re using a brush, choose one with synthetic bristles and make sure to clean it after each use. You can also opt for a roller for a smoother finish or an airless sprayer for larger surfaces.
Be sure to take your time when painting and apply several thin coats of paint rather than one thick coat, as this will give better results in the end. Make sure to allow enough time for each coat to dry completely before applying the next.
10 Steps How to Paint Plywood Cabinets
Step 1: Gather Your Materials and Tools
Before you embark on your cabinet painting project, it’s essential to gather all the necessary materials and tools. Having everything on hand will ensure a smooth and efficient process.
You’ll need paint (preferably water-based acrylic paint designed for cabinets), primer, high-quality brushes and rollers, painter’s tape, drop cloths to protect your surroundings, sandpaper with varying grits (usually 120 and 220), cleaning supplies such as mild soap and warm water, a bucket, rags or paper towels, and a screwdriver for removing cabinet hardware.
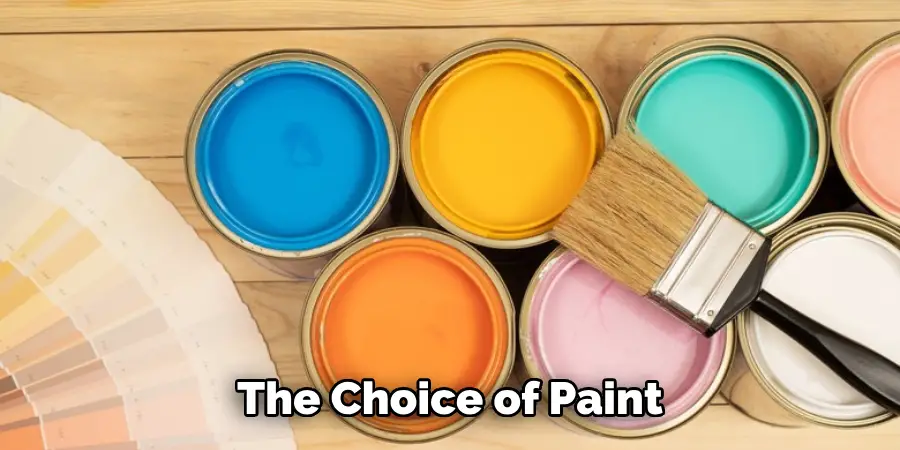
Step 2: Choose the Right Paint
The choice of paint is pivotal in achieving a professional and enduring finish. Look for paint specifically formulated for cabinets and trim, as it offers excellent durability, easy cleaning, and a smooth, even coverage. Opt for water-based acrylic paint, which dries faster and emits fewer fumes than oil-based alternatives.
When selecting a color, consider the existing color palette of your space and the ambiance you wish to create. Whether you’re aiming for a classic white or experimenting with bolder hues, the right paint choice will significantly influence the final outcome.
Step 3: Remove Cabinet Hardware
Prepare your cabinets for painting by removing all cabinet hardware such as knobs, handles, and hinges. This step allows for thorough access to all surfaces, ensuring an even application of paint. Carefully label each piece of hardware to ensure correct reattachment later. Removing the hardware also helps prevent accidental paint splatter or drips on these components.
Step 4: Clean and Prepare Surfaces
Proper surface preparation is key to achieving a flawless finish. Begin by cleaning the cabinet surfaces to remove any dirt, grease, or residues that can interfere with paint adhesion. Mix mild soap with warm water in a bucket and use a clean cloth to wipe down the surfaces.
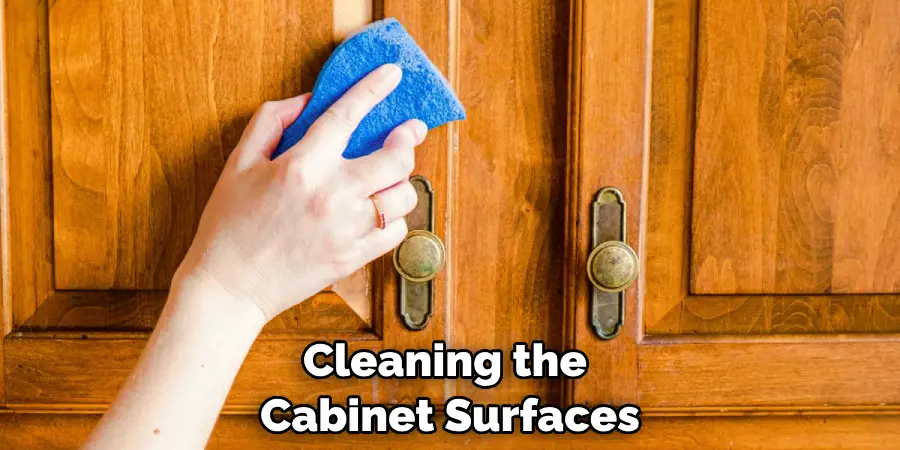
Once cleaned, rinse with clean water and dry thoroughly. To create a surface that promotes better paint adherence, lightly sand the plywood with sandpaper of around 120 grit. This will create a slightly rough texture that helps the primer and paint bond effectively.
Step 5: Apply Primer
Priming is a critical step that prepares the surfaces for paint and enhances its durability. Choose a high-quality primer that is compatible with both plywood and the chosen paint.
Apply the primer using a high-quality brush for corners and edges and a roller for larger areas. The primer creates a uniform base, hides imperfections, and ensures better paint adhesion. Allow the primer to dry completely before moving on to the next step.
Step 6: Paint the Cabinets
With the surfaces primed and ready, it’s time to paint the cabinets. Start by painting the cabinet frames, followed by the doors. Begin with the edges and corners, then move to larger flat areas. Use a high-quality brush to achieve precision on corners and intricate details, and a roller for larger surfaces to achieve a smooth finish.
Apply thin coats of paint to avoid drips and uneven texture. Allow each coat to dry completely before applying the next one. This step requires patience, as multiple thin coats will provide a more professional result than one thick coat.
Step 7: Consider Cabinet Interiors
While focusing on the exterior surfaces, don’t overlook the cabinet interiors. If desired, consider painting the inside of the cabinets as well to create a cohesive look. Just like the exterior, clean and prepare the surfaces, apply primer if necessary, and then paint with the chosen color.
This step can be particularly effective if your cabinets have glass panels or open shelving, as it adds a touch of continuity to the design.
Step 8: Add Additional Coats
Achieving a rich and even color may require multiple coats of paint. Some colors, especially darker ones, may need additional coats to achieve full coverage. Allow each coat to dry thoroughly before applying the next one.
Patience during this step ensures that the color is consistent and the finish is professional. Remember, thin coats are preferable to thick ones, as they dry faster and are less likely to result in visible brush marks or drips.
Step 9: Reattach Cabinet Hardware
After the paint has dried completely and you’re satisfied with the color and coverage, it’s time to reattach the cabinet hardware. Carefully align and secure the knobs, handles, and hinges back in their original positions.
Proper placement enhances the overall look of the cabinets and ensures that they function as intended. Take your time during this step to ensure that the hardware is securely fastened.
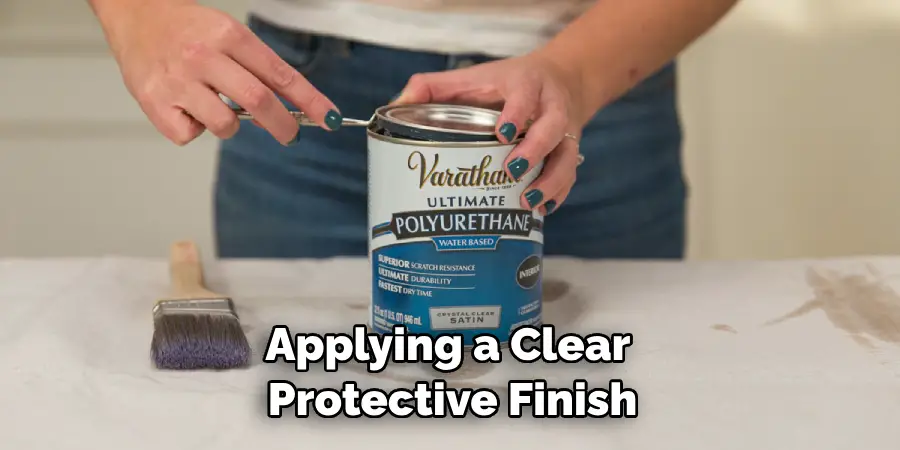
Step 10: Apply a Protective Finish (Optional)
To extend the longevity of your painted cabinets and enhance their durability, consider applying a clear protective finish. This step is particularly useful in high-traffic areas such as kitchens.
Opt for a clear water-based polyurethane sealant designed for cabinets. Follow the manufacturer’s instructions for application, usually involving light sanding between coats for optimal adhesion. The protective finish adds an extra layer of resilience against scratches, stains, and general wear and tear.
Conclusion
Painting your plywood cabinets is a great way to upgrade the look of your home. With just a few hours of effort, you can go from drab to fab in no time. It’s important to properly prepare the surface, decide if you want to prime or not, and select the right paint sheen for you.
With careful attention to detail and patience, total beginners can transform their plywood cabinets into stunning showpieces. Give it a try today and turn those dull-looking cabinets into work of art! Now that you have all the guidance on how to paint plywood cabinets correctly, why not grab your painting supplies and get started? Let us know how it goes!