
Painting spindle chairs can be a rewarding project that revitalizes your furniture and enhances your space’s aesthetic. These chairs, with their intricate curves and detailed spindles, require a methodical approach to ensure a smooth, even finish.

Whether you are a seasoned DIY enthusiast or a beginner, this guide on how to paint spindle chairs will walk you through the tools, techniques, and steps needed to transform your spindle chairs with a fresh coat of paint.
Why Paint Spindle Chairs?
There are several reasons why you may want to paint your spindle chairs. Some common motivations include:
- Updating the look of old or worn-out chairs
- Matching the chair with new decor or color scheme in a room
- Covering up stains, scratches, or imperfections on the chair’s surface
- Restoring an antique spindle chair to its former glory
- Adding a personal touch to plain or generic chairs
Regardless of your reason for painting your spindle chairs, the process remains the same.
Tools and Materials Needed
Before starting your project, make sure you have all the necessary tools and materials on hand. This will save you time and frustration during the painting process. Here’s a list of what you’ll need:
Spindle Chair(S):
Of course, you will need the chairs you plan to paint! Make sure they are clean and free of any debris or loose paint before starting.
Sandpaper:
Sandpaper is essential for preparing the surface of your chair before painting. Choose a medium-grit sandpaper (around 120-150 grit) to help remove any rough spots, old paint, or imperfections on the chair’s surface.
Primer:
Using a primer is important for creating a smooth and durable base to which your paint can adhere. Opt for a high-quality wood primer specifically designed for furniture.
Paint:
Choose a high-quality oil-based or acrylic paint in your desired color. Oil-based paints tend to be more durable and provide a smoother finish, but they also have a strong odor and require longer drying times. Acrylic paints are water-based, dry faster, and come in a wide range of colors.

Paintbrushes:
Invest in good-quality brushes for a professional-looking finish. A 2-inch angled brush is ideal for painting spindles and hard-to-reach areas, while a larger brush will work best for flat surfaces.
Foam Roller (Optional):
If you’re working with larger chairs or want to speed up the painting process, using a foam roller can help cover larger areas quickly and evenly.
Drop Cloth:
Protect your floors or workspace by laying down a drop cloth to catch any spills or drips.
Painter’s Tape:
If you want to paint only specific parts of your chair, use painter’s tape to cover areas you don’t want to get painted.
Tack Cloth:
Tack cloths are sticky cloths used to remove any dust or debris from the surface before painting.
8 Step-by-step Guidelines on How to Paint Spindle Chairs
Step 1: Prepare the Chairs
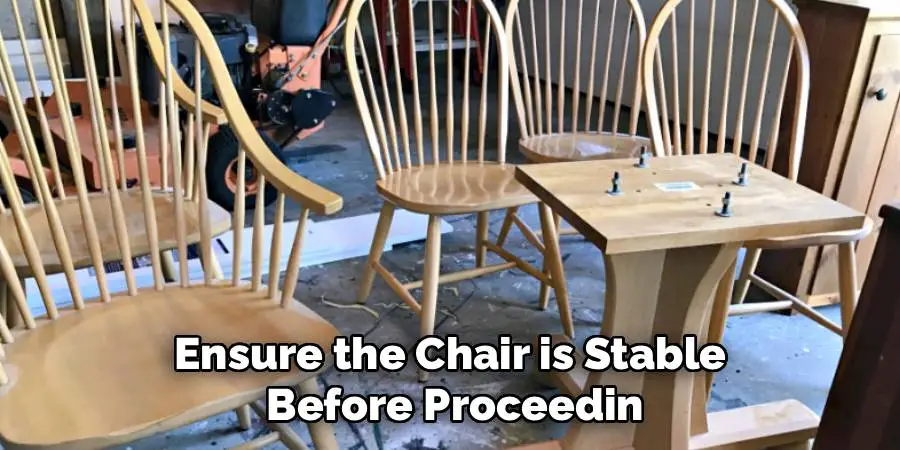
The first step in painting spindle chairs is to prepare them properly. Start by inspecting each chair for any loose joints, screws, or damages that need to be repaired. Tighten any loose screws and ensure the chair is stable before proceeding. Next, clean the chairs thoroughly using a mild soap and water solution to remove dirt, dust, and grease. For tougher stains, use a degreaser or a vinegar solution. Allow the chairs to fully dry before moving on to the next step.
Once clean, use medium-grit sandpaper (120-150 grit) to sand the entire surface of the chair, paying close attention to the curved spindles. Sanding will help remove any old paint or finishes and create a slightly rough texture so the primer and paint can adhere better. After sanding, wipe the chair down with a tack cloth to remove any remaining dust or debris. Proper preparation is crucial for achieving a smooth and long-lasting finish.
Step 2: Apply Primer
Priming is an essential step in the painting process, especially for wooden furniture. It will help the paint adhere better and prevent any stains or imperfections from showing through. Using a high-quality wood primer, apply a thin coat to the surface of each chair using a paintbrush. Make sure to cover all the spindles and hard-to-reach areas thoroughly. Allow the primer to dry completely before moving on to the next step.
It’s worth noting that some paints come with primer already mixed in, so you may be able to skip this step. However, it’s always recommended to use a separate primer for the best results.
Step 3: Choose Your Paint Color
Selecting the right paint color is an important part of the process, as it sets the tone for the overall look and feel of your chairs. Consider the style of the room where the chairs will be placed and choose a color that complements the existing decor. Neutral colors like white, gray, or beige are timeless and versatile, while bold hues like navy, teal, or mustard yellow can make a striking statement. If you’re restoring antique chairs, you might want to choose muted, traditional tones to maintain their vintage charm.
Before committing to a color, test a small sample on an inconspicuous area of the chair to ensure you’re happy with the shade and finish. Keep in mind that paint can look different under various lighting conditions, so check your sample in both natural and artificial light. Once you’ve selected your perfect color, you’re ready to move on to the painting process.

Step 4: Apply the First Coat of Paint
Using a high-quality brush, start painting your chairs with smooth, even strokes. Work from top to bottom, starting with the spindles and then moving on to the seat and backrest. For larger areas, you may want to use a foam roller for quicker coverage. Make sure not to overload your brush or roller with paint as it can lead to drips or an uneven finish.
After applying the first coat of paint, let it dry completely before adding a second coat. This will usually take around 2-3 hours for water-based paints and 8-12 hours for oil-based paints. If you’re using multiple colors, make sure to clean your brush or roller before moving on to the next color.
Step 5: Sand and Smooth
Once the first coat is completely dry, lightly sand the entire surface of each chair using fine-grit (220 grit) sandpaper. This step will help smooth out any brush marks or imperfections and create a perfect base for your final coat of paint. After sanding, wipe the chairs down with a tack cloth again to remove any dust.
It’s worth noting that if you’re happy with the smoothness and coverage of your first coat, you can skip sanding and move directly to applying the second coat of paint. However, sanding will give you a flawless finish.
Step 6: Apply the Final Coat of Paint
With your chairs sanded and cleaned, it’s time to add your final coat of paint. Repeat the same process as before, applying smooth, even strokes from top to bottom. Make sure to cover all areas completely and allow the paint to dry fully before moving on.
But keep in mind some paint colors may require more than two coats for full coverage. Darker colors or red tones, for example, may need up to three coats for an even finish.
Step 7: Optional Finishing Touches
If you want to add a distressed look or create a shabby chic finish, now is the time to do so. You can use sandpaper to lightly distress the edges and corners of your chairs or apply a dark wax for an antique effect.
Alternatively, if you prefer a glossy or satin finish, you can seal your chairs with a clear polyurethane topcoat once the final coat of paint is completely dry. This will protect your chairs from scratches and give them a smooth, shiny finish.

Step 8: Reassemble and Enjoy
After allowing the final coat of paint to dry fully, it’s time to reattach any removed parts like chair seats and cushions. Use a screwdriver or drill to tighten any screws if needed. Once everything is put back together, carefully flip your chairs over and admire your newly painted spindle chairs!
Remember to wait at least 24 hours before using your chairs to allow the paint to cure completely. This will ensure they are durable and long-lasting.
Following these steps on how to paint spindle chairs and taking your time with each coat of paint will result in beautiful, professionally painted spindle chairs that will add a touch of charm to any room. Whether you’re restoring old furniture or giving new life to thrifted finds, the process may take some time and effort, but the end result is well worth it. So gather your materials and get ready to transform your chairs into statement pieces that will make any room feel cozier and more welcoming. Happy painting!
Tips
- Always use high-quality materials for the best results. This includes paint, primer, brushes, and sandpaper.
- Make sure to work in a well-ventilated area to avoid inhaling fumes.
- Be patient and allow each coat of paint to dry completely before adding another one or handling the chairs.
- Don’t be afraid to experiment with different colors and finishes to achieve your desired look.
- Proper preparation is key for achieving a smooth and long-lasting finish.
- Sanding and priming are essential steps that should not be skipped.
- Choosing the right color can make a big impact on the overall look of the chairs.
- Applying multiple thin coats of paint will result in a more even and professional finish.
- Have fun and get creative with distressing or adding a glossy topcoat for a unique look.
- Remember to always follow the manufacturer’s instructions on your chosen paint and materials.
- If you’re unsure about which type of primer or paint to use, consult a professional at your local hardware store.
- Don’t be afraid to ask for help or advice from friends or family who have experience with painting furniture.
- Take breaks in between coats of paint to avoid fatigue and ensure a steady hand.
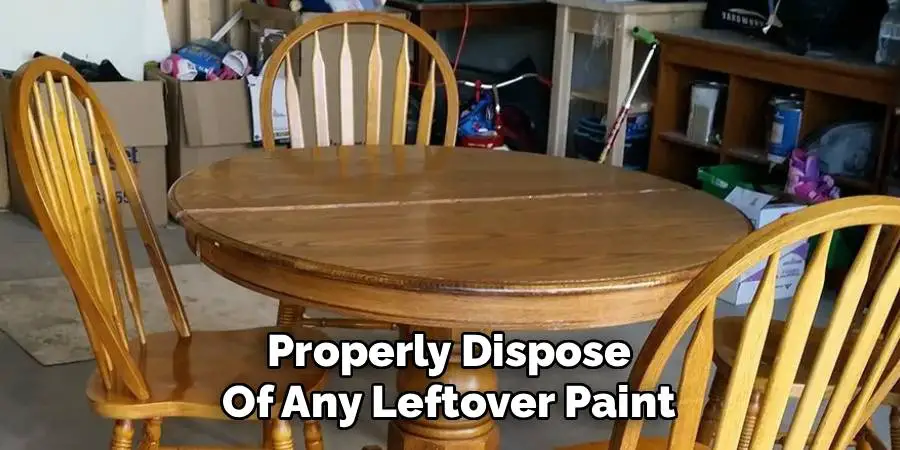
- Properly dispose of any leftover paint and materials according to local regulations.
- Enjoy your beautifully painted spindle chairs and be proud of the hard work you put into restoring them!
Conclusion
Painting spindle chairs can be a fun and rewarding DIY project that can transform the look of your furniture and room. With proper preparation, the right materials, and attention to detail, you can achieve a professional finish that will last for years to come. Whether you’re a beginner or an experienced painter, follow these steps and tips on how to paint spindle chairs for a successful painting process.
So go ahead and add some color and personality to your home with beautifully painted spindle chairs! So go ahead and pick out your favorite paint color, gather your supplies, and get ready to transform your furniture into statement pieces that will make any room feel more inviting. Happy painting!