
Are you thinking of installing security cameras near lights but don’t know how to go about it? Worry not, as this guide will provide you with all the information you need on how to place security cameras near lights.
When it comes to enhancing the security of your home or business, the strategic placement of security cameras plays a pivotal role. Positioning these cameras near lighting can significantly improve the quality of video footage, especially during nighttime hours.
This guide is designed to provide you with essential tips and considerations for effectively placing security cameras near lights. By ensuring that your cameras are positioned optimally, you can maximize visibility, deter potential intruders, and ultimately bolster the safety of your property.
Whether you’re a security novice or looking to refine your existing setup, understanding the synergy between lighting and camera placement will empower you to create a more secure environment.
Why Place Security Cameras Near Lights?
Before we dive into the steps of placing security cameras near lights, let’s understand why it’s a good idea in the first place. Here are a few reasons why positioning your cameras near lights is beneficial:
- Improved visibility: By placing security cameras near lights, the camera’s field of view will be better illuminated, providing clearer and more detailed footage.
- Deterrent effect: Intruders are less likely to target a well-lit area as it makes them more visible and increases their chances of getting caught.
- Reduced blind spots: By placing cameras near lights, you can minimize any dark or shadowy areas in your property that may serve as blind spots for potential intruders.
- Easier identification: With better lighting, it becomes easier to identify individuals captured on camera footage, making it more likely for them to be apprehended if necessary.
These are just a few of the many benefits of placing security cameras near lights. Now, let’s dive into some practical tips for effectively positioning your cameras.
What Will You Need?
Before you begin placing security cameras near lights, it’s essential to gather the necessary materials. Here are some things you’ll need:
- Security cameras
- Outdoor lighting fixtures (e.g., floodlights or motion-activated lights)
- Power source for your cameras (e.g., electrical outlet or battery pack)
- Ladder or other equipment for reaching high places
- Mounting hardware (e.g., screws, brackets, etc.)
- Cable clips or ties for tidy cable management
Once you have everything you need, it’s time to start the process of placing your security cameras near lights.
10 Easy Steps on How to Place Security Cameras Near Lights
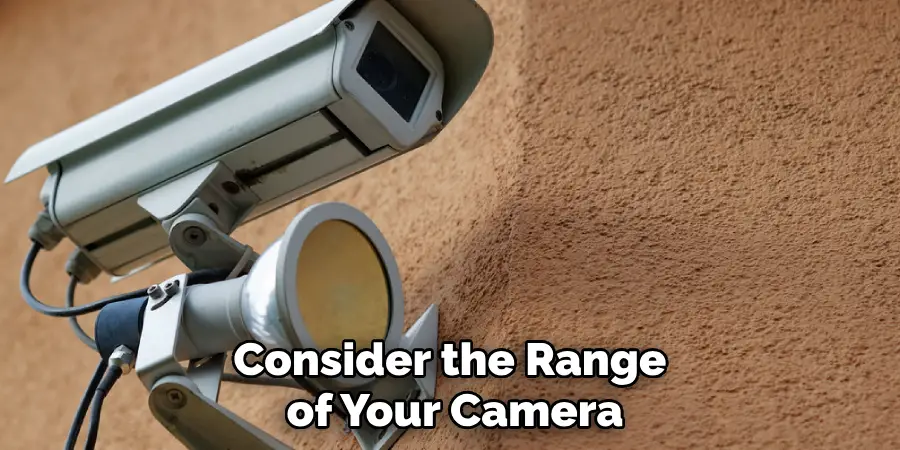
Step 1. Identify Strategic Locations:
First and foremost, walk around your property to identify strategic locations for camera installation. Pay special attention to entrances, exits, and other critical areas that would benefit from enhanced visibility. Consider the range of your camera’s field of view and ensure it aligns with a light source.
Step 2. Evaluate Lighting Conditions:
Before setting up your cameras, evaluate the lighting conditions during different times of the day. This will help you understand how light affects the visibility in the camera’s field of view. Note that too much direct light can cause glare and decrease the quality of the footage.
Therefore, it’s essential to adjust the angle of both the camera and the lighting fixtures to avoid direct reflections and ensure optimal video quality, both during the day and at night.
Step 3. Choose the Right Type of Camera:
Selecting the appropriate security camera is crucial when installing near lighting sources. Consider cameras with night vision capabilities and those that can handle the dynamic range of bright and dark areas seamlessly.
Cameras equipped with Wide Dynamic Range (WDR) technology are particularly effective in these scenarios, as they can adjust to varying light conditions automatically, ensuring clear footage regardless of the lighting situation.
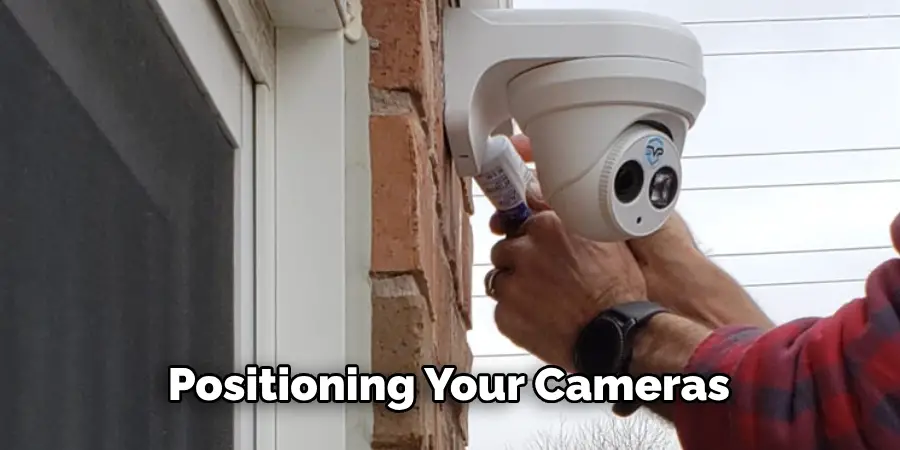
Step 4. Mount Your Cameras Properly:
When you’re ready to mount your cameras, make sure they are placed at a height that provides a clear view while being out of easy reach to deter tampering.
Align the cameras in a way that the light sources enhance the visibility of the camera’s field of view without causing glare or overexposure in the video footage. Utilize mounting hardware securely, and angle the camera slightly downwards to maximize coverage and minimize direct exposure to light sources.
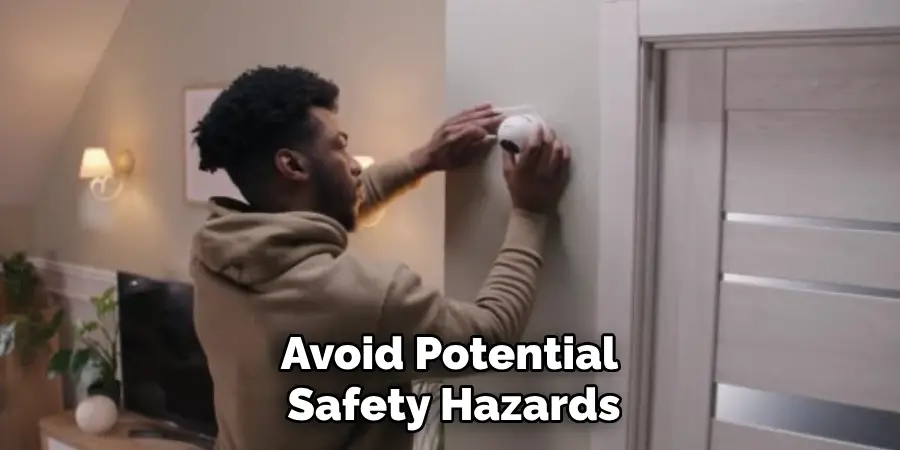
Step 5. Connect to a Power Source:
After mounting your cameras, it’s important to connect them to a reliable power source. If you’re using wired cameras, plan the route of the cables carefully to avoid potential safety hazards and ensure a neat installation.
For wireless cameras, check the battery life and consider using solar panels or nearby outdoor outlets to keep the cameras powered consistently. Ensuring a stable power connection is crucial for continuous monitoring and recording, especially in areas that are critical to your security setup.
Step 6. Adjust the Field of View and Focus:
Once your cameras are powered and positioned near lights, it’s essential to adjust their field of view and focus to cover the intended area effectively. Test the cameras at different times of the day to ensure that the field of view encompasses all areas of interest with minimal obstructions. Fine-tune the focus of each camera to guarantee sharp, clear images.
If your camera has a zoom feature, experiment with different zoom levels to find the optimal balance between coverage area and detail level, paying close attention to potential entry points and other sensitive areas. This step is critical in maximizing the effectiveness of your surveillance system and ensuring that you capture usable footage.
Step 7. Integrate Lighting Controls:
Integrating your lighting system with your security cameras can significantly enhance the effectiveness of your surveillance setup. If possible, connect your cameras and lights to a smart home system or a dedicated security platform that allows for automated control. T
his setup enables your lights to turn on automatically when motion is detected or when your cameras start recording, providing better visibility and potentially deterring intruders. Additionally, look into motion-activated lights that can serve as an efficient way to manage energy consumption while ensuring that your property is well-lit during crucial moments.
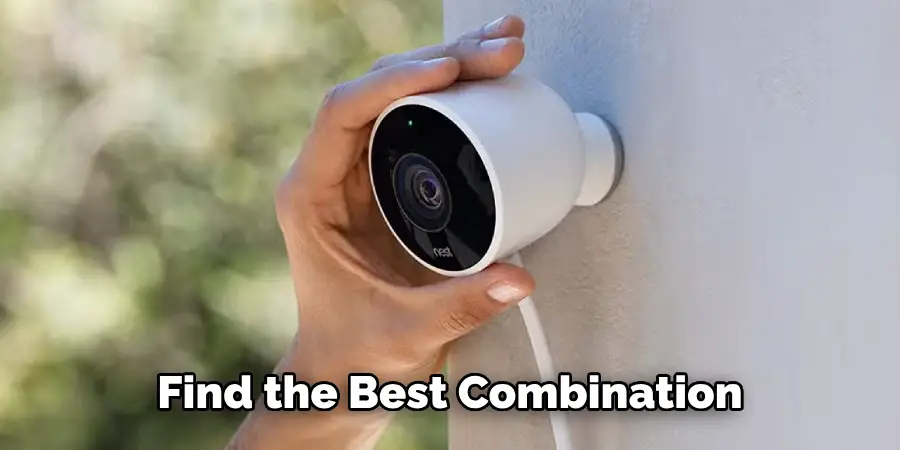
Experiment with different configurations to find the best combination of lighting and camera activation that suits your security needs.
Step 8. Regularly Maintain Your Cameras and Lighting:
Maintaining the condition of your security cameras and lighting is essential for ensuring long-term functionality and reliability. Regular checks should be carried out to clean lenses and remove any dirt or debris that might obstruct the view or diminish the quality of the footage. Likewise, inspect light bulbs and replace them as needed to maintain optimal lighting conditions.
It’s also advisable to test the alignment and angle of both cameras and lights periodically, as weather and environmental conditions can cause shifts or misalignments. Keep an eye on the power sources as well, ensuring that all connections remain secure and functional. Proper maintenance not only extends the lifespan of your equipment but also ensures that your surveillance system remains effective in providing safety and security for your property.
Step 9. Monitor and Adjust as Necessary:
After your security system is fully set up, it’s important to regularly monitor the footage and adjust settings as necessary. Keep an eye on the quality of the video during different times of the day and under various weather conditions to ensure consistency.
Adjust the sensitivity of motion detectors, the direction of the cameras, and the brightness of the lights as needed to optimize the performance of your surveillance system. This ongoing process of monitoring and tweaking will help you maintain an effective level of security around your property, ensuring that your cameras and lights work harmoniously to provide clear, useful footage.
Step 10. Review and Update Your Security Setup Regularly:
It’s critical to not only install and adjust your security system but also to review and update it on a regular basis. Technological advancements can offer new opportunities to enhance your security setup, whether through software updates, new camera models, or improved lighting solutions.

Annually reviewing your system allows you to assess its effectiveness, identify potential gaps in your coverage, and integrate new features that could improve surveillance and deterrence.
Additionally, consider the changing environment around your property, such as new construction or growing foliage, which may necessitate adjustments to your camera and lighting placement. Keeping your system up-to-date ensures that you are always equipped with the best tools to protect your property and loved ones.
By following these ten steps, you can effectively set up a security camera and lighting system to protect your property.
5 Additional Tips and Tricks
- Avoid Direct Light Exposure: Position cameras so that they are not facing directly into any light sources. This prevents lens flare and ensures the camera’s vision is not obscured or blinded by bright lights.
- Utilize Shielding: Where direct exposure to lights cannot be avoided, consider using or installing shields around the camera lens. This helps to minimize glare and improve the clarity of the footage captured.
- Leverage Infrared (IR) Cameras for Low Light: For areas with poor lighting, opt for security cameras equipped with IR capability. These cameras can capture clear footage in low-light conditions without being affected by nearby artificial lights.
- Adjust Camera Angles for Optimal Coverage: Experiment with different angles to find the best position where the camera can benefit from nearby lighting without interference. Sometimes, a slight adjustment in the camera’s angle can significantly improve the video quality.
- Consider the Color and Intensity of the Light: Be mindful of the color temperature and intensity of surrounding lights. Lights with very high intensity or those emitting a harsh color spectrum can distort the colors captured by the camera and can lead to poor video quality. Aim for ambient lighting that closely mimics natural light for the best results.
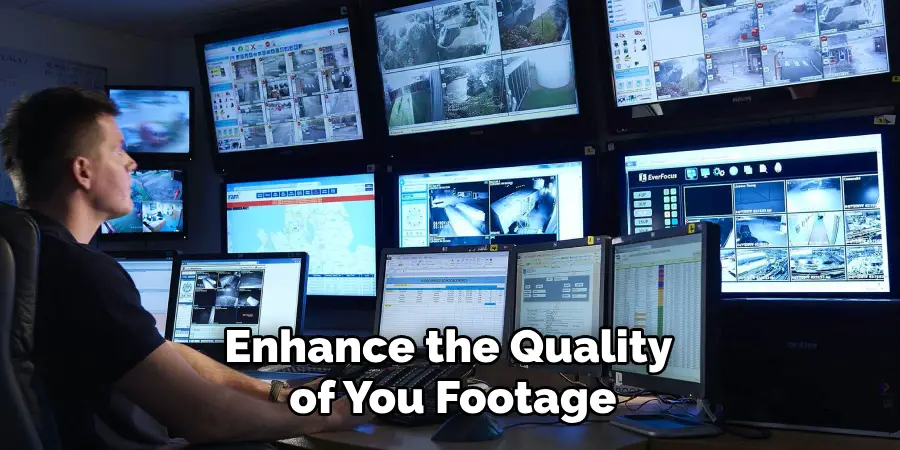
With these additional tips and tricks, you can further enhance the quality of your security camera footage.
5 Things You Should Avoid
- Ignoring Reflections: Do not place cameras near reflective surfaces without considering the angle of reflection. Reflections from windows or glossy finishes can lead to overexposure and obscure important details in the footage.
- Placing Cameras Too Close to Bright Lights: Cameras placed too close to bright lights can experience washout or lens flare, which significantly degrades the quality of the video. Always maintain an appropriate distance to ensure balanced illumination.
- Overlooking the Angle of Elevation: Positioning cameras at an improper angle of elevation can result in glare from lights positioned directly in the camera’s field of view, especially at night. Adjust the camera’s elevation to mitigate this issue.
- Forgetting to Account for Shadows: Lights can cast shadows, potentially hiding intruders or important details. Avoid placing cameras in a position where shadows could obscure the subjects of interest.
- Neglecting Outdoor Lighting Changes: Outdoor lighting conditions can change drastically from day to night and under different weather conditions. Avoid positioning cameras in a way that relies on consistent lighting conditions to capture clear footage.
By avoiding these common mistakes, you can maximize the effectiveness of your security cameras and ensure high-quality footage at all times.
Do Lights Interfere With Security Cameras?
It is a common misconception that lights and security cameras cannot coexist. While it is true that improper positioning of cameras or exposure to direct light can negatively impact the footage quality, there are several ways to mitigate these issues and achieve optimal results.
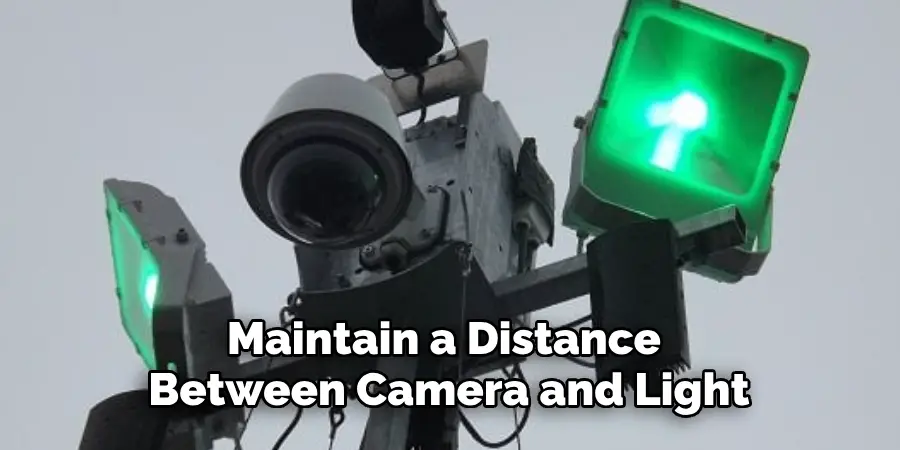
One potential interference with security cameras is when they are placed too close to bright lights. As mentioned earlier, this can cause washout or lens flare, resulting in overexposed and distorted footage. To avoid this, it is essential to maintain a distance between the camera and the light source.
Another concern may be that certain types of lighting can interfere with the camera’s sensors and cause flickering or distortion in the video. This is more common with older cameras that use CCD (charge-coupled device) sensors. However, most modern security cameras use CMOS (complementary metal-oxide-semiconductor) sensors that are less prone to this type of interference.
Overall, proper positioning and consideration of lighting conditions can help minimize any potential interference with security cameras. It is also crucial to regularly maintain and clean the camera lenses to ensure optimal performance.
How Can You Clean Your Security Camera Lenses?
A dirty or smudged camera lens can significantly affect the quality of your footage. Regular cleaning and maintenance are essential to keep your security cameras functioning at their best. Here are a few steps you can follow to clean your security camera lenses:
- Power Off the Camera: Before attempting to clean the lens, make sure to turn off the camera’s power. This will prevent any accidental damage or movement.
- Gently Brush Away Debris: Using a soft-bristled brush, gently remove any dust or debris from the lens surface. Never use a sharp object or your finger to clean the lens as it can scratch or damage it.
- Use a Microfiber Cloth: Dampen a microfiber cloth with a small amount of lens cleaning solution or isopropyl alcohol. Carefully wipe the lens surface in a circular motion, starting from the center and moving outward.
- Avoid Direct Spraying: When using a cleaning solution, spray it onto the cloth rather than directly on the lens. This helps prevent any liquid from seeping into the camera’s internal components.
These four steps should help remove any dirt or smudges from your security camera lens and improve the overall quality of your footage. It is recommended to clean the lenses at least once every few months or more frequently if they are exposed to outdoor elements such as rain, dust, or pollen.
What Kind of Light Will Block a Camera?
The type of light that can block a camera depends on various factors, such as the camera’s sensitivity, positioning, and distance from the light source. Generally, artificial lights with high intensity or harsh color spectrum can interfere with security cameras and potentially block the footage.
For example, bright floodlights or spotlights placed too close to the camera can lead to overexposure and obscure details in the footage. Similarly, lights with a color temperature that is too warm or cool can distort the colors captured by the camera.
It is also important to note that certain types of light, such as infrared or ultraviolet, may not be visible to the naked eye but can still affect security cameras. For instance, some cameras use IR LEDs for night vision, and if these lights are improperly positioned, they can create hotspots or blind spots in the footage.
Overall, it is crucial to consider the type and positioning of lighting when setting up security cameras to avoid any potential interference.
Conclusion
In conclusion, while lighting plays a pivotal role in enhancing the quality of footage captured by security cameras, it is essential to approach the placement of both elements with care. Understanding the relationship between lights and cameras is key to avoiding common pitfalls such as glare, washout, and lens flare, which can significantly impair the footage quality.
It is advisable to consider the angle of placement, distance from light sources, and the type of lighting used to ensure cameras capture clear and effective footage both during the day and at night.
Regular maintenance, including cleaning the lens and adjusting the positioning as needed, can further optimize camera performance.
Hopefully, with the information provided in this document on how to place security cameras near lights, you will be better equipped to set up and maintain your security cameras for optimal results. So, keep these tips in mind and ensure a secure and well-lit environment at all times. Happy monitoring!