Are you looking for a creative and unique way to print on cardboard? Whether it’s for a DIY project or for your business, printing on cardboard can give a professional and polished look to any design. Here, we’ll discuss the step-by-step process of how to print on a cardboard using different methods.
Printing on cardboard can be a rewarding and practical skill, whether creating custom packaging, crafting unique greeting cards, or making artwork. Cardboard is a versatile material with various thicknesses and textures, allowing for various printing techniques. Understanding the best methods for printing on cardboard can enhance your projects and ensure a professional finish.
This guide will explore different printing options, essential preparations, and tips on achieving vibrant and durable results on your cardboard surfaces.
What Will You Need?
Before we dive into the printing process, let’s gather all the necessary materials and tools:
- A computer or laptop
- A printer (inkjet or laser)
- Cardboard sheets
- Design software of your choice (e.g., Adobe Photoshop, Illustrator, Canva)
- Printer ink or toner cartridges (depending on your printer type)
- Masking tape or painter’s tape
- Scissors or a paper cutter
Once you have everything on hand, it’s time to begin printing.
10 Easy Steps on How to Print on a Cardboard
Step 1: Prepare Your Design
Begin by creating or preparing the design you wish to print on your cardboard. Use your chosen design software to set the dimensions that match your cardboard size. Ensure that the resolution is appropriate for a high-quality print, typically at least 300 DPI for sharp images.
Save your design in a compatible format (such as JPEG or PNG) for printing. Additionally, if your design includes text, flip it horizontally (mirror image) before printing.
Step 2: Test Print on Regular Paper
Before printing on the actual cardboard, it’s crucial to conduct a test print on regular paper. This allows you to verify that your design appears as intended, checking for any adjustments needed in size, color, or layout. To do this, select the print option in your design software and choose standard paper as your media type.
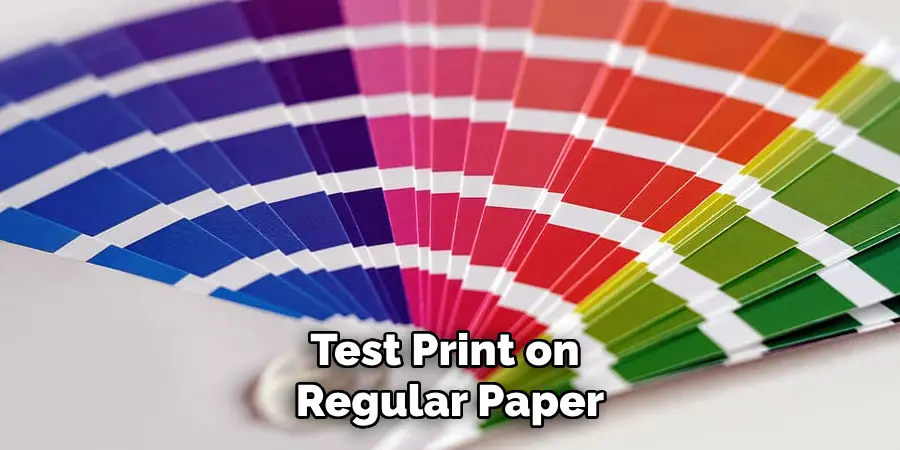
Make sure to use the same settings you intend to apply when printing on cardboard, such as ink quality and page size. Once printed, examine the test print under good lighting to assess the colors and overall quality. This step is essential to avoid wasting materials and to ensure that when you finally print on cardboard, the outcome will meet your expectations.
If any changes are necessary, you can adjust your design before printing on cardboard.
Step 3: Prepare the Cardboard
Now that you’ve tested your design, it’s time to prepare the cardboard for printing. Start by selecting the right type and thickness of cardboard that suits your project. Ensure the surface is clean and free of dust or debris, as imperfections can impact the final print quality.
If your cardboard is too thick, it might not feed correctly through your printer, so check your printer’s specifications for the maximum thickness it can handle. Trim the cardboard to the appropriate size using scissors or a paper cutter if necessary.
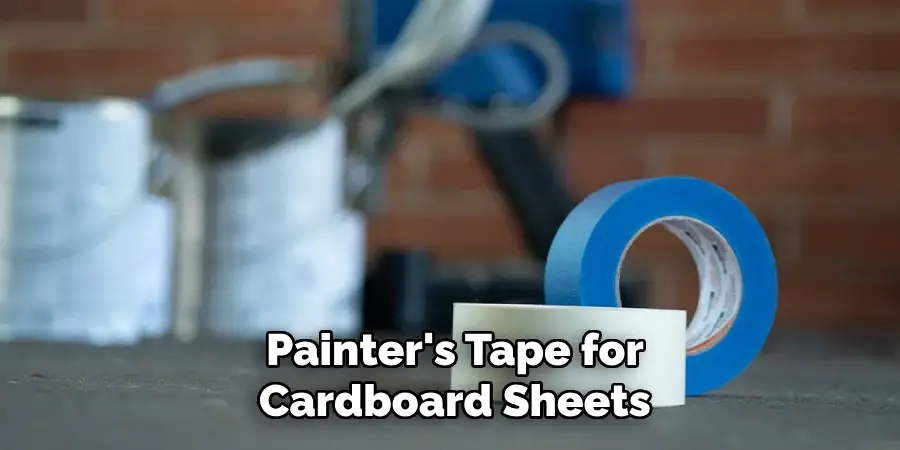
To ensure the cardboard stays flat during printing, use masking or painter’s tape to secure it to a sturdy backing or directly to the printer’s paper tray. This will help prevent any shifting that could lead to misaligned prints.
Step 4: Set Up Your Printer
Before printing on the cardboard, ensure your printer is correctly set up and ready. If you haven’t done so, begin by loading the appropriate ink or toner cartridges. Check the printer settings by accessing the print menu on your computer. Select the correct media type – in this case, choose “Cardstock” or “Heavyweight Paper” to ensure the printer applies the right amount of ink for a good, vibrant finish.
Adjusting the print quality settings to high for better color representation is also essential. Once everything is configured, you can proceed to the actual printing process.
Step 5: Print Your Design
Now that your printer is set up and your cardboard is prepared, it’s time to print your design. Head to the print menu in your design software and ensure you have selected your printer. Double-check that the correct media type is set, as mentioned previously, and review the print settings one last time. Pay special attention to the orientation of the design—whether it’s landscape or portrait—as this can affect the final output.
Once everything looks good, click “Print” and watch as your design begins to emerge on the cardboard. Keep an eye on the printing process, making sure the cardboard feeds smoothly through the printer without jamming or misaligning.

Step 6: Let It Dry
After printing, it’s essential to give the ink or toner adequate time to dry before handling the cardboard. This is especially true for inkjet printers, as the ink may remain wet for a short period, increasing the risk of smudging. Place your printed cardboard flat on a clean surface and allow it to air dry for 10-15 minutes.
If you’re using a laser printer, the toner typically dries almost instantly, but letting the print sit a moment can still help ensure durability.
Step 7: Inspect Your Print
Once the ink has dried, it’s time to examine your print closely. Look for any inconsistencies in color, pixelation, or misalignment that may have occurred during the printing process. This is your opportunity to assess the quality and make any necessary adjustments or touch-ups.
If you’re satisfied with the result, consider enhancing it further by adding additional elements, such as embellishments or coatings, to protect the print or elevate its aesthetic appeal. Don’t forget to let any added elements dry completely before moving on.
Step 8: Finish Your Project
Depending on your project goals, you should take further steps to complete your cardboard work. This might include cutting out specific shapes, mounting the printed cardboard onto another medium for support, or adding protective finishes such as laminates or sprays to prevent wear and tear. For packaging projects, ensure that the cardboard’s dimensions align with your product’s needs, and secure any folds or flaps with adhesive or tape.
Step 9: Clean Up
With your printing project complete, it’s time to tidy up your workspace. Dispose of any scraps of cardboard or paper responsibly. Make sure to clean your printer to remove any dust or ink residue, especially if you’ve been using thicker cardboard, which can sometimes leave debris inside the machine. Regular printer maintenance will help extend its lifespan and ensure quality results in future projects.
Step 10: Explore Further Techniques
Finally, consider exploring additional printing techniques to enhance your cardboard projects. You may delve into multi-layering, where you can print different designs and layer them for a 3D effect, or experiment with other mediums like acrylic paints and markers. Each technique will add unique elements to your creations and can further personalize your cardboard prints, making them unique.
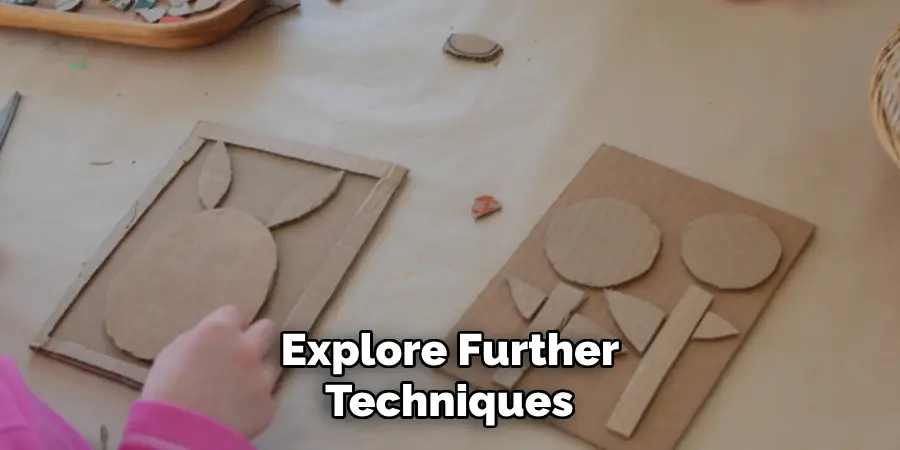
By following these steps and continuing to explore various techniques, you can elevate your cardboard printing skills and create impressive projects that will surely catch the eye.
5 Things You Should Avoid
- Neglecting Printer Settings: Failing to adjust your printer settings for cardstock can lead to poor print quality. Always select the appropriate media type and quality settings before beginning your print job.
- Using Low-Quality Cardboard: Poor-quality cardboard can affect the print outcome negatively, resulting in warped images or unsatisfactory colour representation. Invest in good-quality cardboard that is compatible with your printer.
- Skipping Tests: It’s crucial to test print on plain paper or a sample piece of cardboard before the final job. Skipping this step might lead to unexpected results, costing time and materials.
- Overloading the Printer: Feed only a few pieces of cardboard at a time, as this can cause jams and misalignments. Always follow your printer’s guidelines for loading media.
- Ignoring Drying Time: Rushing to handle the printed cardboard without allowing adequate drying time can result in smudges or damage to the design, especially with inkjet prints. Be patient and let it dry completely before proceeding.
By avoiding these common mistakes, you can ensure a successful and high-quality print on your cardboard every time.
Conclusion
In conclusion, printing on cardboard can be a rewarding and creative process when approached with care and attention to detail. By following the outlined steps, from preparing your design to selecting the right printer settings, you can achieve vibrant and professional-looking results. Remember to always test print first, use high-quality materials, and allow sufficient drying time to ensure the best possible outcome for your projects.
With practice and experimentation, you can master various techniques to elevate your cardboard printing skills, transforming your ideas into eye-catching creations that stand out. Whether for personal projects, gifts, or professional work, the potential for creativity with printed cardboard is virtually limitless.
Hopefully, this guide on how to print on a cardboard has inspired you to explore the possibilities and get creative with your cardboard printing. Thank you for your interest. Happy printing!

