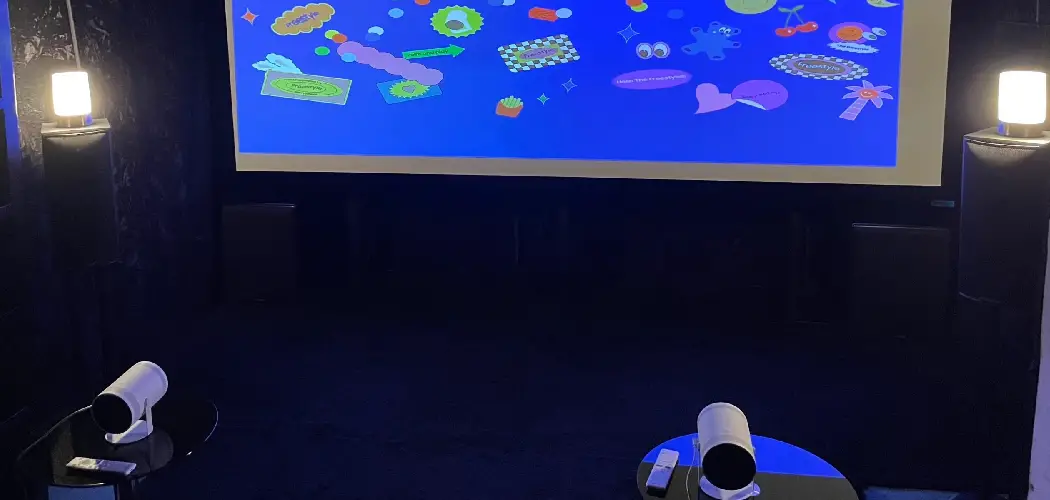
Projecting from a phone to a wall can be incredibly beneficial in various scenarios, whether for professional presentations, entertainment, or sharing content with friends and family.
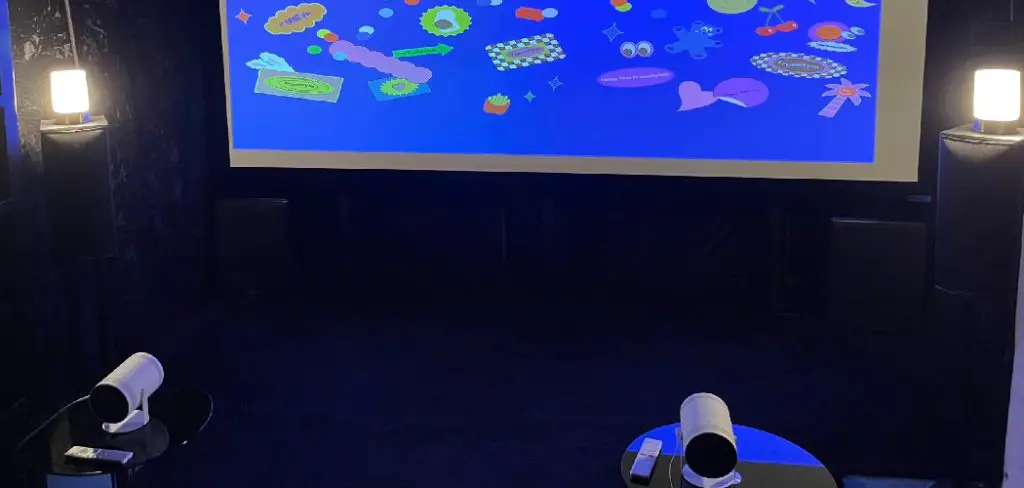
This capability allows users to display information on a larger scale, making it easier for groups to engage with presentations, watch movies together, or showcase images. In today’s digital age, utilizing portable devices for group settings enhances communication and provides a more interactive experience. In this article, we will explore several methods for how to project from phone to wall.
These methods include using dedicated projectors that connect directly to your mobile device, leveraging casting devices like Chromecast or Apple TV for wireless mirroring, and exploring creative DIY solutions for those who prefer a hands-on approach. By the end of this guide, you’ll be equipped with the knowledge to choose the best projection method for your needs.
Understanding Your Projection Options
Using a Dedicated Projector
Dedicated projectors offer a reliable and often high-quality method for projecting content from your phone. These devices can vary significantly in terms of features and capabilities. Projectors catering to mobile devices typically include HDMI ports, USB connections, or built-in wireless technology, allowing for seamless integration.
Consider factors such as resolution, brightness, and portability when selecting a dedicated projector. Higher-resolution projectors will provide clearer images, while brighter models perform better in well-lit environments.
Compact and lightweight projectors are particularly advantageous for those who plan to transport their setup frequently or use it in various locations.
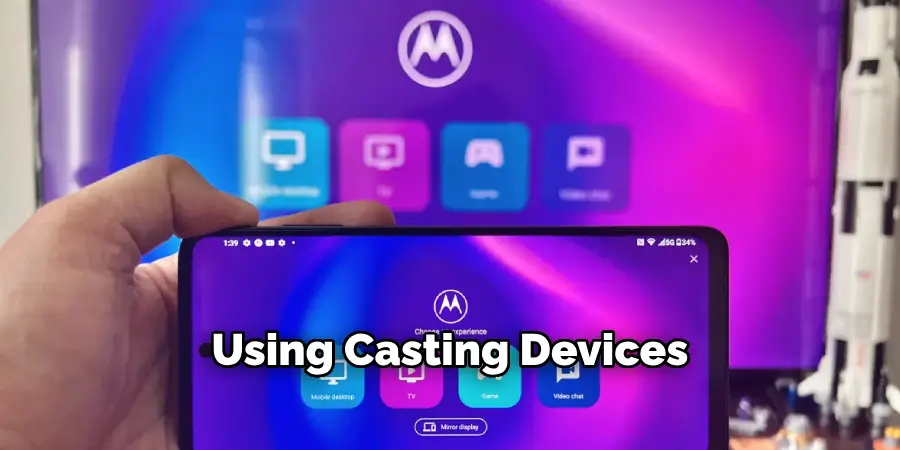
Using Casting Devices
Casting devices like Chromecast, Apple TV, and Roku represent another popular approach to projecting content from your phone. These devices excel in wireless screen mirroring capabilities, enabling users to share videos, photos, and presentations with ease.
Connecting a casting device to a compatible wall-mounted projector or smart TV allows you to effortlessly display content from your smartphone without the hassle of cables. The setup typically involves connecting the casting device to your home Wi-Fi network, allowing smooth streaming and interaction.
With casting devices, you can also enjoy added features like streaming apps and enhanced control over playback, making them versatile tools for both personal and professional use.
How to Project from Phone to Wall: Methods to Follow
Method 1: Using a Dedicated Projector
Choosing the Right Projector
When selecting a dedicated projector that is compatible with your phone, it’s essential to focus on a few key factors. Look for projectors that feature HDMI or USB ports, as these connections typically facilitate straightforward compatibility with most mobile devices.
Additionally, consider the resolution of the projector; higher-resolution models will provide clearer and sharper images, which is crucial for presentations or detailed visuals. Brightness, measured in lumens, is also a significant factor; projectors with higher lumens can perform better in well-lit environments, allowing for a more vibrant display even during daylight.
Lastly, portability should not be overlooked, particularly if you plan to transport the projector frequently. Choose a lightweight and compact model for easy setup wherever you go, ensuring you always have access to high-quality projections.
Connecting Your Phone to the Projector
Depending on the projector’s capabilities, you have several options to connect your phone to the projector. First, for an HDMI connection, you may need an HDMI adapter suitable for your phone model.
Simply plug the adapter into your phone’s charging port and connect one end of the HDMI cable to the adapter and the other end to the projector’s HDMI port. For a USB connection, check if the projector supports USB input; just connect a USB cable from your phone to the projector.
This method may allow for file sharing or charging while in use. If both your phone and projector support wireless connections, you can establish a connection through Wi-Fi or Bluetooth. Access the casting options on your phone, select the projector from the available devices, and follow any prompts to complete the connection.
Adjusting Projector Settings
To ensure optimal projection quality, it’s important to adjust the projector’s settings appropriately. Start with focusing the image through the projector’s focus wheel to achieve clarity, which is particularly crucial for presentations.
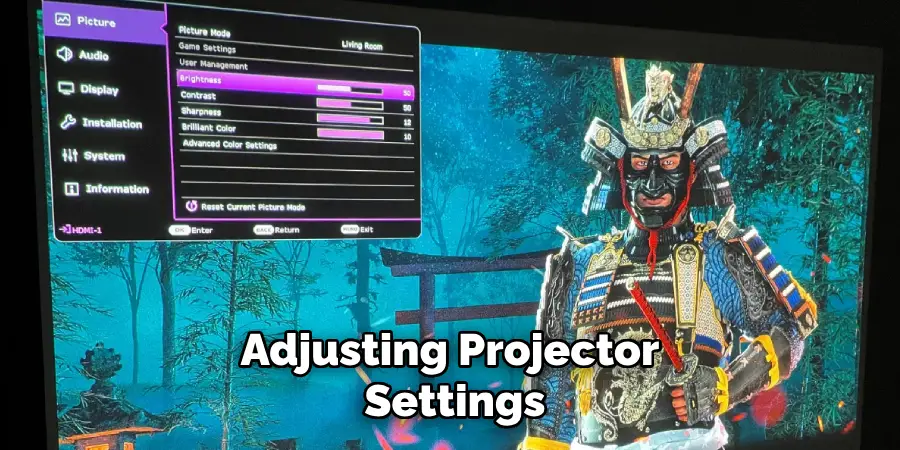
If the image appears distorted, utilize the keystone correction feature to adjust the image shape, ensuring it displays as a rectangle rather than a trapezoid. Additionally, adjust the brightness settings to suit the ambient light in the room; increasing brightness helps combat glare from windows or walls.
Positioning the projector correctly also plays a vital role in image quality—place it at a distance that allows for a projected size suitable for your audience while keeping the lens aligned with the center of the wall for the best alignment. Depending on the projector model, you may also need to adjust other settings like contrast and color balance to enhance the viewing experience.
Method 2: Using a Casting Device
Setting Up the Casting Device
To get started with a casting device like Chromecast or Apple TV, the first step is to connect the casting device to your wall-mounted projector or smart TV. Begin by plugging the device into an available HDMI port on your projector or TV.
Make sure to power the casting device by connecting it to a power supply using the included USB cable and adapter. Once powered, you will see the setup screen on your display. Next, to connect the casting device to your home Wi-Fi network, download the corresponding app (Google Home for Chromecast or Apple TV app for Apple TV) on your phone.
Open the app, follow the on-screen instructions to detect the casting device, and choose your Wi-Fi network from the list. Enter the Wi-Fi password when prompted. Once connected, the device will confirm the connection, making it ready for casting.
Casting Your Phone’s Screen
Now that your casting device is set up, you can begin mirroring your phone’s screen. On an Android device, pull down the quick settings menu and look for the “Cast” option, which may also be listed as “Screen Mirroring” or “Smart View.” Tap on it, and your phone will scan for available devices.
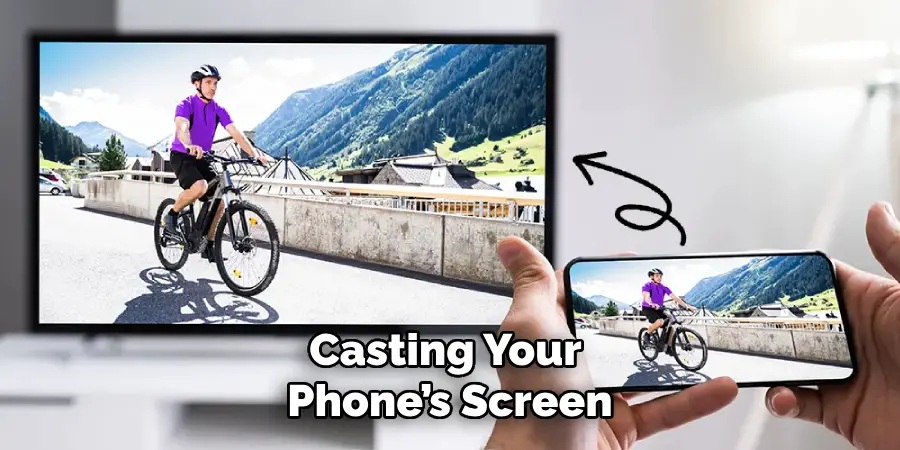
Select your casting device from the list that appears. On iPhone, you can enable screen mirroring by opening the Control Center (swipe down from the top right corner), tapping on “Screen Mirroring,” and then choosing your casting device from the options.
Once connected, your phone’s screen should now display on the projector or TV, allowing you to share videos, photos, or presentations directly from your mobile device.
Troubleshooting Casting Issues
While using a casting device, you may encounter some common issues that can be easily resolved. First, ensure that both your phone and casting device are connected to the same Wi-Fi network.
Discrepancies between networks can hinder connectivity. If you experience lag or buffering, try moving closer to the router, as distance can affect signal strength. Restarting your Wi-Fi router can also help in improving connectivity.
For screen resolution issues, check the display settings on your casting device and your phone, as adjusting the resolution may enhance the visual output. If problems persist, confirm that both devices are running the latest software updates, as updates often contain bug fixes and improvements.
Lastly, try resetting the casting device to resolve any technical glitches that may have occurred during the setup process. These steps should help you enjoy a seamless casting experience.
Method 3: DIY Projection Solutions
Using a Smartphone Projector (DIY Kit)
A smartphone projector kit is an accessible way to create a larger display from your phone’s screen using a lens and a simple box. Begin by assembling the kit according to the manufacturer’s instructions, ensuring the lens is securely positioned in the designated opening.
Once assembled, find a darkened room to enhance the projection quality. Next, place your smartphone inside the box, ensuring the screen aligns perfectly with the back of the lens. Adjust the distance of the box from the wall or projection surface until you achieve the desired image size.
For optimal results, set the phone to full brightness and consider using a dark background for better contrast. Experiment with the positioning to refine clarity, and use an app or video in landscape mode to fill the screen effectively. This setup allows for entertaining movie nights or sharing visuals with ease.
Building a DIY Projector with Magnifying Glass
Creating a simple DIY projector using a magnifying glass and a cardboard box is a fun and resourceful project. To get started, gather your materials: a cardboard box, a magnifying glass, and a smartphone. First, cut a hole at one end of the box that matches the magnifying glass’s diameter, securely sliding the glass into the opening.
Next, place your smartphone inside the box, positioning it at the opposite end, approximately 10-12 inches away from the lens. To project the image, ensure the phone is in landscape mode and set to full brightness. To adjust focus, slide the box forward or backward until the image on the projection surface becomes clear.
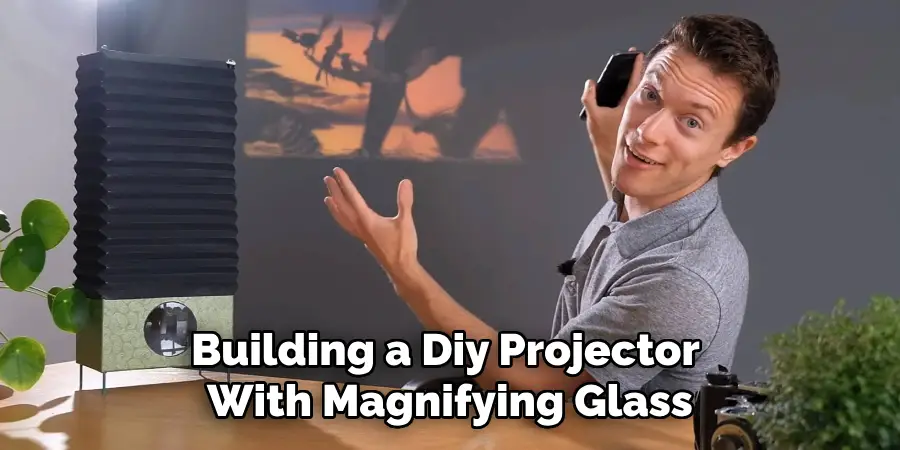
You may need to fine-tune the distance to achieve the best size and clarity for your wall projection. This creative approach showcases your DIY skills and provides a cost-effective way to enjoy content on a bigger screen.
Tips for Effective Projection
Choosing the Right Wall Surface
Opt for a smooth, white wall as your canvas to ensure clear and vibrant images when projecting. A white wall reflects light well and enhances color accuracy, facilitating a more enjoyable viewing experience.
Avoid surfaces with textures or bold colors, as these can distort the projection and diminish image quality. If a suitable wall isn’t available, consider using a portable projector screen designed for optimal reflection and clarity.
Controlling Ambient Light
Controlling ambient light is crucial for enhancing projection visibility. Ideally, use the projector in a darkened room to create a stark contrast against the projected image. If natural light is unavoidable, cover windows with blackout curtains or shades to reduce glare and reflections.
Additionally, minimizing overhead lighting can significantly improve image clarity, making it easier for your audience to engage with the content you’re sharing.
Conclusion
In summary, there are various effective methods on how to project from phone to wall, including dedicated projectors, casting devices, and simple DIY solutions. Each method offers unique benefits, allowing users to choose based on their specific needs and circumstances.
Successful projection not only relies on the chosen method but also on selecting the proper setup and environment.
Remember, with the right approach and attention to detail, projecting from your phone can elevate your viewing experience, whether for lively movie nights, educational presentations, or sharing memorable moments with friends and family.