Are you trying to pair your Anker keyboard with another device but don’t know how to put it into pairing mode? You’ve come to the right place! In this blog post, we’ll go over all of the steps needed on how to put Anker keyboard into pairing mode.

If you are new to keyboards, setting up an Anker keyboard for use can seem daunting and overwhelming. But with the right information and knowledge, getting your Anker Keyboard connected is surprisingly simple, so you can start using it immediately! In this guide, we’ll discuss how to properly put your Anker Keyboard into pairing mode so you can get up and running as soon as possible.
We’ll also talk about some common troubleshooting steps if something isn’t working correctly or you’re having difficulty connecting Bluetooth devices.
What Will You Need?
Before we dive into the steps of putting your Anker Keyboard into pairing mode, there are a few items you’ll need to ensure everything goes as smoothly as possible.
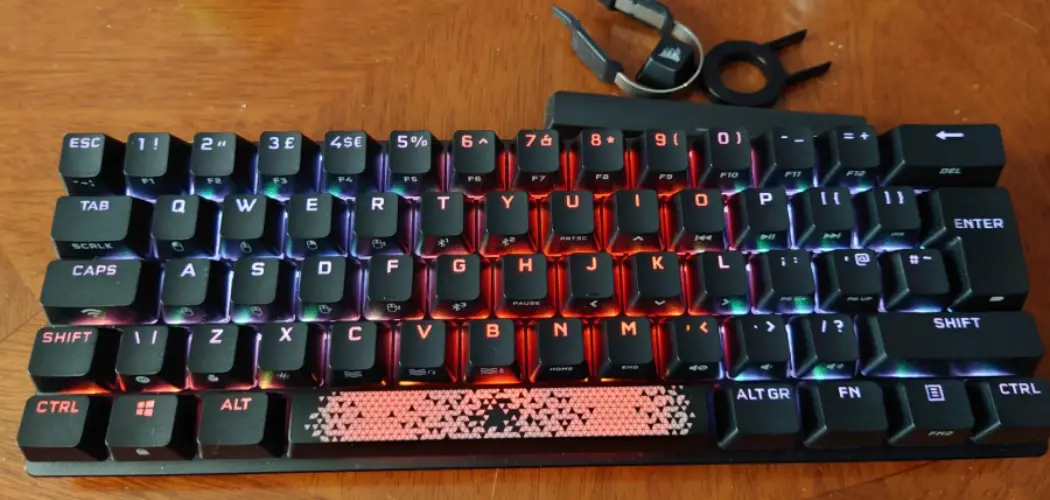
- Anker Keyboard
- Device with Bluetooth support
- Micro USB cable
- USB port on your computer (for firmware updates)
Once you have everything you need, let’s get started.
10 Easy Steps on How to Put Anker Keyboard Into Pairing Mode
Step 1. Turn of the Keyboard:
Make sure to power off your Anker Keyboard before putting it into pairing mode. Be careful not to turn it on while in the middle of this process. Because if you do, it will reset the settings, and you’ll have to start from the beginning.

Step 2. Locate the Pairing Button:
Locate the pairing button on your Anker Keyboard. This is usually located at the top right corner and will be labeled with a “Pair” or “BT” sign. Don’t press it yet.
Step 3. Turn On The Device:
Turn on the device you want to pair your keyboard with and ensure Bluetooth is enabled. Ensure that it is within range of your keyboard. Otherwise, it won’t be able to connect.
Step 4. Hold Down Pairing Button:
Hold the pairing button for about 8-10 seconds until you hear a beeping sound from the keyboard. This indicates that it is now in pairing mode and ready to connect to other devices. Additionally, you should see a blinking blue light next to the pairing button.
Step 5. Connect Bluetooth Devices:
You can now connect your Bluetooth devices when your Anker Keyboard is in pairing mode. Go to your device’s settings and search for “Anker Keyboard.” When it appears, select it and then follow the on-screen instructions to finish connecting.
Step 6. Check For Firmware Updates:
Before you start using your Anker Keyboard, you should always check if there are any firmware updates available. To do this, connect the keyboard to a computer with a USB cable and then download the latest version of Anker’s software which will update any outdated firmware automatically.

Step 7. Disconnect The Cable:
After updating the firmware or when done checking for updates, disconnect the USB cable from both ends before continuing further. If the cable remains connected, your keyboard may not be able to connect with other Bluetooth devices.
Step 8. Reconnect The Device:
Now reconnect the device that you want to pair with your Anker Keyboard by going through the same process as Step 5. Be careful not to press the pairing button again, which will reset your settings. You can also try reconnecting the device to a different port if something isn’t working as expected.
Step 9. Check For Connection:
After connecting the devices, check if they are connected properly by typing a few keys on your Anker keyboard and seeing if they appear on the device’s screen as expected. If everything looks good, you can move on to the next step. Keep in mind that the connection may take a few seconds or even minutes to establish.
Step 10. Enable Bluetooth:
Finally, make sure that Bluetooth is enabled on your Anker Keyboard and that it’s ready to be used! To do this, press and hold down the “Fn + Ctrl + B” key combo for a few seconds.
This will enable Bluetooth, and you should now be able to use your Anker Keyboard with any device that supports Bluetooth connectivity. Remember to press this key combo once more to turn Bluetooth off if you no longer need the connection.

And that’s all there is to it! We hope this guide has been helpful in showing you how to put an Anker Keyboard into pairing mode. If you have any other questions or need help with anything else, feel free to leave us a comment below, and one of our friendly experts will get back to you as soon as possible.
5 Additional Tips and Tricks
- Make sure your Anker keyboard is powered on and in range of the device you want to pair it with.
- Press and hold the “Function” (or “FN”) key and the rightmost key on the bottom row of keys for three seconds.
- When both LED lights on top of your Anker keyboard start to blink, it’s in pairing mode.
- Go to your device’s Bluetooth settings and select “Anker Keyboard”.
- Once you see a confirmation message that tells you the pairing was successful, you can start using your Anker keyboard with your device.
With these steps, you should be able to put your Anker Keyboard into pairing mode quickly and easily! Enjoy using your keyboard.
5 Things You Should Avoid
- Avoid pressing any other keys when trying to enter pairing mode, as this could interfere with the process.
- Don’t attempt to pair multiple devices with your Anker keyboard at once.
- Make sure the device you’re attempting to pair your Anker Keyboard with is Bluetooth-enabled and supports external keyboards.
- Don’t keep the “Function” (or “FN”) key pressed for too long or it can cause problems in pairing mode.
- Avoid connecting an incompatible device, as this may lead to performance issues with your Anker keyboard.
Follow these tips and tricks to connect your Anker Keyboard and your device successfully! Enjoy using your new keyboard now that it’s paired correctly!
Why Won’t My Anker Bluetooth Keyboard Connect?
If you’re having trouble connecting your Anker Bluetooth Keyboard, ensure it is powered on, and within range of the device you are attempting to pair it with. Additionally, double check that both LED lights at the top of your keyboard are blinking if in pairing mode. If these conditions have been met and you still can’t connect, try resetting your Anker Bluetooth Keyboard by pressing and holding the “Function” (or “FN”) key and the rightmost key on the bottom row of keys for 10 seconds.
These steps should help you diagnose any issues with your Anker Bluetooth Keyboard connection! Enjoy using it now that everything’s working correctly!
What are the Use Cases for Your Anker Bluetooth Keyboard?
Your Anker Bluetooth Keyboard can be used with various devices, such as smartphones, tablets, and laptops. It is perfect for everyday use because of its lightweight design and long-lasting battery life. You can even pair multiple devices to your keyboard, so you don’t have to switch between them manually constantly!
Additionally, since it is designed for comfort and ease of use, it’s great for typing up documents, emails, or even playing games.
Whatever you decide to do with your Anker Bluetooth Keyboard, enjoy the convenience and versatility it provides!
With its simple setup process and reliable connection, it makes any task easier than ever before!
How Can You Check the Battery Life of Your Anker Keyboard?
To check how much battery life your Anker Keyboard has left, press and hold the “Function” (or “FN”) key and the rightmost key on the bottom row of keys for three seconds. If both LED lights at the top of your keyboard turn off, it means your battery level is low, and you should charge it soon.

If both LED lights remain lit after pressing those two keys, you don’t need to worry about recharging your Anker Keyboard just yet!
Keep an eye on your Anker Keyboard’s battery life so you don’t get caught with a dead device when you need it most! Enjoy using it as much as possible while its battery lasts.
Conclusion
Configuring your Anker keyboard can be challenging, but the end result is absolutely worth it. With this guide, you have the tools to set up your device quickly and reliably. Now that your Anker keyboard is in pairing mode, you can enjoy all of its features and connect with more devices than ever.
Whether you’re gaming with friends or typing away at work, the Anker keyboard is perfect for any situation. Your new Anker Keyboard will help you enhance productivity, making your life easier than ever before. Get started using your Anker keyboard now and see how much time and effort it saves you in the long run!
Hopefully, the article on how to put Anker keyboard into pairing mode proved to be informative and useful! Enjoy the convenience of your Anker Keyboard and have a great time exploring its features.