Raising a table without legs might sound like an unusual project, but it’s becoming increasingly popular for those who crave a modern, space-saving design. Homes, offices, studios, and even commercial spaces can benefit from the floating look and feel, especially where floor space is limited or cleanliness is a high priority.

This guide on how to raise table without legs will provide a comprehensive overview of the methods and best practices to help you securely mount your table, offering both style and function. You’ll soon see that a legless table isn’t just about aesthetics—it’s also about optimizing your environment for efficiency and personalization. Whether you are a DIY enthusiast or a total beginner, you’ll find the steps manageable and rewarding.
Tools and Materials You’ll Need
Before starting your project, it’s essential to gather all the tools and materials you’ll need for a safe and seamless experience. Different mounting methods may require various pieces of equipment, but the following list covers the essentials for most wall-mounted table projects:
- Heavy-duty wall brackets (L-brackets, floating supports, or shelf brackets)
- Stud finder
- Power drill with assorted drill bits (wood/masonry, depending on wall type)
- High-strength screws and wall anchors are appropriate for your wall
- Level (bubble, laser, or digital)
- Tape measure
- Pencil for marking positions
- Tabletop or board surface (choose your desired size and finish)
- Screwdriver
- Safety goggles and gloves for personal protection
- Anchoring/fastening kit for concrete, brick, or masonry
- Optional: Decorative covers for bracket hardware
- Wall plugs (for added support in hollow walls)
- Spirit level
Check the weight limits on all mounting hardware, especially brackets and anchors. Taking a few moments to confirm you have all components at hand will help prevent delays and ensure you won’t have to improvise with unsafe substitutes mid-project.
7 Simple Step-by-step Guidelines on How to Raise Table Without Legs
Step 1: Assess Your Wall and Plan Table Placement
Before any hardware comes out, closely inspect the wall where you’d like to install your legless table. Not every wall is up for the task—look for solid surfaces, like those with accessible studs or made from sturdy masonry. Avoid weak or damaged areas, as they will not offer reliable support.
Measure and mark the precise location where you want the table’s top to sit. Take into account how the table will be used—consider comfortable heights for sitting or standing, proximity to electrical outlets, and clearance for seating or movement below. Planning in this stage prevents future regrets and ensures the table is both functional and visually appealing.
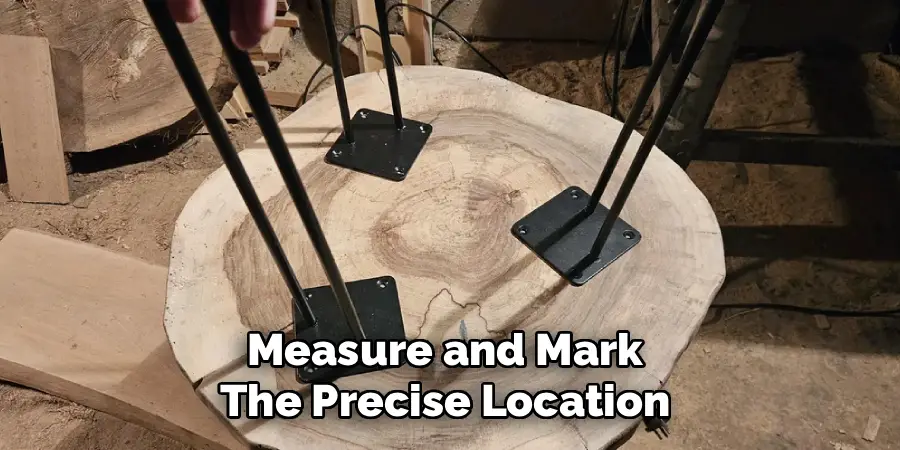
Once you’ve established your ideal placement, use a pencil to mark the boundaries on the wall. Double-check the measurements and the level lines; even a slight deviation can result in a crooked or awkward installation. Imagine how the finished space will look and function—visualization is a key part of the planning process. Care and attention here set the tone for every step to come.
Step 2: Locate and Mark Wall Supports
A floating table’s strength is only as good as its foundation. Use a stud finder to detect the position of wall studs when mounting on drywall or timber framing. If your wall is masonry or concrete, plan for strong wall anchors instead—never rely on drywall alone.
Clearly mark with a pencil the stud positions or anchor spots corresponding to your planned bracket locations. You want these supports to align not only for strength, but for symmetry and aesthetics too—unbalanced anchors may result in a droopy table or visual imbalance.
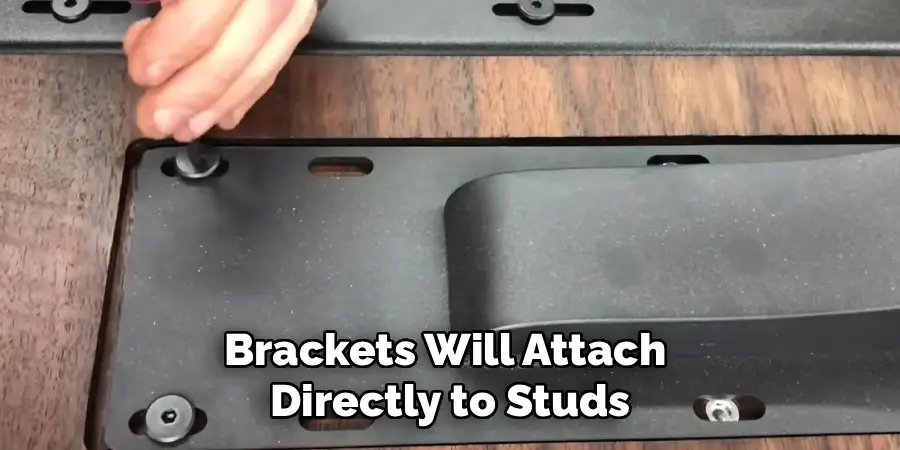
Ideally, brackets will attach directly to studs or into robust masonry. Reassess the bracket spacing to ensure the load will be distributed and balanced, taking extra caution for particularly large or heavy tabletops. If you discover no studs in the desired position, consider adjusting your placement or utilizing a combination of anchors and other supports tailored to your wall’s structure.
Step 3: Select the Appropriate Brackets and Prepare for Installation
Choosing the right hardware is more than a matter of looks; performance and longevity are at stake. Opt for brackets rated for loads well in excess of what your table what it will hold. Invisible floating brackets are great for aesthetics but require exacting installation; classic L-brackets are easier but may be visible.
Hold the brackets up to their marked locations. Confirm each aligns with a strong point, either stud or masonry anchor, and doesn’t interfere with wiring or plumbing hidden in the wall. With a pencil, mark through the bracket holes where you will drill. Don’t rush—precise marking here will keep holes clean and brackets aligned.
Double-check that the spacing is even and that brackets will sit flush against the wall. Many DIYers make the mistake of misaligned holes, leading to a skewed or weak mount. When you’re satisfied, assemble all the tools, anchors, and screws you’ll need for the next step.
Step 4: Drill and Anchor the Brackets to the Wall
The moment to attach your mounting system has arrived. Wear your safety goggles and gloves—debris can be hazardous when drilling. Select a drill bit matched to your anchor type—wood bits for studs, masonry bits for brick or concrete. Drill pilot holes where marked, making sure they’re deep and straight.
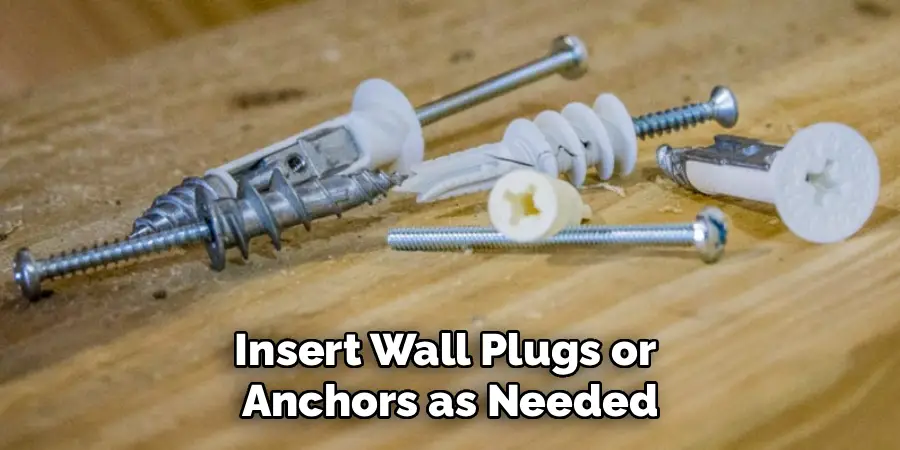
For drywall installations, insert wall plugs or anchors as needed. For masonry, use specific anchor kits designed to withstand heavy loads. Place the brackets against their holes and secure them with high-quality screws, tightening them fully but cautiously—over-tightening can crack brittle walls or strip screw threads.
Check each bracket’s alignment with a level before finishing. It’s worth pausing to ensure your work is perfect, as crooked brackets won’t just look bad; they’ll cause functionality issues. When everything is in place, tug gently on the fitted brackets to verify strength before moving ahead.
Step 5: Prepare the Tabletop for Mounting
Now turn your attention to the tabletop itself. If it’s not already finished, sand sharp edges and consider sealing or painting for durability and aesthetics. Pre-drill holes underneath the tabletop in locations corresponding exactly to the wall brackets—this makes the next step much smoother and prevents wood from splitting.
Position the tabletop carefully atop the installed brackets. Check once more with your level to ensure everything is even. Mark and drill through the bracket holes into the tabletop, then use the screws provided with your hardware kit to secure the top in place. Take care not to overtighten, as this could damage the tabletop or cause shifting.
If using floating “hidden” brackets, follow the manufacturer’s instructions for fitting the tabletop onto bracket arms or pins. In all cases, the connection should be tight but not strained, and the table should sit balanced without rocking.
Step 6: Reinforce and Test the Installation
A professional-looking table is nothing without unshakeable safety. Before putting weight on your table, give it a thorough inspection: check all screws, verify alignment, and ensure the tabletop is properly attached to the brackets.
Gently apply increasing weight to different parts of the table, watching for sagging, movement, or fluctuating levels. If the table moves or feels unstable, double-check anchoring, screws, and bracket integrity. Sometimes extra reinforcement is needed—a center bracket, additional wall anchor, or larger screws can make all the difference.

Don’t rush to use your new table for heavy items right away. Gradually increase the load to ensure long-term stability and to confirm your wall and hardware choices are sound. This step not only ensures safety but also extends the life of your installation.
Step 7: Add Finishing Touches and Clean Up
With the structure secure, you can now add decorative details for both beauty and safety. Use decorative brackets, end caps, or covers to conceal mounting hardware and create a seamless look. Touch up with wood stain, paint, or finishing oil as preferred, and clean the tabletop and surrounding area.
Step back to assess the overall effect. Do the brackets blend in or highlight a design statement? Is the workspace comfortable and free of obstruction below? A keen eye for detail in this final stage will leave your space not just functional, but truly attractive.
Dispose carefully of packaging, dust, or off-cuts. Return tools to their proper place, and enjoy the satisfaction of a job well done—a floating table you can be proud of!
Following these steps on how to raise table without legs will help you create a unique and stylish piece of furniture for your home.
Safety Tips
Always prioritize your safety throughout this process. Wear safety goggles and gloves while drilling, cutting, or handling heavy or sharp materials. Before drilling, make sure you won’t hit any electrical wires or pipes hidden behind the walls—use a multi-purpose detector if unsure. Never rely solely on drywall anchors for substantial weight loads; secure your table to studs or masonry for the utmost safety.
Gradually add loads to your finished table instead of just loading it up all at once. Regularly check brackets and fixings after installation—over time, vibration, moisture, or repeated use may loosen them. If you notice wobbling or any changes in alignment, immediately reinforce those areas. Responsible installation and ongoing inspection are critical for both your well-being and the longevity of your table.
Common Mistakes to Avoid
- Skipping the step of locating solid wall supports can make your table unstable or even hazardous.
- Using the wrong size or type of anchor, screw, or bracket often results in failed or sagging installations.
- Ignoring the importance of balancing the bracket spacing causes uneven support and premature wear.
- Rushing the installation and failing to check for level and alignment leads to disappointing results.
- Not testing the weight capacity before full use can cause unexpected accidents and damage.
Frequently Asked Questions
Q1: How Much Weight Can a Legless Table Hold?
The answer largely depends on your wall type, bracket quality, and installation method. Heavy-duty steel brackets fixed into solid wood studs or concrete can typically support upwards of 100 pounds or more, but always consult your specific hardware’s ratings. When in doubt, err on the side of caution and test progressively before committing to ongoing heavy use. Regular inspection will ensure your table holds up over time.
Q2: Can I Install a Floating Table on Drywall Alone?
Although it’s possible for small shelves or display tables using specialty wall anchors, floating tables meant for heavier use should always be anchored into studs or masonry. Drywall alone does not provide enough holding power for everyday use. If your chosen wall lacks accessible studs, consider repositioning or consulting a professional to ensure safety. This advice is especially important for large or frequently used legless tables.
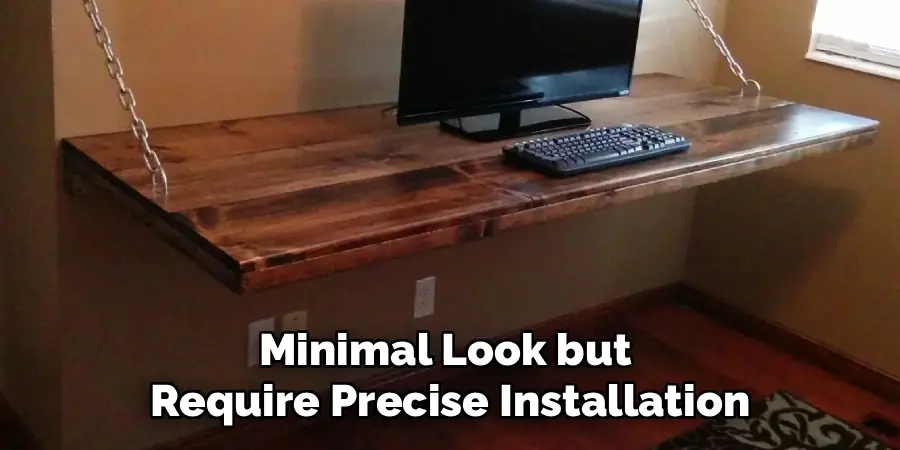
Q3: What Types of Brackets Are Best for a Floating Table?
There are several options available, including heavy-duty L-brackets, concealed floating shelf brackets, or custom supports. Your choice should be dictated by the table’s size, weight, and intended use. Concealed brackets offer a minimal look but require precise installation, while L-brackets are more forgiving and visible. Always choose hardware capable of supporting more weight than you intend to place on the table for extra security and peace of mind.
Q4: How Do I Maintain a Floating Table After Installation?
Proper care begins with regular checks of all visible hardware and supporting points. Tighten any loose screws immediately, watch for signs of sagging or shifting, and avoid placing unusually heavy items on the table for extended periods. Clean using methods suitable for your chosen tabletop material, and refresh wood finishes as needed. Good maintenance helps your table last for years and remain safe for daily use.
Conclusion
Creating a table without legs takes a blend of planning, the right materials, and careful technique. While it may seem unconventional, the floating table method provides both a stylish and highly functional solution when floor space or contemporary design are priorities. By following these detailed steps on how to raise table without legs, you ensure your new table is not only safe and sturdy but also a beautiful addition to your space.
Remember to prioritize safe installation, double-check all measurements, and test your work thoroughly before using your floating table on a daily basis. With some patience and diligence, anyone can achieve the clean lines and modern utility of a legless table. Happy building—you’re now ready to enjoy the benefits (and the bragging rights) of a custom-floating table!