Are you tired of buying new cartridges for your printer or copier every time they run out of ink?

How to refill cartridges can be a cost-effective and environmentally friendly solution for maintaining your printing needs. With the price of new cartridges often being relatively high, many consumers and businesses are turning to refilling as a way to save money while reducing waste. This process extends the life of your existing cartridges and contributes to a more sustainable approach to printing.
In this guide, we will walk you through the steps necessary to successfully refill your cartridges, highlight essential safety tips, and provide insights on troubleshooting common issues that may arise during the process. Whether you’re a novice or an experienced DIYer, you’ll find that refilling cartridges can be a straightforward and rewarding task with the right tools and guidance.
What Will You Need?
Before you begin the process of refilling your cartridges, it’s essential to gather all the necessary materials. You will need:
- A refill kit specifically designed for your cartridge type
- Replacement ink bottles or syringes with ink
- Paper towels or cloth for cleaning up any spills or excess ink
- Gloves to protect your hands from potential stains and chemicals
- A workspace that is well-lit and has a flat surface to work on
Once you have all the necessary materials, make sure to read any instructions or safety precautions provided by the manufacturer of your refill kit.
10 Easy Steps on How to Refill Cartridges
Step 1: Prepare Your Workspace
Creating an efficient and safe workspace is critical when refilling your cartridges. Start by selecting a clean, well-lit area where you can work without interruptions. A flat, sturdy surface helps to prevent spills and ensures that your materials remain secure throughout the process. Lay down some old newspapers or a disposable plastic sheet to protect the surface from any potential ink splashes or spills. This will not only keep your workspace tidy but will also ease cleanup afterwards.
Next, have your gloves handy, as they will protect your hands from ink stains and the chemicals in the ink. It’s a good idea to keep paper towels or cloth nearby so you can quickly address any messes. Moreover, organize your tools and materials so they are easily accessible without having to search for anything while you are in the middle of the refilling process. A well-prepared workspace sets the stage for a smooth and enjoyable cartridge refilling experience.
Step 2: Identify Your Cartridge Type
Before diving into the refilling process, accurately identifying the type of cartridge you are working with is crucial. Cartridges can vary significantly between manufacturers and models, and using the wrong refill kit could lead to complications or poor-quality prints.
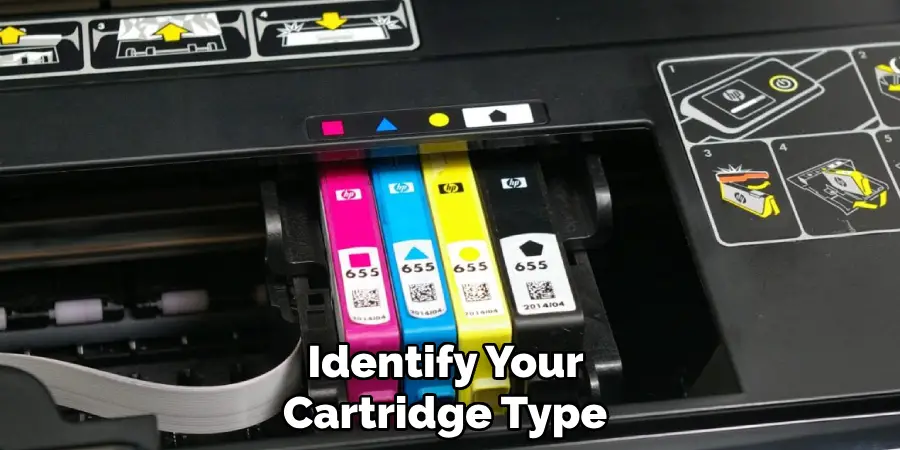
Check the labels on your cartridges for model numbers or names, and refer to your printer’s manual if necessary. This information will guide you in selecting the correct refill kit. Once you know your cartridge type, gather the appropriate materials from your kit to ensure you have everything you need at hand.
Step 3: Prepare the Ink
Each refill kit typically comes with specific instructions on preparing your ink. Depending on your kit, this might involve shaking the ink bottle to mix the contents thoroughly or checking the viscosity to ensure it’s suitable for your cartridge type. Not skipping this step is essential; improper preparation can lead to clogs or inconsistent printing results.
If your kit includes syringes, fill them with the appropriate amount of ink as indicated in the instructions. Having the ink ready in advance will streamline the refilling process and help you work more efficiently.
Step 4: Remove the Cartridge
Carefully remove the cartridge from your printer or copier. Follow the manufacturer’s instructions for your specific model to avoid damaging delicate components. Once removed, inspect the cartridge for any signs of damage or excessive wear, which might necessitate replacement instead. If it looks good, prepare it for refilling by placing it on your protected workspace. Always handle cartridges gently to avoid spills or breakage.
Step 5: Locate the Refill Ports
Most cartridges will have designated refill ports that may need to be uncovered. These could be small rubber or plastic plugs on the cartridge’s top or side. Use a small screwdriver, knife, or the tool provided in your refill kit to remove these plugs gently.
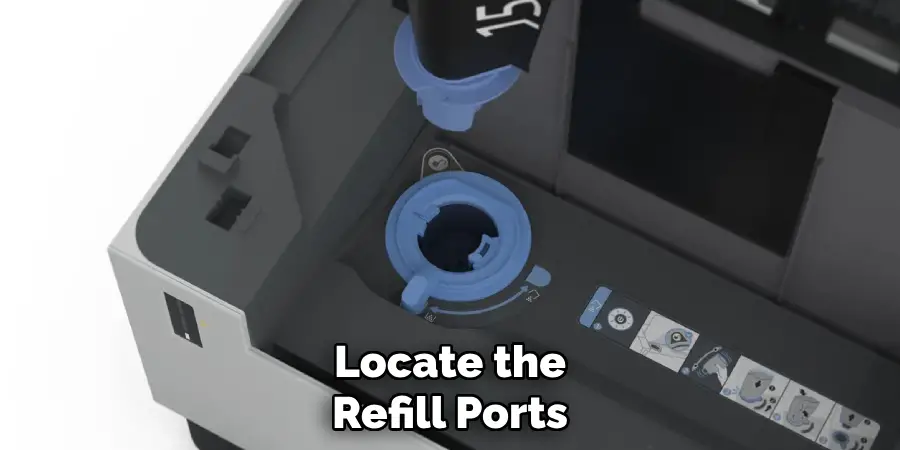
Be extra cautious during this step; applying too much force can damage the cartridge. Discuss any specific marks or indicators that can guide you to the correct refill ports as described in the refill kit instructions.
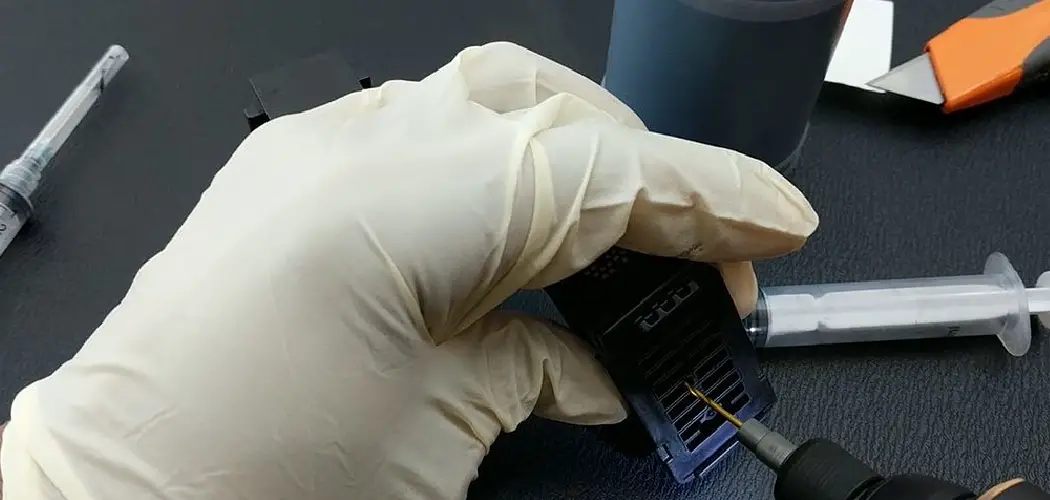
Step 6: Inject the Ink
With the ink syringe filled and the refill ports exposed, it’s time to inject the ink into the cartridge. Slowly and steadily insert the syringe tip into the port and gently push the plunger to dispense the ink. It’s important to follow the recommended fill levels specified in your kit to avoid overfilling, which can lead to leaks and messes. Keep an eye on the ink flow to ensure it is filling properly; if you encounter resistance, pause and assess the situation before proceeding.
Step 7: Replace the Plugs
Once the cartridge has been filled with ink, carefully replace any rubber or plastic plugs you previously removed. This step is vital to prevent leaks that could damage your printer and ensure that the ink remains sealed inside the cartridge. Make sure the plugs fit snugly and securely. If your cartridge kit includes an adhesive or other means to seal the ports, apply these as instructed to provide additional protection against leaks.
Step 8: Clean the Cartridge
After refilling and sealing the cartridge, cleaning any excess ink from the exterior is wise. Use paper towels or a cloth to wipe down the cartridge to remove any smudges or spills that may have occurred during the process. Not only does this help keep your printer clean, but it also ensures that you won’t accidentally introduce ink onto your hands or workspace when handling the cartridge later.
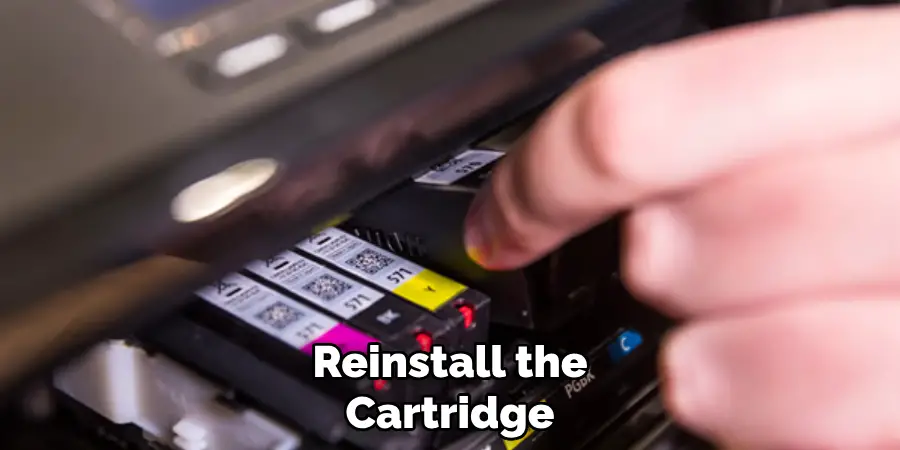
Step 9: Reinstall the Cartridge
With the cartridge now cleaned and properly sealed, you can proceed to reinstall it in your printer or copier. Begin by locating the correct slot for your cartridge and referring to the printer’s manual if necessary to ensure accurate placement. Gently slide the cartridge into the designated opening, ensuring it aligns with the connector points within the printer. You should hear a small click indicating that the cartridge is securely in place.
Step 10: Test the Cartridge
After reinstalling the cartridge, testing its functionality is crucial to confirm that the refilling process has been successful. Turn on your printer and run a test print to evaluate the print quality. Watch for any signs of smudging, streaking, or faint printing, which could indicate air bubbles or clogs in the ink delivery system.
If you encounter any issues, consider performing a printer cleaning cycle as the manufacturer recommends. This will help to clear out any potential blockages and ensure smooth ink flow. Regular testing after refilling will help you maintain your printer’s performance and extend the life of your cartridges.
By following these steps, you can successfully refill your printer or copier cartridges and save money on replacements.
5 Things You Should Avoid
- Using the Wrong Ink: Always ensure that you use ink that is compatible with your specific cartridge type. Using the right ink can lead to clogs, good print quality, or damage to the cartridge.
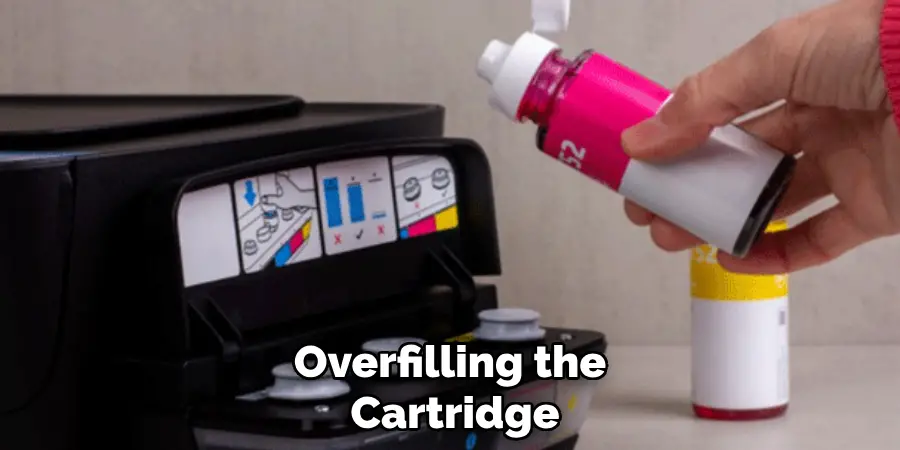
- Overfilling the Cartridge: It can be tempting to fill the cartridge to the brim, but overfilling can cause leaks and messes, potentially damaging your printer. Stick to the recommended fill levels provided in your refill kit.
- Skipping the Preparation Step: Neglecting to prepare your ink properly can result in inconsistent printing and clogs. Always mix the ink and check its viscosity as directed before refilling.
- Ignoring Manufacturer Instructions: Each printer and cartridge model may have specific guidelines for refilling. Ignoring these instructions can result in improper handling and damage. Always refer to the manual for guidance.
- Forgetting to Test After Refill: After completing the refill process, it’s crucial to run a test print. Failing to do this could lead to a failure to address potential issues, affecting your print quality over time.
By avoiding these common mistakes, you can ensure a successful refill and prolong the life of your cartridges.
Conclusion
How to refill cartridges can be a straightforward and cost-effective way to prolong the life of your printer while reducing waste.
You can achieve successful refills without compromising print quality by following the step-by-step guide outlined above, including handling the cartridges with care and ensuring proper ink application. Avoid common pitfalls such as using incompatible ink or skipping essential preparation steps. With a bit of practice and attention to detail, you can master the art of cartridge refilling, keeping your printing costs down and your output vibrant and clear.
Regularly testing your printer after each refill will ensure that any potential issues are promptly addressed, yielding a reliable printing experience. Happy refilling! By reducing the amount of cartridge waste, we can keep our environment clean and green.