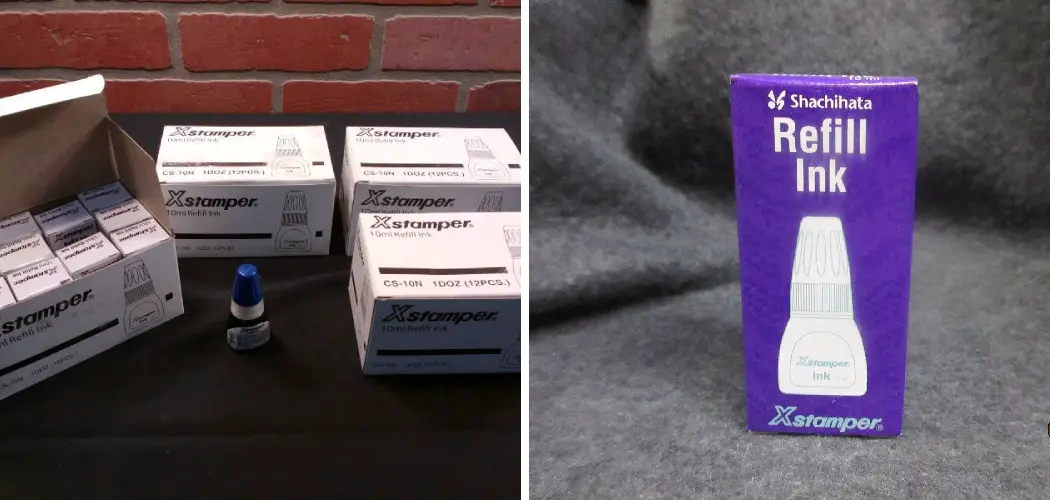
When you own an Xstamper, you have to refill it regularly for optimal use. Refilling your Xstamper ensures that your stamps last longer and that the ink is clear and consistent.

By learning how to refill your Xstamper, you can save money on buying a new stamp each time the ink runs out. It also lets you get creative and add your colors or scents to the ink pad. In this article, we’ll show you how to refill an Xstamper with ease.
Refilling an Xstamper offers a few advantages. First, it is cost-effective and helps to save money on buying new stamps each time they run out of ink. Second, refilling eliminates the need to purchase and store multiple stamps with different designs since only one stamp can be used for multiple imprints.
Third, using refills allows you to customize the ink color of your stamp, which can help make it stand out more. In this blog post, You will learn in detail how to refill xstamper.
Step by Step Processes for How to Refill Xstamper
Step 1: Inspect the Xstamper
Before you start refilling the Xstamper, make sure that the device is clean and free from dirt, debris or other contaminants. Check that the ink pad is in good condition and not torn or cracked before proceeding. Open up your replacement Xstamper ink pad and place it on a flat surface.
Step 2: Remove Your Old Xstamper Ink Pad
To remove the old ink pad from the Xstamper, start by pulling the adhesive backing off the stamp’s bottom side. Gently pry the edges of the ink pad away from its base plate until it comes off.
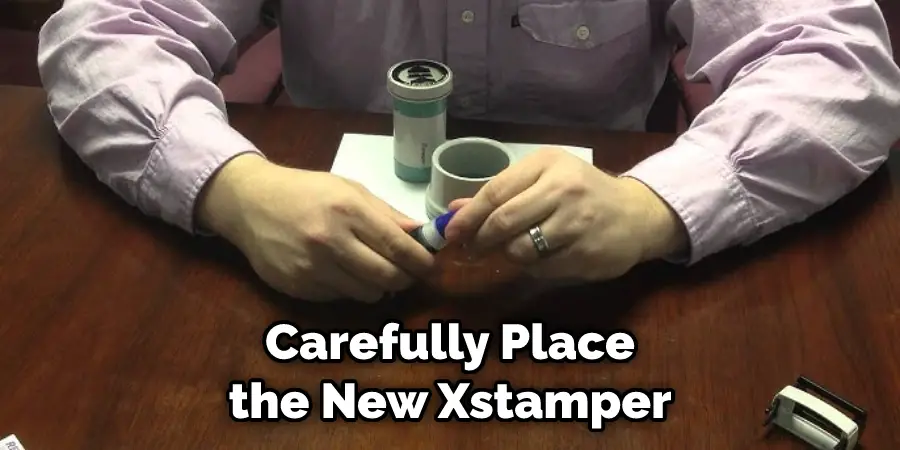
Carefully place the new Xstamper ink pad onto its base plate, making sure to line up all of the edges. Apply pressure along the edge of the pad to ensure a proper seal.
Step 3: Screw on the Cover Plate
Once you have installed the new Xstamper ink pad, screw on the cover plate. Ensure that all edges line up correctly and that the ink pad is securely fastened to its base plate.
Use a damp cloth or paper towel to remove any excess ink from the Xstamper. Be sure to wipe down all of the surfaces, including the stamp pad and base plate.
Step 4: Test out Your New Xstamper
Test out your new Xstamper by pressing it onto a piece of paper or another surface. Check that it provides a clear, crisp image. Carefully adhere the adhesive backing to the underside of your Xstamper. Ensure all edges are firmly attached and check for any air bubbles or wrinkles in the adhesive.
Step 5: Secure the cover plate
Once you have attached the adhesive backing, secure the cover plate and inspect for any gaps or misalignment. Be sure to keep the Xstamper away from any direct sunlight or heat sources.

Refilling your Xstamper can be a simple process if you follow these steps correctly. With the proper care and maintenance, your Xstamper should be ready to use whenever you need it.
Safety Precautions for How to Refill Xstamper
- Before you begin refilling your Xstamper, read the instructions that come with it very carefully to ensure that you understand the proper procedure for refilling.
- Ensure you have all the supplies necessary to complete the refill before beginning, such as an ink refill and a pair of latex gloves.
- Wear protective gear such as safety glasses, a dust mask, and gloves while refilling your Xstamper to protect yourself from any hazardous materials that may be present.
- Work in an area with excellent ventilation to avoid inhaling ink fumes or other airborne particles.
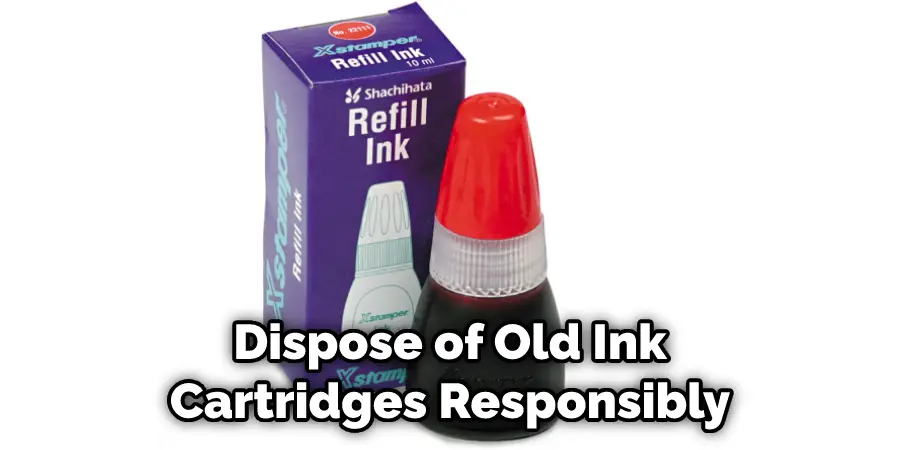
- Dispose of old ink cartridges responsibly by taking them to a dedicated recycling center.
- When refilling your Xstamper, be sure to refill each chamber separately and avoid overfilling the cartridge.
- Finally, take care not to touch any of the internal components of your Xstamper, as this may damage or contaminate it. If you do, wash your hands thoroughly afterward.
Following these safety precautions can help ensure that you refill your Xstamper safely and effectively.
What is the Best Way to Clean Up After Refilling Xstamper?
Once you have refilled your Xstamper, cleaning up any excess ink or material properly is important. You can use a damp cloth and some soapy water to gently wipe away the residue, then rinse with clean water. Be sure not to scrub too hard, as this could damage the surface of your Xstamper. Once you have cleaned up the area, dry it with a paper towel or cloth.
This will help prevent accidental ink stains from forming on any surfaces. You should also remember to use caution when disposing of the old Xstamper refill, as some materials may not be biodegradable and could potentially harm the environment if not disposed of correctly.
Be sure to follow the instructions provided with your Xstamper refill for proper disposal. By properly cleaning up after refilling your Xstamper, you can ensure that it remains in good condition and is ready for use each time you need it.
What Common Problems May Arise When Trying to Refill an Xstamper?
When refilling an Xstamper, a few common problems can arise. Firstly, the stamp ink may be too thick or too thin to refill the pad adequately. If this is the case, you may need to dilute it with water or other compatible liquid in order to achieve the desired consistency.
You may also find that the pad isn’t making enough contact with the ink or is leaving an uneven impression. This can be caused by the stamp pad running low on ink or by the stamp being held too tightly. To fix this problem, try adjusting the pressure of your grip on the stamp or adding more ink to the pad.
In some cases, you may also need to clean the stamp pad or replace it with a new one. Lastly, you should always check that your Xstamper is properly aligned and that all components are securely in place before refilling. Following these steps will help ensure your Xstamper works effectively and efficiently when refilling.
What is the Best Way to Store an Xstamper After It Has Been Refilled?
Once you have completed the process of refilling your Xstamper, it is important to store the stamp correctly to ensure its shape and effectiveness.
The best way to store an Xstamper after it has been refilled is in a cool, dry place away from direct sunlight or heat sources. You can also keep your Xstamper in a plastic sleeve or envelope to help protect it from dirt and dust.
Additionally, ensure that the ink pad is kept upright when storing the stamp; this will prevent the ink from spilling into other areas of the pad, potentially affecting its performance. Ultimately, proper handling and storage will help ensure that your Xstamper lasts a long time.
By following these simple steps, you can make sure that your Xstamper remains in good condition and provides reliable results each time you use it. Proper storage of your Xstamper is essential for ensuring its longevity and usefulness over time.
Are There Any Special Maintenance or Care Instructions for an Xstamper That Has Been Refilled?
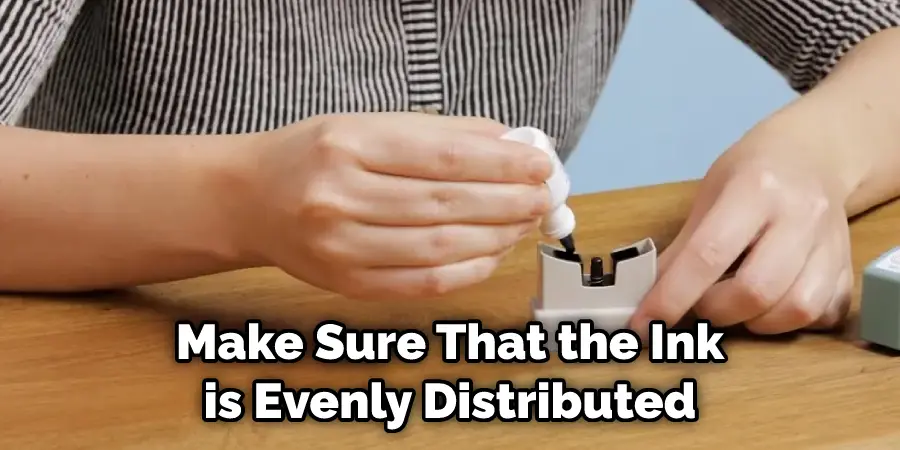
Once your Xstamper has been refilled, you should take a few steps to ensure it continues to work properly. Firstly, make sure that the ink is evenly distributed in the reservoir – if it’s clumped together at one end of the cartridge, carefully mix it with a clean pencil or similar implement.
Next, use a soft cloth to remove any excess ink from the outside of the stamp and in between the rubber die and the frame.
Finally, apply some stamp conditioner onto the rubber die before replacing it into the frame – this will help extend its lifespan and keep it looking good for longer. With these simple steps, your Xstamper should continue to provide you with efficient and reliable stamping for many years to come.
Conclusion
One of the main disadvantages of how to refill an Xstamper is that it can be time-consuming. Depending on the size and complexity of the stamp, it can take several minutes to fill each one with ink.
Additionally, if too much ink is used, it can cause smudging or other imperfections when using the stamp. Furthermore, Xstamper stamps require special inks, which may be harder to find or more expensive than traditional stamp inks.
In conclusion, refilling your Xstamper is a relatively simple task, so long as you have the right supplies. All you need to do is carefully remove the old ink pad from the stamper using tweezers or needle-nose pliers, then replace it with a new one.
You’ll also want to make sure the new pad is securely in place. Finally, you can use a damp cloth to clean off any excess ink from your stamper before using it again. I hope reading this post has helped you learn how to refill xstamper. Make sure the safety precautions are carried out in the order listed.
You Can Check It Out to Does Office Chair Gas Cylinder Work