
A sturdy office table frame is essential for both safety and long-lasting durability in any workspace. Over time, even the best-made office tables can start to wobble or feel unstable due to regular daily use, heavy equipment, or simply from natural wear and tear.

Reinforcing the frame not only extends the lifespan of your table but also helps prevent costly accidents or the need for early replacement. This guide on how to reinforce office table frame aims to provide practical, effective solutions for strengthening the frame of your office table so you can work with peace of mind. No matter the cause of the instability, with the right approach, you can restore your table to optimal performance and appearance.
Proper reinforcement is a straightforward process that you can handle as a DIY project, provided you have the necessary tools and a bit of patience. Whether you have a wooden, metal, or composite frame, the steps outlined here will help you secure and stabilize your workspace investment.
Tools and Materials You’ll Need
- Screwdriver set (both flathead and Phillips)
- Adjustable wrench or socket set
- Power drill with drill bits
- Measuring tape or ruler
- Carpenter’s square
- Wood or metal brackets/reinforcement plates
- Replacement screws or bolts (as needed)
- Wood glue or metal bonding adhesive
- Clamps (for holding parts in place)
- Sandpaper or file (for smoothing surfaces)
- Protective gloves and safety glasses
- Cleaning cloths
7 Simple Step-By-Step Guidelines on How to Reinforce Office Table Frame
Step 1: Inspect the Frame Thoroughly
Start by turning your table upside down or on its side to allow full access to the frame. Examine all joints, legs, brackets, and connecting hardware for signs of damage, wear, or looseness. Take note of any missing or stripped screws, cracks in the wood or metal, or areas where the connecting points feel unstable.
Documenting the problem spots with your phone or a notepad can help you identify what needs specific attention and ensure you have the necessary materials on hand before starting the actual repairs. This comprehensive inspection forms the foundation for the reinforcement process and reduces the risk of missing hidden issues.
Step 2: Tighten All Fasteners and Connectors
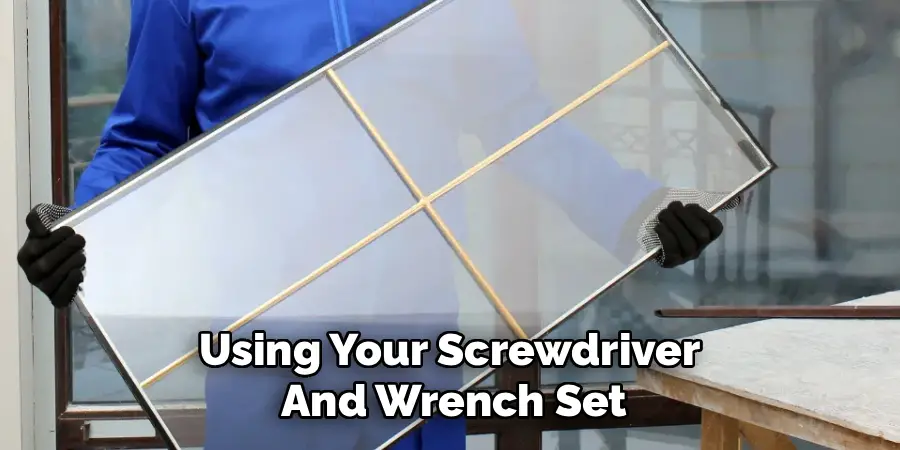
Using your screwdriver and wrench set, carefully tighten all screws, bolts, and nuts holding the frame together. Over time, these fasteners naturally loosen due to vibrations and use, which can significantly impact the stability of your table.
Focus on corners and joint areas, as movement often starts in these sections. If you find stripped screw holes, consider using slightly larger screws or wood filler (for wooden frames), letting it dry fully before reinserting the fastener. Ensuring everything is snug at this stage can immediately improve your table’s sturdiness and is a crucial foundation before adding reinforcements.
Step 3: Add Reinforcement Brackets or Plates
After tightening, add wood or metal brackets to key stress points on the frame, such as the corners and where the legs connect to the tabletop. Measure and mark the areas before attaching the brackets to ensure proper placement, using your carpenter’s square to maintain alignment.
Secure the brackets with screws or bolts, drilling pilot holes if needed to avoid splitting the material. For metal frames, use metal-reinforcement plates and bonding adhesive if necessary. This step provides additional strength to the structure, helping to distribute weight more evenly and minimize future movement or wobbling.
Step 4: Repair or Replace Damaged Parts
If you discovered any damaged wood, bent metal, or broken connectors during your inspection, now is the time to repair or replace those parts. For wooden tables, you may need to use wood glue and clamps to mend cracks or splits. In cases of severe damage, consider replacing the affected beam, support, or leg entirely.
When dealing with metal frames, straighten bent sections using gentle pressure with a wrench or by carefully tapping with a mallet. Replacing severely damaged metal parts may require purchasing a matching component from the manufacturer or a hardware supplier. Addressing these issues before full reinforcement ensures your table isn’t just temporarily stable, but truly built to last.

Step 5: Secure Joints with Wood Glue or Adhesive
For wooden frames, apply wood glue to any loose joints before tightening the fasteners. Clean off any dust or debris to ensure strong adhesion, and clamp the pieces together tightly according to the glue’s instructions. Leave the clamps on for several hours, or as recommended by the manufacturer, to achieve maximum bond strength.
If your table frame is metal, use an appropriate metal bonding adhesive on joints or where reinforcement plates are added. Always work in a well-ventilated area and wear protective gloves. Taking the time to let adhesives cure fully will add lasting durability to your repairs.
Step 6: Sand and Smooth Reinforced Areas
Once the reinforcements are in place and the adhesives have dried, use sandpaper or a file to smooth any rough edges or excess dried glue around the repaired zones. This creates a professional finish and prevents injuries caused by sharp corners or splinters left behind after the repair.
In addition, a neatly finished surface also allows for easier cleaning in the future and helps maintain the aesthetic of your office furniture. Wipe the area down with a clean cloth to remove any dust before proceeding to the final checks.
Step 7: Conduct a Stability Test
Set your table upright and press on various points of the tabletop and sides to check for movement or flexing. Sit at the table, gently wiggle it, and pay close attention to any noises or instability that may suggest an area needs additional reinforcement. Repeat the tightening steps or add more brackets as needed until the frame remains completely solid.

Do a final check to ensure all fasteners are secure and surfaces are smooth. If satisfied, your table should now feel as stable as—or better than—when it was new. This last test gives you peace of mind and assures the workspace is safe and comfortable for daily use.
Do You Need To Use Professionals?
While reinforcing an office table frame is a straightforward process for most people with basic DIY skills, there are cases where hiring a professional is wise. For example, if you are dealing with a high-value conference table, antique furniture, or complex metal frameworks, a skilled carpenter or metalworker can deliver optimal results without risking accidental damage. Additionally, professional services are often recommended for very large tables, custom frames, or institutional environments where safety codes must be met.
Professionals have access to specialized tools and materials that might be less accessible to the typical DIYer. They can also diagnose hidden structural issues that may not be visible to the untrained eye. Choosing a professional could save you time, ensure long-term durability, and guarantee your repair meets industry standards.
Following these steps on how to reinforce office table frame, you should now have a solid understanding of the process and be able to confidently repair and reinforce your office table frame. Remember to always prioritize safety, measure accurately, use appropriate tools and materials, and consider hiring a professional if needed.

How Much Will It Cost?
The cost to reinforce an office table frame can vary widely based on the type of frame, materials required, and whether you do the work yourself or hire a professional. For DIY enthusiasts, the main expenses will involve buying brackets, screws, adhesives, and perhaps a few new tools, typically ranging from $20 to $100 depending on the scope of work. If you’re repairing an especially large or high-end table, expect the cost of materials and specialized hardware to increase.
Hiring a handyman or furniture repair professional may add significant labor fees, with typical home service calls ranging from $100 to $300 or more, depending on the complexity of the job and your location. For antique or high-value office tables, restoration can run much higher. Getting a few estimates and comparing material costs can help you decide the best approach for your budget.
Frequently Asked Questions
Q1: What Are the Signs That My Office Table Frame Needs Reinforcement?
A1: Some of the most common signs include noticeable wobbling, creaking noises when pressure is applied, visible gaps or cracks in the joints, and loose screws or bolts. If the table no longer sits evenly on the floor or feels unstable when leaned on, these are clear indications that its frame may need reinforcing. Addressing these signs early will help prevent further damage and extend the life of your furniture.
Q2: Can I Reinforce a Metal Table Frame the Same Way as a Wooden One?
A2: Both wooden and metal frames can be reinforced using similar principles, but the materials and tools differ. For metal frames, metal brackets, plates, and high-strength adhesive are preferred, whereas wood glue and wood-based brackets are more suitable for wooden tables. Always ensure you select compatible materials for your table’s construction to ensure the strongest results. When in doubt, consult your hardware store or manufacturer for specific recommendations.
Q3: How Long Does the Reinforcement Process Take?
A3: The time required varies depending on the extent of the repairs needed and your experience level. For a typical office table, expect to spend between two and four hours from inspection to final stability testing. More serious repairs, such as replacing damaged parts or allowing glue to cure completely, may extend the process. Setting aside plenty of time ensures you won’t rush through important steps, resulting in a more durable solution.
Q4: What If My Table Still Wobbles After Reinforcement?
A4: If your table remains unstable after following these steps, double-check all joint connections and make sure all fasteners are tightened completely. Sometimes, instability is caused by uneven floors, so try repositioning your table or using adjustable feet. Persistent wobbling may indicate deeper structural problems that require professional assessment or complete replacement of one or more frame components.

Conclusion
Reinforcing your office table frame is a rewarding project that can save you money while restoring your workspace’s safety and stability. By following the systematic approach laid out above, most DIYers can effectively identify issues, select the right tools, and make lasting repairs in just a few hours. The effort you invest in maintaining your furniture is reflected in better productivity and peace of mind at work.
Whether you decide to tackle this job yourself or call in a professional, the steps on how to reinforce office table frame provided will guide you through the decision-making process. Remember that a stable office table supports not only your computer and supplies but also your efficiency and comfort during long work hours. Invest the time now, and your reinforced table will serve you well for years to come.