
Addressing cabinet screw holes that have become loose or damaged is a common challenge faced by homeowners and DIY enthusiasts. Whether due to repeated use or initial installation issues, these compromised holes can affect the stability and appearance of your cabinets.
This article offers a comprehensive guide on how to fix cabinet screw holes and restore the structural integrity of your cabinetry. From identifying the underlying causes and selecting the appropriate repair methods to executing the steps with precision, you’ll gain insights into every aspect of this repair process.
By mastering these techniques, you’ll not only save money on potential replacements but also acquire the skills to maintain the functionality and aesthetic appeal of your cabinets for years to come.
The Common Issue of Stripped or Damaged Screw Holes in Cabinets
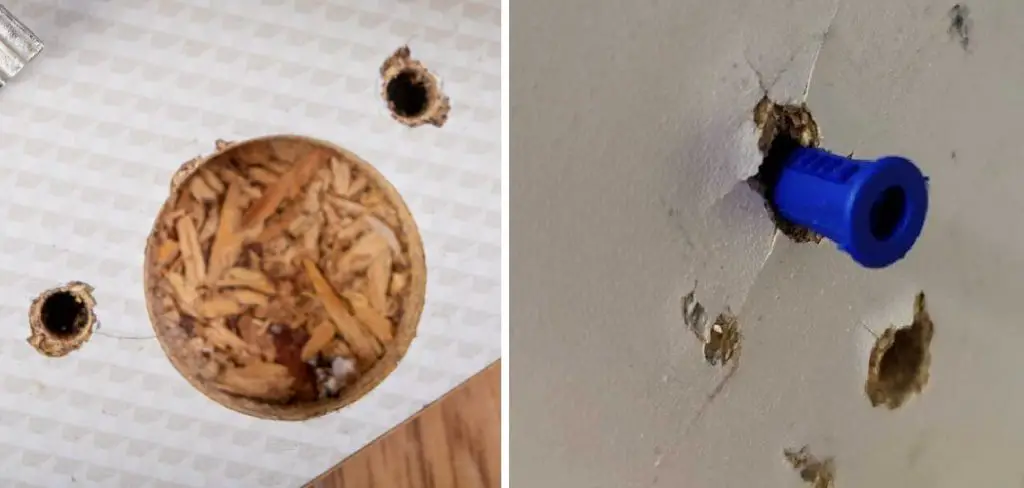
When mounting cabinets, screws are often used to secure them in place. Over time, however, the screw holes can become stripped or damaged due to normal wear and tear. If you find yourself with a cabinet that has such an issue, you don’t have to despair! There are several ways by which you can fix it and restore your cabinet’s integrity.
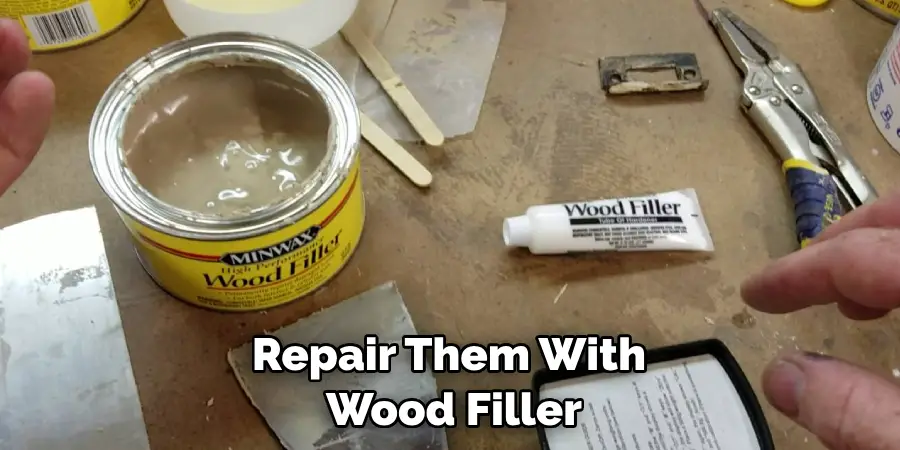
One of the simplest methods for fixing a stripped or damaged screw hole is to use wooden toothpicks as filler. Simply insert a few well-fitted toothpicks into the damaged area, and then glue them in place. Once dry, you’ll be able to secure your cabinet with ease!
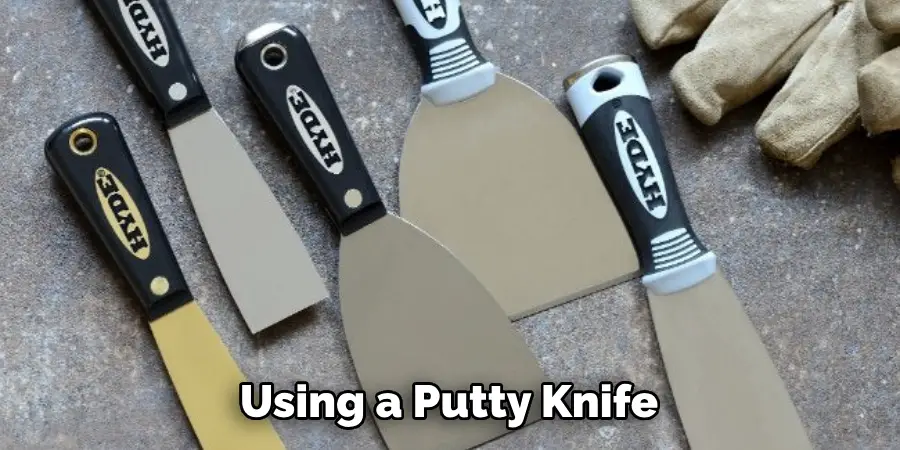
You can also try using wood putty to fix the problem. Start by using a putty knife to cut away any loose edges or debris from around the screw hole. Then, mix up some wood putty that is an appropriate color for your cabinet and fill in the damaged area with it. Allow it to dry completely before securing the screws back into place.
If you’re looking for a more permanent solution, you can opt to fill the hole with a dowel plug. Start by cutting a wooden dowel to fit snugly in the screw hole, then glue it into place. When dry, use a drill and the correct size bit to create new pilot holes for your screws. This will help ensure that your cabinet is securely mounted.
Identifying the Type and Extent of Damage to the Screw Holes
In order to repair the screw holes in your cabinets, it’s important to first identify the type and extent of damage. If there is no visible evidence that a screw hole has been damaged or cracked, you may be able to get away with simply filling the hole with wood filler.
However, if there is evidence of cracking or splitting, then you may have to replace the part entirely. If you do happen to find a cracked or broken screw hole, it’s important that you don’t try and force the screw in. Doing so can make the problem worse and damage the cabinets even more.
Once you have identified the type and extent of damage to your cabinet screw holes, you can begin to repair them with wood filler.
Wood filler can be found at most hardware stores, and it is easy to use. First, you will need to make sure that the holes are clean and free of any debris or dirt. Next, simply fill the hole with an appropriate amount of wood filler, making sure that it is completely level and even with the surrounding area.
Finally, allow the wood filler to dry completely before sanding it down and applying a fresh coat of paint.
10 Steps How to Fix Cabinet Screw Holes
Step 1: Assess the Damage
Before diving into any repair work, it’s crucial to assess the extent of the damage to the cabinet screw holes. Different issues may require varying solutions, so taking the time to understand the specific problem is essential.
Inspect each screw hole closely, looking for signs of wear, enlargement, or stripping. By identifying the exact nature of the damage, you’ll be better equipped to choose the most suitable repair method.
Step 2: Remove Cabinet Hardware
Clear access to the screw holes is essential for effective repair. Begin by removing any cabinet hardware such as handles, knobs, or hinges that might obstruct your work. This step ensures that you can focus on repairing the holes without accidentally damaging or interfering with the hardware.
When removing cabinet hardware, use a flathead screwdriver to turn the screws in a counterclockwise direction. If the screws are stuck in place, consider using WD-40 or another lubricant that will help loosen them. Exercise care when taking out the hardware and remember to set aside any screws or other pieces for reassembly later on.
Step 3: Identify the Causes
Understanding why the screw holes have become compromised is pivotal in preventing future issues. Analyze the factors that might have contributed to the damage, such as over-tightening of screws, frequent use of the cabinet, or poor initial installation.
By addressing these root causes, you can implement preventive measures to avoid encountering similar problems down the line.
Step 4: Fill Stripped Screw Holes with Wooden Toothpicks
For stripped screw holes, a straightforward yet effective solution is to fill them with wooden toothpicks. Dip the toothpicks in wood glue to ensure a secure bond. Insert the toothpicks into the stripped holes, packing them tightly to create a solid base for the screws.
Break off any excess toothpick material that protrudes from the hole. Allow the glue to dry and harden, providing a stable foundation for the screws to grip.
Step 5: Use Wood Filler for Enlarged Holes
When dealing with enlarged screw holes, wood filler comes to the rescue. Choose a wood filler that closely matches the color of your cabinets to ensure a seamless repair.
Apply the filler generously to the holes, using a putty knife to create a smooth surface. Let the filler dry completely and sand the area until it’s level with the cabinet. This restores the integrity of the holes and provides a stable surface for the screws to hold onto.
Step 6: Realign Cabinet Hardware
Before reattaching the cabinet hardware, take care to ensure that the holes are correctly aligned. Accurate alignment prevents unnecessary stress on the repaired holes and ensures that the hardware sits flush against the cabinet surface. Using a straight edge or a level can help you achieve precise alignment, enhancing both the appearance and functionality of the cabinets.
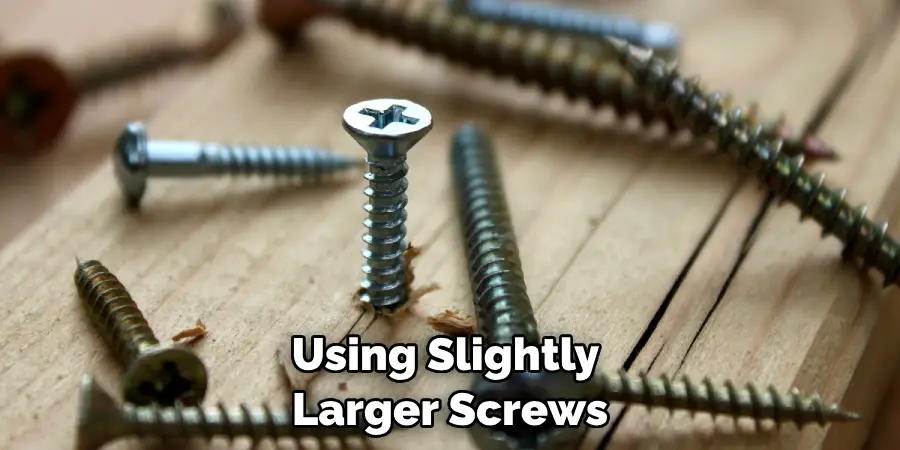
Step 7: Utilize Larger Screws
In cases where the original screw holes are too damaged to provide sufficient grip, consider using slightly larger screws with a larger diameter. Pre-drill the new holes to prevent splitting and ensure that the screws do not protrude through the cabinet material. The increased size of the screws provides a fresh anchor point and enhances the overall stability of the hardware.
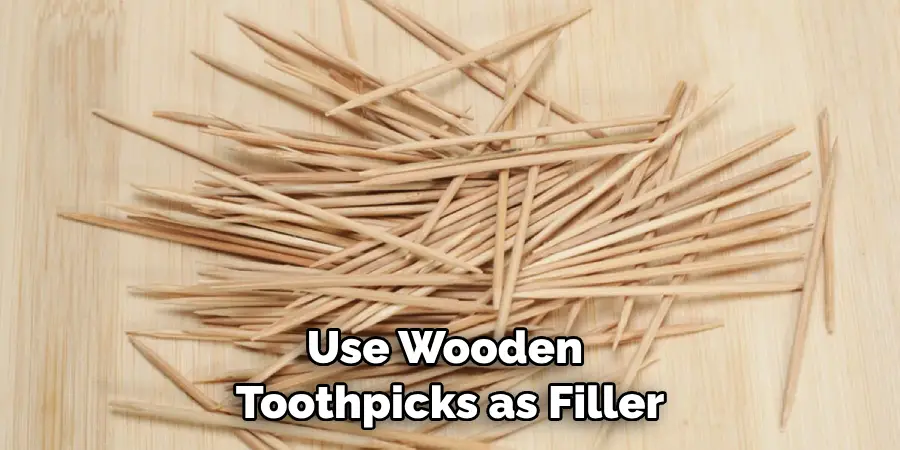
Step 8: Install Screw Anchors
For added strength and support, consider using screw anchors or wall plugs in the repaired holes. These anchors distribute the weight of the screws evenly, reducing the risk of future damage. Gently tap the screw anchors into the holes using a hammer, and then insert the screws. This step is particularly useful for holes in high-stress areas.
Step 9: Reinforce with Epoxy or Wood Glue
When dealing with severely damaged holes, reinforcement is key to a lasting repair. Mix epoxy according to the manufacturer’s instructions and apply it to the holes, allowing it to cure and harden.
Alternatively, you can reinforce the holes by applying wood glue and inserting wooden dowels that match the diameter of the original screws. After the epoxy or glue dries, trim any excess material and carefully drill new pilot holes for the screws.
Step 10: Implement Preventive Measures
To prevent future occurrences of damaged screw holes, take proactive steps during both installation and use. When installing new hardware, use a pilot hole to guide the screws. This prevents over-tightening, a common cause of damage.
Additionally, practice care when opening and closing cabinet doors and drawers to minimize stress on the hardware. Regularly inspect the hardware and screw holes for signs of wear or damage, addressing any issues promptly to avoid further deterioration.
Conclusion
With the help of these tips and tools, you can easily restore your cabinet screw holes to its former glory. Working with wood can be intimidating but keep trying until you find a technique that works for you.
If it’s a complicated job, consider seeking professional assistance to complete the repairs. Remember, checking your cabinets regularly will save you from having to make major repairs in the future and paying larger repair costs.
Whether you need to repair minor kitchen cabinet hole damage or give your entire room a fresh and updated look, taking care of broken screw holes is essential for maintaining your cabinets’ structural integrity. Try these tricks and helpful instructions on how to fix cabinet screw holes yourself today!