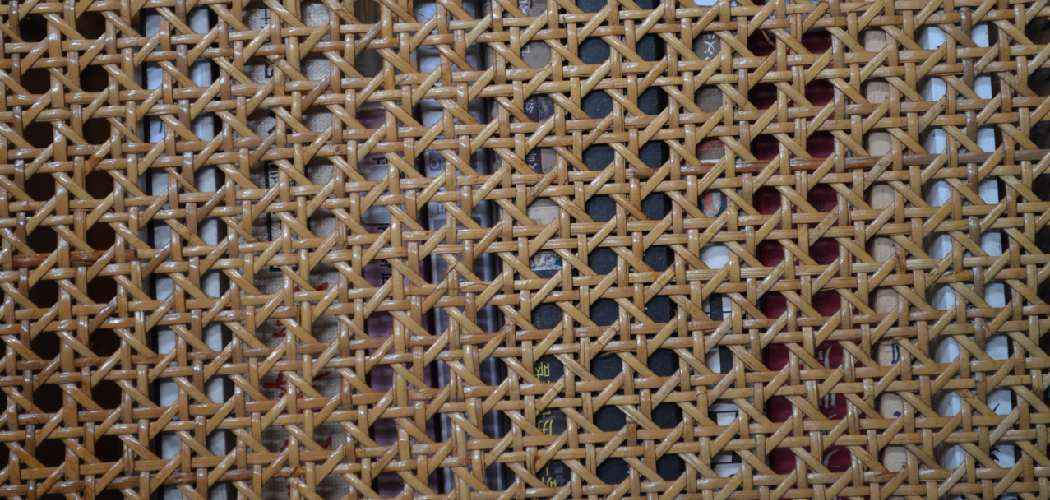
Do you want to give your cabinets the perfect finishing touch? Cane webbing is an interesting and unique way to add texture and bring a warm, natural look into any room.

Installing cane webbing isn’t as hard or time-consuming as it seems—with the proper tools and a bit of patience, anyone can complete this project in just a few easy steps!
In this blog post, we’ll provide you with all the information on how to install cane webbing on cabinet doors. From materials required to step-by-step instructions, examine all that’s necessary for successfully completing this do-it-yourself project.
What Is the Best Glue for Cane Webbing?
Using the right glue is an essential part of installing cane webbing on cabinet doors. Different glues have different levels of strength and adhesiveness, so it’s important to choose a glue that will be able to hold the cane webbing securely in place.
The best type of glue for cane webbing is a high-quality wood glue or epoxy resin, as these types of adhesive provide strong bonds that won’t easily come apart. High-grade contact cement can also be used, but this should only be used if you are experienced at using it, due to its powerful bonding capabilities.
It’s always important to read the instructions for any type of glue before using it, especially those that are designed for specific materials. This is to make sure you’re using the right glue in the correct way, and that it won’t damage your cabinet doors or the cane webbing.
Once you’ve chosen the best glue for your project, be sure to apply it evenly over the surface of both the caning and the door frame. Allow time for it to set according to the manufacturer’s instructions before pressing down on the cane webbing with a roller or cloth-covered object. This will ensure a secure bond between all parts and ensure that your cane webbing installation is as strong as possible.
10 Methods How to Install Cane Webbing on Cabinet Doors
1. Remove the Old Webbing.
Use a putty knife or other sharp tool to remove the old webbing from the cabinet doors. If the webbing is glued on, you may need to use a heat gun or hair dryer to loosen the adhesive. Once you have removed the old webbing, clean the surfaces of the doors to ensure that they are free from dirt, dust, and other debris.
To do this, use a damp cloth and some mild detergent. To get into tight spots, you can use a soft-bristled toothbrush. However, do not use any abrasive cleaners or other harsh materials.
2. Clean the Surface.
Once the old webbing has been removed, use a damp cloth to clean the surface of the cabinet doors. This will help ensure that the new webbing will adhere properly. To remove any dirt or dust, use a vacuum with an upholstery attachment.
However, make sure that no loose fibers from the vacuum are left behind. Although not necessary, you can use light sandpaper to create an extra smooth surface for the webbing. Though, it’s important to be careful not to damage the wood. If necessary, apply a wood conditioner to the area before beginning.
3. Cut the New Webbing.
Measure and cut the new webbing to fit the cabinet doors. Be sure to allow for enough excess so that you can wrap it around the edges of the door and staple it in place. Measure the width and height of each door, then use wire cutters to cut the webbing at least 2 inches wider and higher than the measurements.
If the webbing does not have a pre-cut pattern, mark out the design you wish to create with a pencil. However, if pre-cut patterns are available, skip this step as the lines will be already marked. To ensure that the webbing is cut accurately, secure it with a few staples before cutting.
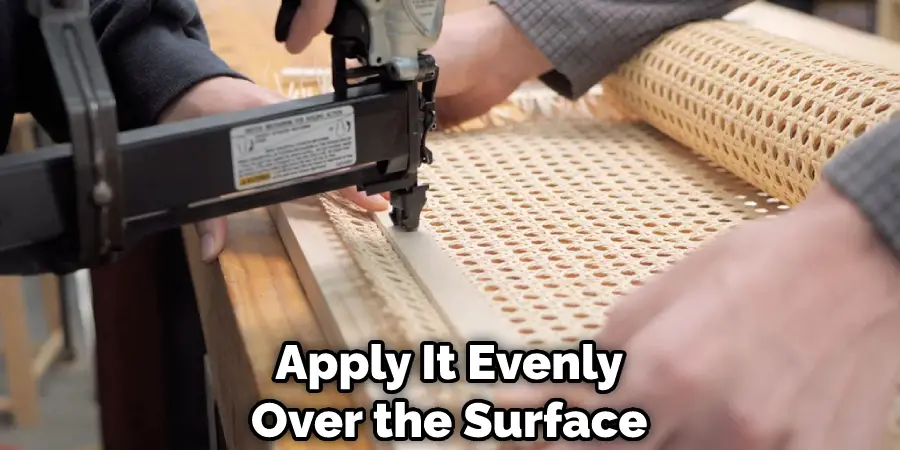
4. Apply Adhesive.
If you are using self-adhesive webbing, skip this step. If not, apply adhesive to the back of the webbing using a brush or roller. Be sure to apply it evenly so that it will adhere properly.
Though the type of adhesive you should use will depend on the material of your cabinet door, a good general-purpose adhesive should work. To help the adhesive dry faster, use a hair dryer or heat gun. Also, make sure the area is well-ventilated. Make sure that the adhesive is fully dry before proceeding.
5. Position the Webbing.
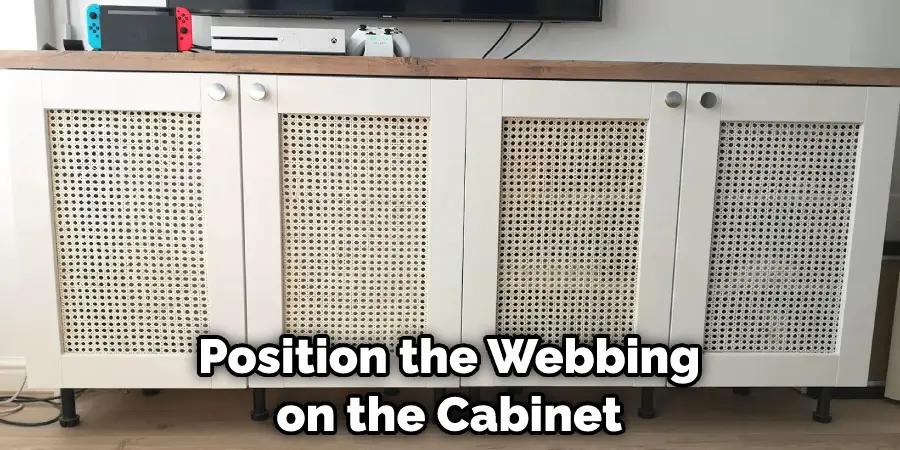
Position the webbing on the cabinet door, making sure that it is centered and that there is an equal amount of excess on each side. Use clamps or weights to hold it in place if necessary. Though it is recommended to use an upholstery staple gun, you can also use regular staples if necessary.
Make sure the staples are going into the wood and not into the webbing. While you are doing this, keep the webbing taut. However, be careful not to stretch it too much or it may deform the webbing. Try to keep the webbing at least 1/2 inch away from any hard corners or edges that could potentially puncture it.
6. Wrap and Staple the Edges.
Wrap the excess webbing around the edges of the cabinet door and staple it in place using a heavy-duty stapler. Be sure to pull the webbing tight so that there are no wrinkles or gaps. Start stapling at the top of one side and work your way down.
Once you reach the bottom, move to the other side and repeat. When stapling at the corners, fold the webbing over and pull it tight. Stapling in this way keeps the webbing secure and helps it to lay flat. Finish the job by trimming away any excess webbing that has been left behind.
7. Trim Any Excess Webbing.
Once you have stapled all around the edges, trim any excess webbing with a sharp knife or scissors. Be careful not to cut into the wood of the door itself. To make sure there are no frayed edges, use a lighter to slightly melt the end of the webbing.
While doing this, make sure to keep the flame away from any flammable materials in the vicinity. Although optional, you can use a few drops of wood glue to further secure the webbing to the cabinet door. Once the glue has dried, you are done with installing cane webbing on cabinet doors.
8. Apply Finish if Desired.
If you want, you can apply a finish to the cane webbing at this point (such as lacquer or varnish). This is not necessary, but it will help protect the webbing from wear and tear over time. Use a foam brush or rag to lightly apply the desired finish.
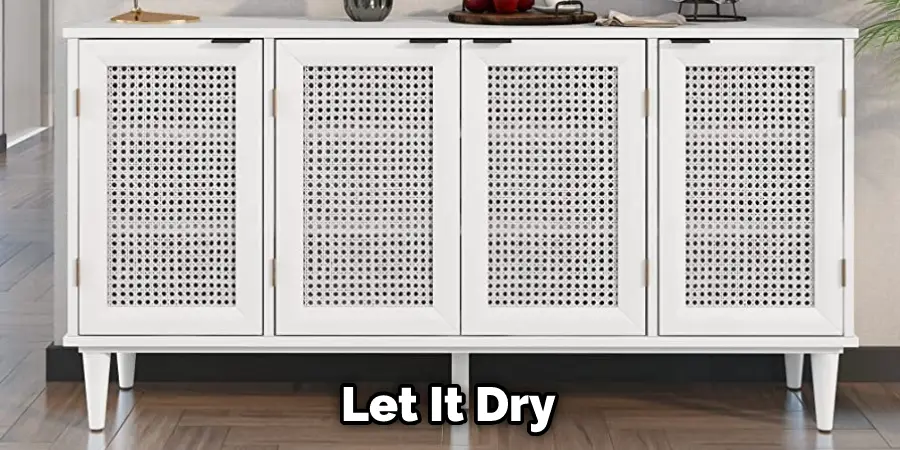
Let it dry according to the instructions on the product label, and then proceed with attaching the cabinet door. While you can use a brush to apply the finish, it is recommended to avoid brushing against the cane webbing, as this could damage or distort it. Try to apply the finish in a sweeping motion, and let it dry completely before proceeding.
9 Attach Handles or Knobs if Needed.
Once the webbing is installed, you can attach handles or knobs to the door if desired. This will make it easier to open and close the cabinet, and it will give it a more finished look. When attaching handles or knobs, use screws that are long enough to go through the metal webbing and into the wood or frame behind it.
This will ensure that the hardware remains secure. Once all of the knobs or handles are attached, your cabinet can be placed back in its original spot. Enjoy the added style that the cane webbing has provided to your cabinets!
10 Enjoy Your Newly Updated Cabinets!
Once you have completed all of the steps, enjoy your newly updated cabinets! You can be proud knowing that you successfully installed cane webbing on your own, giving your cabinets a new look and creating a decorative space.
You will have the satisfaction of knowing that you gave your furniture an upgraded look and increased its resale value. With the right materials and patience, you can complete this task with ease and have a beautiful result!
Things to Consider When Install Cane Webbing on Cabinet Doors
1. Choose the Right Cane Webbing:
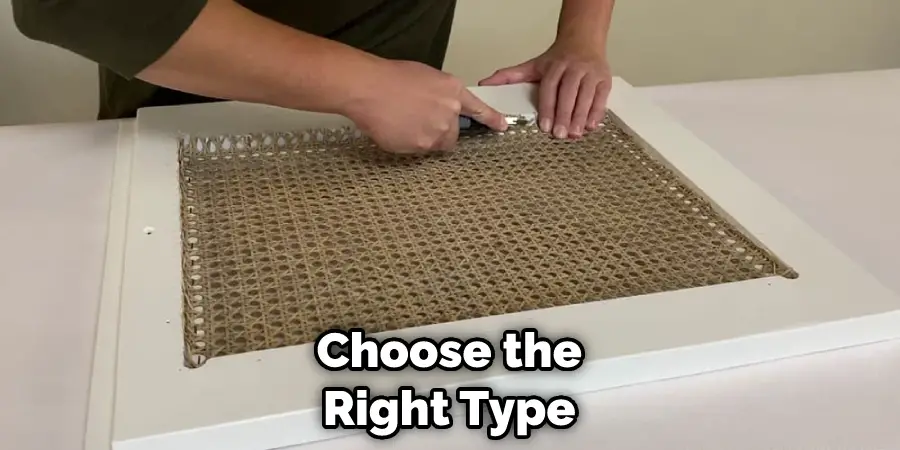
When installing cane webbing on cabinet doors, it’s important to choose the right type of cane webbing. Look for a webbing that is strong, durable, and flexible enough to fit around the curves of your cabinet doors.
2. Measure Your Cabinet Doors:
Be sure to measure all the dimensions of your cabinet doors before purchasing cane webbing for them. This will ensure you get the correct size and type of cane webbing so you don’t have any problems later on with fitting it onto your cabinets.
3. Pre-Drill Holes For Installation:
Before installing the cane webbing, pre-drill holes at evenly spaced intervals along both long sides of your cabinet door frames. This will make it easier to install the cane webbing, as you won’t need to measure and drill each hole as you move along.
4. Use Upholstery Staple Gun:
When installing the cane webbing, use an upholstery staple gun to secure it to the cabinet door frames. This will ensure that your webbing is firmly attached and won’t come loose or detach over time with use.
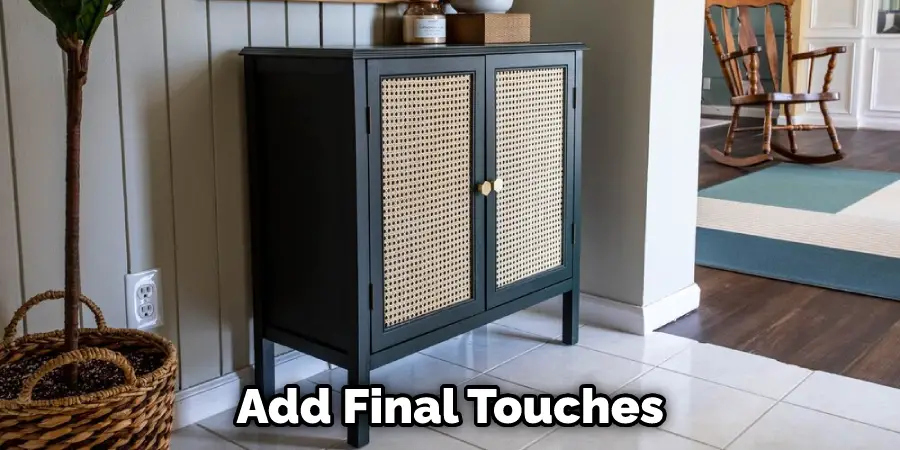
5. Finishing Touches:
Once your cane webbing has been successfully installed, you can add final touches, such as stain or paint to give your cabinet doors an attractive, finished look. With the right tools and materials, installing cane webbing on your cabinet doors can be a straightforward process.
Conclusion
It’s clear that installing cane webbing on cabinet doors can be a fun and simple DIY upgrade. With the right supplies, tools, and instructions, you can give your cabinets an entirely new look without breaking the bank.
Whether you love the traditional look or are looking for something more modern, cane webbing is just what you need to make your cabinets shine. Thanks for reading, and we hope this has given you some inspiration on how to install cane webbing on cabinet doors!
Check it Out Paint Metal File Cabinet