Are you looking for an easy way to add extra storage space in your living room, bedroom, or any other space? If so, then honeycomb shelves are a great choice! Not only are these shelves an affordable and stylish addition to any home decor scheme, but they’re also incredibly easy to hang.
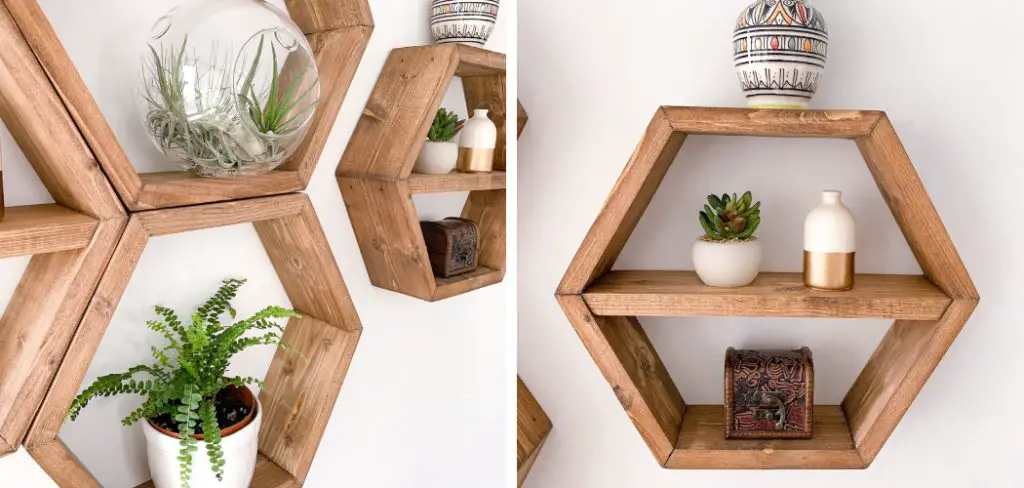
In this guide, we’ll discuss how to choose the perfect honeycomb shelf for any interior space and provide detailed instructions on how to hang honeycomb shelves yourself without needing too many tools or special equipment.
So if you’re ready to get organized and add unique style to your room at the same time, read along as we explore everything there is to know about hanging a beautiful honeycomb shelf in your home.
What Angle Should Honeycomb Shelves Be?
Honeycomb shelves should be hung at a 45-degree angle. This allows the shelf to provide extra support and stability without compromising the aesthetics of the room. When it comes to hanging honeycomb shelves, an accurate measurement is key!
Make sure you measure twice before drilling in the wall anchors, as incorrect measurements can result in an uneven or weakly-supported shelf. If possible, enlist a friend or family member to help with measuring and installation.
It’s also important to consider what type of wall material you are working with when installing honeycomb shelves—drywall requires different mounting hardware than plaster and lath walls do. Be sure you’re using the correct materials to ensure that your shelves are securely installed.
Additionally, make sure you are using the right anchors and screws for your wall type. Once the shelf is hung, double-check that it is level. This will ensure an even weight distribution and help prevent sagging in the future. If the shelf isn’t level, use shims or small pieces of wood to adjust it until it’s straight.
After installation, check again periodically to be sure that everything is still secure and level. With proper measuring, wall material considerations, and careful installation, you can enjoy your honeycomb shelves for years to come!
10 Methods How to Hang Honeycomb Shelves
1. Adhesive Strips:
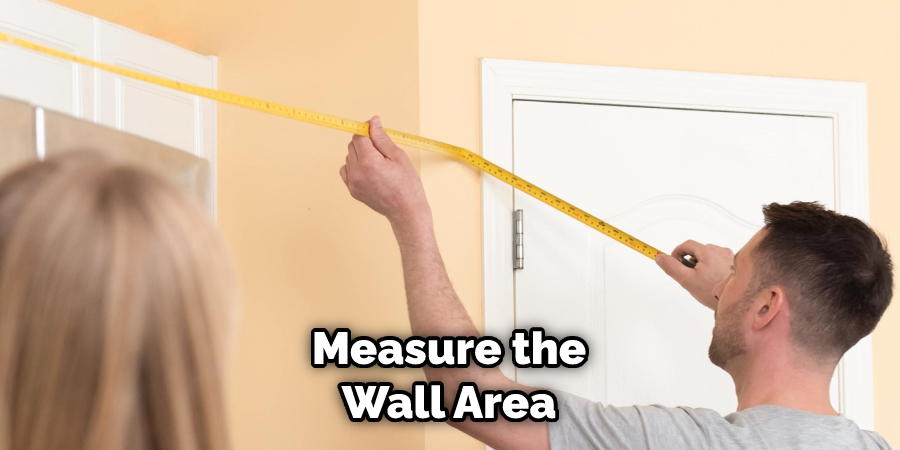
Use adhesive strips to attach the honeycomb shelves to the wall. This is a great option if you’re renting or don’t want to make holes in the wall. Measure the wall area where you want to hang your shelf and cut two strips of adhesive-backed mounting tape that are slightly wider than the shelf.
Peel off the back of the mounting tape and press it firmly against the wall where you want to hang the shelf. Then, peel off the adhesive strips’ backing and press the shelf firmly against the adhesive strips on the wall. The adhesive should hold securely for many years.
2. Screws and Anchors:
Use screws and anchors to secure the shelves to the wall. This is a more permanent option and works well if you’re looking for a sturdy installation. First, use a power drill to drill pilot holes into the wall at the desired shelf height.
Then, insert plastic anchors into the pilot holes and insert the screws into the anchors. Secure the shelf to the wall using a screwdriver or power drill. Make sure that all screws are firmly secured in place. Finish by gently sliding the honeycomb shelf onto the screws and check to make sure it’s stable. And that’s all there is to it!
3. Picture Hangers:
Install picture hangers on the back of the honeycomb shelves and hang them on nails or screws in the wall. When you hang the shelves, make sure that they are level and that the screws or nails are securely in place.
If you want to use anchors, make sure to use the appropriate anchor for your wall type. Once it’s level, you can adjust the height of the shelves to create an even look. While you’re at it, take the opportunity to step back and make sure that your shelving looks balanced and visually pleasing.
Try to avoid overcrowding the shelves with too many items. Finally, make sure that all of your items are securely placed on the shelves so they don’t end up on the floor.
4. French Cleat:
Attach a French cleat to the back of the shelves and the wall. This is a secure and stable method that allows for easy removal. Drill a hole in the back of the shelf and attach one-half of the French cleat. To install, hold the other half of the cleat on the wall and mark where you need to drill.

Drill and attach the other half of the cleat, then hang your shelf firmly against it. While this method takes a bit more effort, it is one of the most secure ways to hang your shelves without damaging the wall. To remove, simply pull the shelf away from the wall and unhook it.
5. Magnetic Mounts:
Use magnetic mounts to attach the shelves to the wall. This is a great option if you want to avoid drilling holes in the wall. Magnetic mounts are easy to install and provide strong support for the shelves. To use a magnetic mount, you will need two metal plates that attach to the back of the shelf and two magnets that attach to the wall.
Place the magnetic mounts on both sides of the shelf and press them firmly against the wall. The magnets will keep the shelf secure and in place. Be sure to use the right size of magnetic mount for the weight of your shelf.
Make sure the magnets are securely attached to the wall and that they can hold up your shelf. Follow the manufacturer’s instructions for the installation of magnet mounts.
6. L-Brackets:
Use L-brackets to attach the shelves to the wall. This is a simple and effective method that provides a lot of support. Place the brackets in each corner of the shelf and use a drill to screw them into the wall.
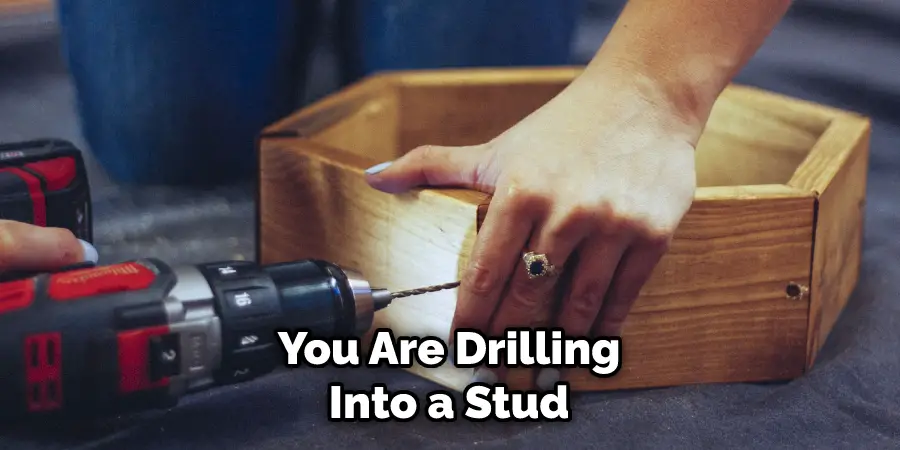
Make sure you’re drilling into a stud to ensure the shelf will hold. If you’re not sure where the studs are, use a stud finder or tap on the wall and listen for a hollow sound. Once the brackets are attached, slide the shelf onto them and secure it with screws. You’re now ready to enjoy your new shelves!
7. Wire or Rope:
Use wire or rope to hang the shelves from the ceiling. This is a unique option that can create a floating effect. To hang the shelf this way, measure and mark the desired location on the ceiling. Drill two small holes in each corner of the desired location, just large enough to thread the wire or rope through.
Cut the wire or rope to length and secure it at each hole with a knot, taking care not to make it too tight as you may need to adjust the height at a later time. Lastly, attach an S-hook through the hole in your honeycomb shelf at each end of the wire or rope and hang it from the ceiling. Voila – you have a floating honeycomb shelf!
8. Suction Cups:
Use suction cups to attach the shelves to a window or other smooth surfaces. This is a great option for small, lightweight shelves. Make sure the suction cups are firmly attached before hanging any items on them.
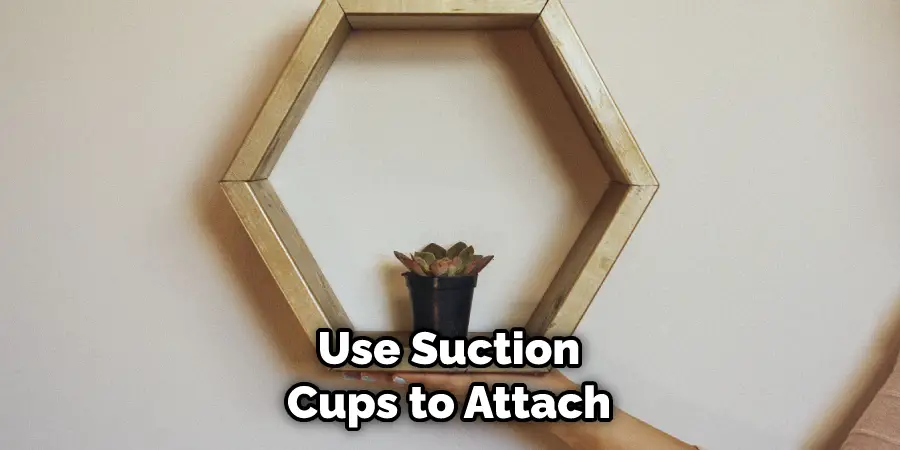
If they’re not, use a heavy-duty adhesive to secure them. However, suction cups are not suitable for larger shelves or if you plan to hang heavier items. To hang heavier items, it’s best to use a wall anchor.
9. Command Hooks:
Use Command hooks to hang the shelves. This is a great option for small, lightweight shelves and doesn’t require any drilling. Position the hook on the wall, push it firmly and hold for 30 seconds.
While it sets, attach the shelf to the hook. Slide it up and press firmly against the wall to ensure a secure hold. Make sure not to hang any items that exceed the weight limit of the hook. For best results, check package instructions before using.
10. Bookends:
Use decorative bookends to prop up the shelves on a table or other flat surfaces. This is a unique option that can add a decorative touch to your space. Simply place two bookends at either end of the shelf, and it will hold up without needing to be attached to a wall. Make sure you use sturdy, heavy bookends to ensure the shelf is properly supported.
Conclusion
Hanging honeycomb shelves can be a great and affordable way to enhance the look and feel of any space. Not only are they stylish, but their unique design also offers unlimited versatility for organizing and displaying accessories. With the help of these easy instructions, you can create an eye-catching wall display in just a few steps.
Whether you choose to make your own or purchase pre-made units, honeycomb shelves are sure to bring life and character to any home or office. Show off your creativity and upgrade your space with a set of beautiful honeycomb shelves today! Thanks for reading, and we hope this has given you some inspiration on how to hang honeycomb shelves!