
Removing a switch from a keyboard can be an important task for many reasons. For example, if one of your keys is not working properly because of a faulty switch, you will need to remove and replace it to get it working again. Additionally, if you want to customize your keyboard with different switches, you must remove and replace the existing switches.
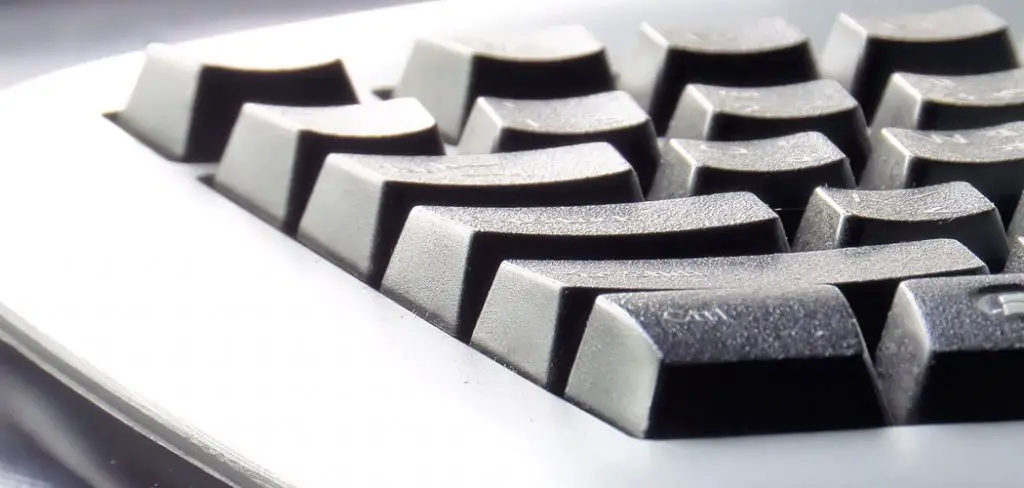
Removing a switch from a keyboard can provide you with several advantages. First, it allows you to clean any debris or dirt that might be stuck in the switch, which may improve its performance. Additionally, it is possible to replace faulty switches with new ones if they are no longer functional. Furthermore, removing and replacing switches is often the easiest and most cost-effective way to customize your keyboard’s layout if you wish to change the size, shape or feel of certain keys. In this blog post, You will learn in detail how to remove a switch from a keyboard.
Tools You Will Need
- Small flathead screwdriver
- Needle nose pliers
- Tweezers
- Toothpick or small brush
- Solder wick
- Isopropyl alcohol or degreaser
- Heat gun
- Small suction cup
- Electrician’s knife
- Socket wrench (optional)
Step-by-Step Processes for How to Remove a Switch From a Keyboard
Step 1: Inspect the Switch
Before removing the switch from your keyboard, it is important to identify the type of switch and its structure. Most switches are easily identified by their shape and size; however, some may be more difficult to pinpoint. Additionally, you should take note of any screws or other fasteners that may need to be removed prior to disassembly. Depending on your keyboard, you will need various slim tools such as tweezers, screwdrivers, and pliers.
Step 2: Unscrew Fastenings

Once you have identified the type of switch and fasteners, use the appropriate tools to unscrew them. Be sure to keep track of any screws or other components in case you need them for reassembly. Once all fastenings are removed, gently separate the switch’s upper and lower parts. This will reveal the inner workings of your switch. Be sure to handle these components carefully, as it can be challenging to reassemble a keyboard switch if any pieces are damaged or broken.
Step 3: Remove Circuit Board
The circuit board is the most delicate component of your keyboard switch. To remove it, use a tweezer or other slim tool to extract it from the base of the switch carefully. Be sure to grip firmly but not too hard, as you do not want to risk damaging any of its sensitive components.
The switch’s spring is a vital component of the switch; therefore, it must be extracted with care. To remove, grab hold of the coil with tweezers or pliers and gently pull upwards. If any resistance is felt, stop and hold the spring firmly but not too hard.
Step 4: Remove the Stem and Plate
The stem of your switch is connected to the plate through a plastic housing and can be easily removed once unscrewed. Use either a screwdriver or tweezers to unfasten the screws connecting them together, then carefully remove each component separately. The plate components are connected to each other by small screws and can be easily separated.
Use tweezers or a screwdriver to unscrew them, and then carefully remove each component from the plate. Be sure to keep track of all screws, as you do not want any pieces left over once reassembly begins.
Step 5: Remove the Contact Points

The contact points of your switch are the most delicate components and must be removed with care. Use tweezers or a screwdriver to unfasten them from the plate, then carefully remove each piece one by one. Take caution not to pull too hard, as they can easily become damaged or broken. Once all the components have been removed, it is important to clean them thoroughly before reassembly.
Use a cotton swab and rubbing alcohol or an electronic cleaning solution to remove any debris that may be lodged inside the switches. Allow the components to dry completely before proceeding with reassembly.
Step 6: Reassemble the Switch
Once all the components have been cleaned, it is time to reassemble your switch. Carefully place each component back into its original position, then use tweezers or a screwdriver to connect them together. Once complete, carefully insert the newly assembled switch back onto your keyboard and enjoy.
Safety Tips for How to Remove a Switch From a Keyboard
- Ensure the keyboard is unplugged before taking further steps to avoid electric shock.
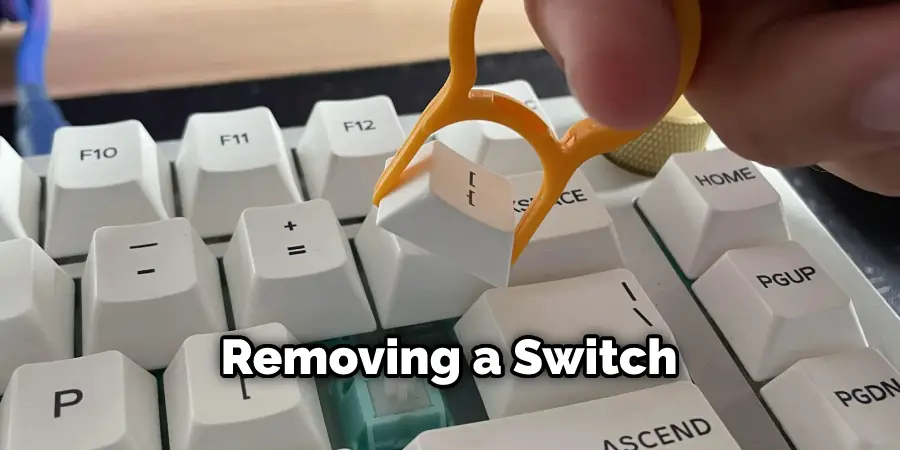
- Locate a thin, flat tool like a thin plastic opening tool, guitar pick, or butter knife and insert it between the switch and keycap.
- Carefully pry the switch out of its housing without forcing it.
- Place a cloth underneath the keycap to catch all of the individual components in case they drop out from the switch.
- Grasp the switch with tweezers and remove it from its housing by gently pulling it upward.
- Dispose of the old switch and replace it with a new one if desired.
- Take care to properly align the pins and ensure they are correctly inserted before reassembling the keycap.
Following these safety tips for Removing a Switch From a Keyboard will ensure that your keyboard is safely handled and can help prevent any unexpected damage or injury.
How Can You Prevent a Similar Issue in the Future?
- If a switch from a keyboard needs to be removed, always use appropriate tools and protective gear, such as gloves and safety glasses.
- Before attempting any repairs or maintenance, ensure the power is off for the device being worked on to prevent any electric shock hazards.
- Carefully read through the guidance provided in the product manual for appropriate instructions and warnings.
- If needed, use a vacuum cleaner to remove any dust buildup before opening up the device and disturbing any internal parts.
- Exercise caution when removing components from their sockets or housings, as improper force may damage them beyond repair.
- After completing any repairs or maintenance, ensure that all components are properly reattached, and no loose parts remain.
- If needed, consider replacing worn-out components before putting the device back together to prevent future issues.
- Once everything is done, test the device for proper functionality and record any maintenance done for future reference.
Following these steps can help ensure that any repairs or maintenance of electronic devices is done safely and properly, which can also help prevent similar issues from occurring in the future.
How Can You Store and Protect the Switch Between Uses?
Once you have removed a switch from your keyboard, you must store and protect it between uses. To do this, ensure the switch is kept in a safe place, away from any liquids or other objects that may damage the switch. If possible, wrap the switch in an anti-static bag before putting it away. This will help prevent the build-up of dust and dirt on the switch.
Additionally, if you are traveling with the switch, ensure it is kept in a padded bag or casing to protect it from bumps and scratches. These simple steps will ensure that your switch stays in good condition for future use.
How Often Should You Check for Damage on Your Keyboard’s Switches?
One of the most important parts of regular keyboard maintenance is checking for any switch damage. You should check your keyboard’s switches at least once every six months. Look for signs of deterioration during your inspection, such as corrosion or broken parts. If you find any damage, removing the switch and replacing it with a new one may be necessary.
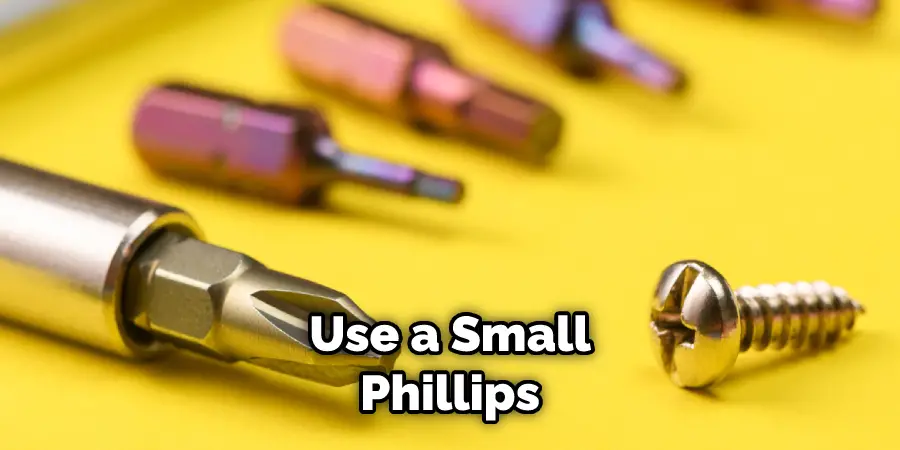
Removing a switch from a keyboard is not very difficult, but you must have the proper tools ready before you can begin. To start, make sure that your keyboard is powered off and unplugged. Next, use a small Phillips or flathead screwdriver to remove any screws that are holding the keycap in place. Once all screws are removed, carefully pry up the keycap and remove it from the keyboard.
How Can You Avoid Damaging the Switch When Removing It?
- Power off the computer before beginning.
- Carefully grip the switch stem and pull it straight out. Avoid wiggling or twisting, as this could damage the switch’s internal components.
- Once the switch is removed, make sure to clean away any dust or debris that may have gathered around it to avoid any potential electrical shorting.
- If the switch is stuck, a vacuum cleaner may be used to suction away debris that could be causing the issue gently.
- Take extra care when handling key switches, and avoid gripping too tightly or exerting excess force, as this can damage them beyond repair.
- When inserting the replacement switch, make sure to guide it into place and avoid forcing it in carefully. Once the stem is completely inserted, you may need to press down on top of the switch to ensure that it has been properly seated.
- Reconnect any cables and reassemble the keyboard before turning on the computer again.
- Test the switch to make sure that it is functioning properly.
- Reattach all of the keycaps, and you’re done.
By taking extra care when handling the hardware and following these steps, you should be able to remove a switch from your keyboard without damaging any of its components.

Conclusion
In conclusion, removing a switch from a keyboard is not as complicated as it may seem. With the right tools and some patience, you can easily remove any type of switch from your keyboard. Although there are different types of switches with varying degrees of difficulty to remove, if you follow this guide, you should have no problem removing the switch.
With the right technique and care, you can easily and safely remove any type of switch from your keyboard. Now that you know to remove a switch from a keyboard, you can customize it to your liking and enjoy the perfect typing experience. I hope this article has been beneficial for learning how to remove a switch from a keyboard. Make Sure the precautionary measures are followed chronologically.