Are you looking for a way about how to remove caster socket? If so, then you’ve come to the right place. Removing caster sockets can be tricky, but with the right knowledge and tool set-up, it doesn’t have to be! In this article we will explore how you can easily and safely remove caster sockets from any type of furniture. We’ll cover the different types available on the market as well as providing tips on getting them off without damaging your furniture or yourself. So let’s get started!

Removing a caster socket from furniture can be a difficult task, especially if you do not know the proper technique. If your furniture is missing casters or has outdated ones that need replacing then this guide will help.
By following these basic steps, you can easily remove the caster sockets and make way for new casters to be installed. Not only will this give your furniture some much-needed upgrades but it could also save you money instead of needing to replace the entire piece. You’ll also find tips on what types of tools are necessary to complete this job as well as how best to prevent damage during removal. Let’s get started!
Why Do You Need to Remove Caster Socket?
There are many reasons why you may need to remove a caster socket from your furniture. Such as:
1. To Increase or Decrease the Height
One of the most common reasons to remove caster socket is to increase or decrease the height of your furniture. By replacing casters with different heights, you can customize the look and functionality of your furniture. Also, caster sockets are designed to fit a range of casters, so you can easily change the size and type of caster for different purposes.
2. To Replace or Install New Casters
Sometimes, caster sockets need to be removed in order to replace old or worn out casters with new ones. This is especially important if your furniture is used in a commercial setting, as the casters will need to be replaced more often than with home settings.
3. To Install New Furniture Accessories
Caster sockets are also used to attach furniture accessories such as shelves and cup holders. By removing the caster socket, you can install these accessories securely and ensure that they remain properly attached.
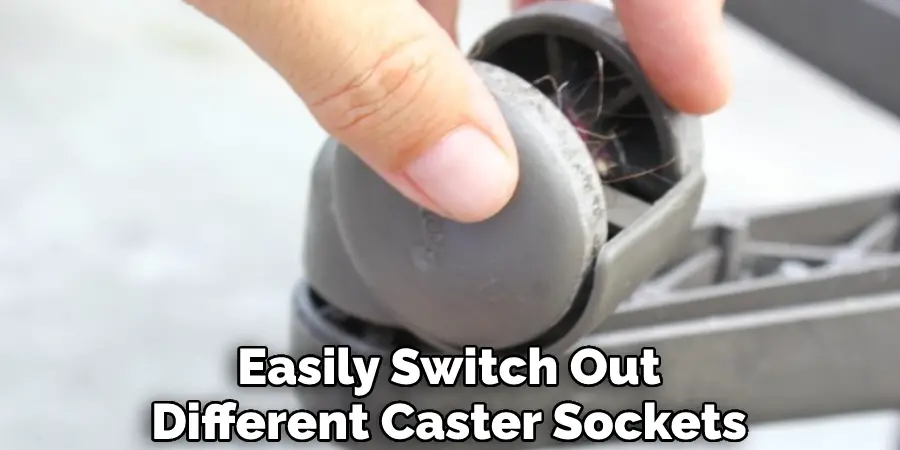
4. To Change the Style or Design of Your Furniture
By changing out the caster sockets, you can change the overall look and design of your furniture. This is a great way to customize your space and give it a personal touch. Also, you can easily switch out different caster sockets to get the exact look and feel that you want.
How to Remove Caster Socket in 7 Easy Steps
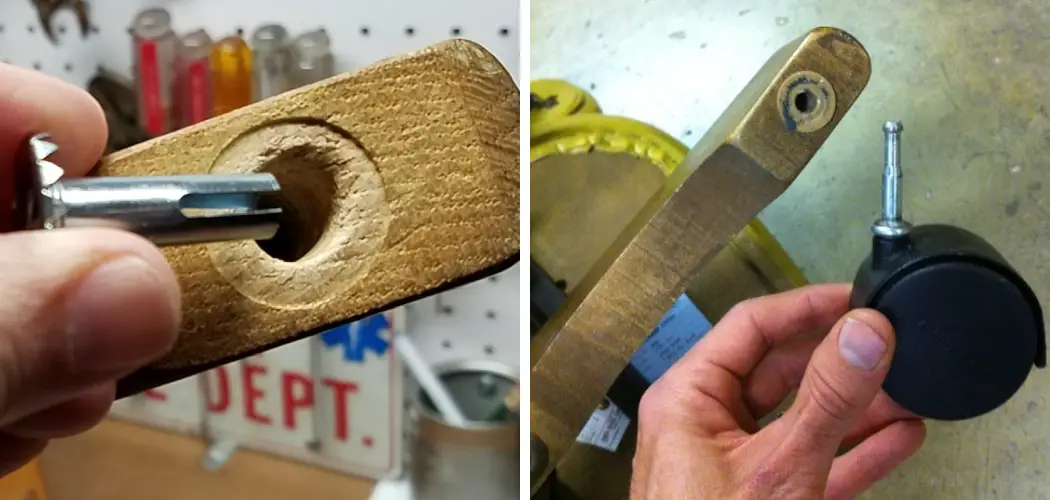
Step 1: Unscrew the Cap Nut
The very first step is to unscrew the cap nut from the caster socket. The cap nut can be found at the bottom of the caster socket and will need to be removed before continuing. Also, make sure to keep track of the nuts and bolts in case they are needed for reassembly later.
Step 2: Remove the Caster Socket from Furniture
Once the cap nut has been removed, the next step is to remove the caster socket from furniture. Depending on what type of furniture it is and how it was assembled, this process can vary. Also, make sure to have a helper nearby to help lift the caster socket out of the furniture if needed.
Step 3: Remove Wheels from Caster Socket
The next step is to remove any wheels that may be attached to the caster socket. This process can be a bit tricky, as it may require pliers or some other tool for removal. You will have to make sure that you remove the wheels carefully and without causing any damage.
Step 4: Inspect Caster Socket
Once the caster socket has been removed from the furniture, it is important to inspect it for any signs of wear or damage. This process can help ensure that the caster socket will work as intended once it is reassembled. Make sure to do a thorough inspection and check for any loose parts or other issues that may need to be addressed.
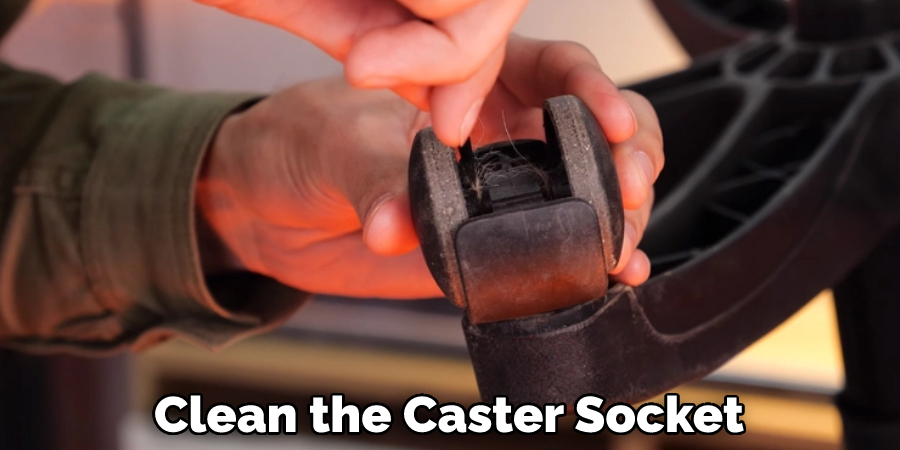
Step 5: Clean Caster Socket
The next step is to clean the caster socket. This can be done with a damp cloth, in order to ensure that the caster socket is free of any dirt or debris that may have accumulated over time. Be careful not to use any harsh chemicals as this may damage the socket.
Step 6: Lubricate Caster Socket
The next step is to lubricate the caster socket in order to ensure that it moves smoothly and without any issues when being used. Any type of lubricant should be suitable for this process, but make sure to read the instructions
Step 6: Lubricate Caster Socket
Once the caster socket has been cleaned, it’s important to lubricate it in order to ensure that it moves smoothly and operates properly. Make sure to use a lubricant specifically designed for caster sockets and take care not to over-lubricate.
Step 7: Reassemble Caster Socket
The final step is to reassemble the caster socket. Make sure that all of the nuts and bolts are in place as they were before, and that everything is tight and secure. Once everything is put back together, you should be able to enjoy smooth operation of your caster socket once again!
Following these 7 easy steps can help you remove and reassemble a caster socket with ease. With proper care and maintenance, your caster sockets should be able to last for many years to come! Good luck!
Frequently Asked Questions
What Precautions Should I Take When Removing a Caster Socket?
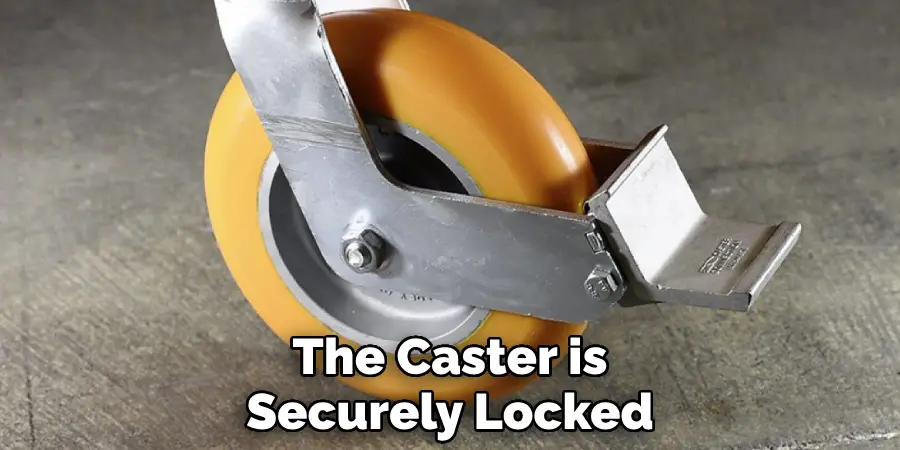
When removing a caster socket, it is important to take safety precautions to avoid injury. Make sure that the caster is securely locked before attempting to remove the socket.
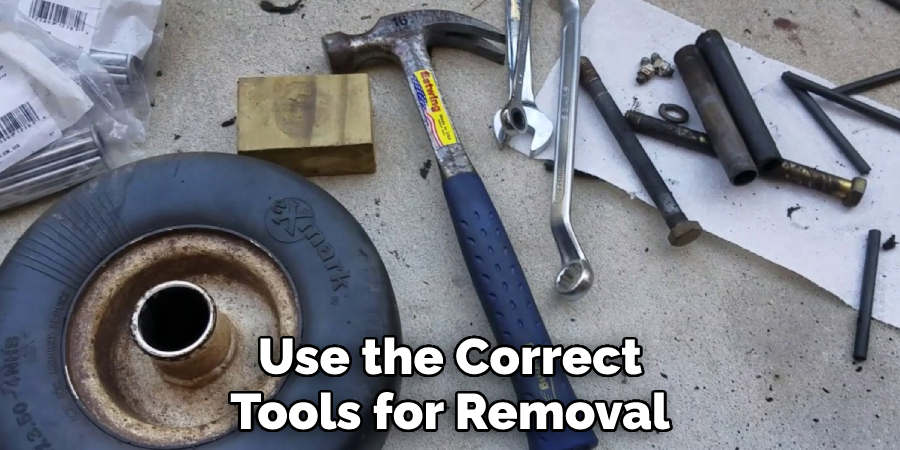
Additionally, make sure to use the appropriate tools for the job – using anything other than the correct tool may damage both the caster and the socket. It also helps to have a partner assist with the removal; one person can hold the caster in place while the other removes the socket. Finally, always wear protective eyewear when working on any job involving tools and heavy machinery to avoid potential eye injury.
How Do I Remove a Caster Socket?
The first step is to make sure that the caster is securely locked and stable. Next, use the appropriate tools for removal, such as a wrench or socket set. Then, once both tools are in place, begin turning them in opposite directions until the socket loosens and can be removed from the caster. Finally, remove the socket completely by pulling it straight off of the caster.
What Tools Do I Need to Remove a Caster Socket?
The tools needed for removing a caster socket depend on the type of caster being used. For most casters, an adjustable wrench or socket set will be necessary.
However, some casters may require special tools such as Allen wrenches or vice grips in order to remove the socket. Be sure to consult the manufacturer’s instructions before attempting any repairs.
Is It Difficult to Remove a Caster Socket?
Removing a caster socket can be difficult depending on the type of caster and how long it has been in place. If the caster is heavily corroded or rusted, it may require additional lubrication to help loosen the socket.
Additionally, using the wrong tools for removal can also make it more difficult. If you have any doubts about removal, it is best to consult a professional for assistance.
Can I Reuse a Caster Socket After Removing it?
Yes, caster sockets can be reused after they are removed as long as they are in good condition. Be sure to inspect the socket for any signs of wear and tear, such as rust or corrosion.
If necessary, clean the socket thoroughly before reusing it. Additionally, always use the correct tools for removal and installation when working with caster sockets to ensure a secure connection and avoid potential damage.
Conclusion
Now you know how to remove caster socket. Follow these steps and you can easily remove the caster socket without any difficulty. If you have any doubts, then make sure to consult a professional for assistance. As long as you use the correct tools for removal and installation, your caster socket should be able to last for many years to come!
To wrap up, it’s important to remember that removing a caster socket is an easy process that doesn’t require a lot of tools or experience. All it takes is some time and attention to detail. If you follow the steps outlined above, you should have your caster ready to use in no time.
And of course, if something goes wrong while you’re performing these steps on your own furniture, don’t hesitate to seek help from an experienced technician. With a little patient effort and knowledge, anyone can upgrade their furniture with caster sockets in no time!