A chair is only as good as its base. The base supports the entire weight of the chair and its occupant. Unfortunately, a common problem with chairs is that the cylinder becomes stuck in the base. In this blog post, we’ll walk you through how to remove cylinder from chair base, including the tools you’ll need and the steps you need to take.
This procedure can be used on any chair with a round, cylindrical base. It is a simple procedure that can be completed in minutes without special tools or equipment. So if you’re looking to replace your chair’s cylinder or give your chair base a makeover, keep reading for all the info you need!
Why You Should Remove Cylinder From Chair Base?
When you are sitting in a chair, the weight of your body is distributed between the seat and the backrest. This distribution is what keeps you in the chair and prevents you from falling backward. The cylinder on a chair base helps to create this distribution of weight by acting as a support for the seat. Therefore, if the cylinder is removed, the chair will not be as stable, and it may be more difficult to remain seated.
In addition, the absence of the cylinder can cause the chair to wobble or tip over. However, there may be times when you need to remove the cylinder from the chair base. This could be because the cylinder is damaged and needs to be replaced, or because you are moving the chair to a new location and need to remove the base.
10 Methods on How to Remove Cylinder From Chair Base
1. Use a Wrench:
This is the most common way to remove the cylinder from a chair base. Place the wrench over the flats on the top of the cylinder and turn it counterclockwise.
2. Use a Pipe Wrench:
If you can’t fit a wrench over the flats on the top of the cylinder, try using a pipe wrench. The jaws of the pipe wrench will fit around the cylinder’s circumference. Turn it counterclockwise to remove it.
3. Use a Hammer and Chisel:
Another way to remove the cylinder from a chair base is with a hammer and chisel. Place the chisel on top of the flats on the top of the cylinder and strike it with the hammer. This will break the bolt loose.
4. Use a Drill:
If you have a drill, remove the screws from the bottom of the chair base. This will allow you to access the cylinder. Next, drill into the center of the cylinder and use a screwdriver or wrench to loosen it. Once it is loose, you can pull it out.

5. Use a Saw:
If you can’t remove the screws from the bottom of the chair base, you can use a saw to cut the cylinder. Be careful not to cut into the chair base. Instead, cut the cylinder just below the bolt and then use a wrench or screwdriver to remove it.
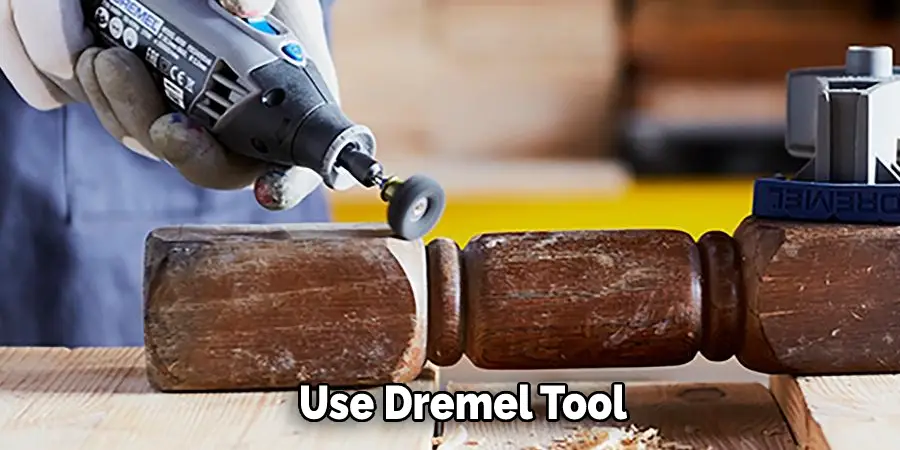
6. Use Dremel Tool:
If you have a Dremel tool, you can use the cutoff wheel to cut the cylinder off the chair base. Be very careful not to cut into the base of the chair. Cut slowly and steadily until you’ve cut through the entire circumference of the cylinder. If your Dremel has a plunge-style cutting bit, you can use that to make the cut easier.
7. Remove cylinder:
Once you’ve cut through the entire circumference of the cylinder, it will be loose, and you can remove it from the chair base. If it is still attached at one end, use a hammer and chisel to break it free. Be very careful not to damage the chair base.
8. Use a Heat Gun:
If you can’t remove the cylinder from the chair base with any of the methods listed above, you can try using a heat gun. First, heat the cylinder until it is hot enough to expand and then use a wrench or screwdriver to loosen it.
9. Use a Vice:
If you have a vice, it can help to secure the chair base while you work on removing the cylinder. Place the vice so that it is gripping the chair base tightly, and use the appropriate tool to loosen the cylinder. Be careful not to damage the chair base while removing the cylinder.
10. Use a Crowbar:
You can try prying the cylinder loose with a crowbar if all else fails. Place the crowbar on top of the cylinder and use your weight to push down on it. This will loosen the bolt, and you can remove it from the chair base.
Removing a cylinder from a chair base can be difficult, but you should be able to get the job done with these ten methods.
What Tools and Supplies You’ll Need
- Tape measure
- Square
- Level
- Hammer
- Chisel
- 6Pry bar
- Socket wrench set
Step by Step Guide: How to Remove Cylinder From Chair Base
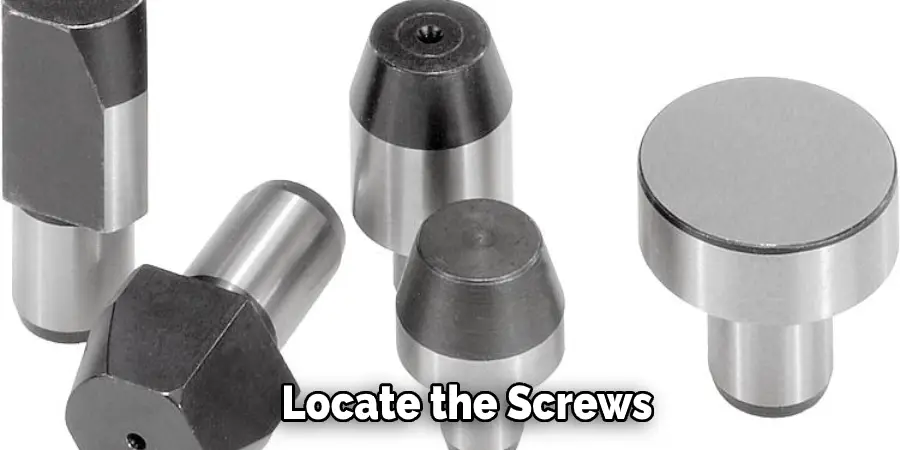
Step 1: Locate the Screws.
There are typically two screws that hold the cylinder in place. They will be on the bottom of the chair, near where the cylinder meets the base.
Step 2: Remove the Screws.
Use a Phillips head screwdriver to remove the screws. Be careful not to strip them, as they can be tight. Once the screws are removed, you can pull the cylinder out of the chair base. If your chair has a tilt function, you must disable it before removing the cylinder. To do this, remove the screw on the front of the tilt lever and lift the lever off its post. You can then remove the cylinder. You can skip this step if your chair doesn’t have a tilt function.
Step 3: Remove the Caster.
On the bottom of the chair’s caster, you will find a screw. Remove this screw and remove the caster from the chair base. Set the caster aside.
Step 4: Remove the Chair Base Plate.
Using a Phillips head screwdriver, remove the screws that secure the chair base plate to the bottom of the chair. Once these screws are removed, you can lift the chair base plate off of the chair. You should now have access to the screws that hold the cylinder in place.
Step 5: Insert the Cylinder into the Chair Base.
Line up the hole in the chair’s base with the hole in the cylinder and insert the cylinder into the base. It should fit snugly. If it is loose, you can use the screws from the old base to secure it in place.
Step 6: Tighten the Screws.
Once you have the cylinder out, it is time to tighten the screws. This will secure the base to the chair. Be sure not to over-tighten the screws, as you can strip them.
Step 7: Reattach the Caster and Chair Base Plate.
Reattach the caster to the bottom of the chair base and then reattach the chair base plate to the bottom of the chair. Be sure to use the screws that came with the chair base plate.
Step 8: Test the Chair.
Now it is time to test the chair. Sit in it and make sure it is stable and secure the cylinder. If everything looks good, you’re done! Congratulations, you’ve just successfully removed the cylinder from the chair base!

Some Helpful Tips and Suggestions:
- If your chair has a caster, remove it first by unscrewing the bolt in the caster’s center.
- Wedge a thin object between the cylinder and the base like a putty knife or screwdriver.
- Gently twist and pull the object until the cylinder pops off.
- If there is any adhesive left on the base, clean it off with a damp cloth.
- Reattach the caster if desired.
- If your chair doesn’t have a caster, you can try to pry the cylinder off with a screwdriver or knife. Again, be careful not to damage the base.
- Once the cylinder is off, clean off any adhesive with a damp cloth.
- Reattach the cylinder if desired.
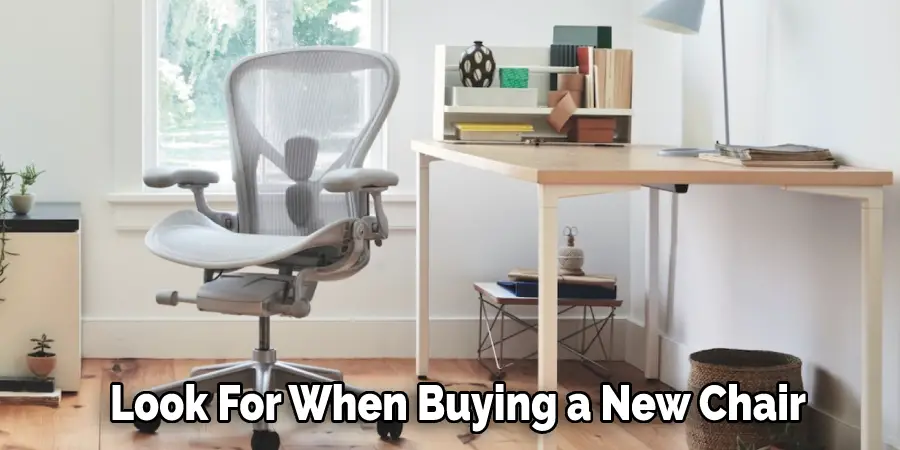
What to Look For When Buying a New Chair?
One of the most important things to look for when buying a new chair is the type of base. There are three main types of chair bases: four-leg base, five-leg base, and cylinder base. The most common base type is the four-leg base, which is very stable and can hold a lot of weight.
The five-leg base is less common, but it is more stable than the four-leg base and can hold even more weight. Finally, the cylinder base is the least stable type of base and is not recommended for people who weigh more than 250 pounds. If you are looking for a new chair and are unsure which type of base to choose, ask the salesperson for advice.
Conclusion:
Finally, remove the screws from the top of the chair base. You should now be able to lift off the top of the chair and expose the cylinder. Carefully remove the cylinder from the chair base and replace it with a new one. Make sure that you reattach all of the screws in order to keep your chair sturdy and functional.
Now, sit back down and enjoy your newly repaired chair! Have you ever needed to remove a cylinder from a chair base? It may seem daunting, but it can be done quickly and easily with this guide on how to remove cylinder from chair base. Follow these simple steps and have your chair up and running in no time at all! Have you tried this process before? What challenges did you encounter? Let us know in the comments below.
You can check it out to Make a Computer Chair Taller