
Have you ever been sitting in your office chair, only to find that you can’t move because the hydraulic has locked up? It’s a frustrating situation, but one that can be easily fixed. In this blog post, we’ll show you how to remove hydraulic from office chair so that you can fix them or replace them as needed. So stay comfortable at work with this easy guide!
What Is a Hydraulic in An Office Chair?
Office chairs are an important part of any workspace, and there are various types to choose from. One option is a hydraulic chair, which uses a gas lift to adjust the seat’s height. These chairs are often used in offices because they provide a comfortable seating option that can be easily adjusted to suit the needs of each individual.
Another advantage of hydraulic chairs is that they can be swiveled and tilted, making them highly versatile. So whether you’re looking for a basic office chair or one with all the bells and whistles, a hydraulic chair is a great option.
6 Ways to Follow on How to Remove Hydraulic From Office Chair
If you’re having trouble removing the hydraulic from your office chair, following these instructions carefully is important. Then, with a few simple steps, you’ll be able to remove the old hydraulic and replace it with a new one.
1. Remove the Screws that Hold the Hydraulic in Place
The first thing you need to do is remove the screws that hold the hydraulic in place. There are usually four screws, two on each side. Once you have removed the screws, you can remove the hydraulic by simply pulling it out.
2. Lift the Hydraulic Out of the Chair
With the screws removed, you should be able to lift the hydraulic out of your chair. If it is stuck, try wiggling it back and forth until it comes loose. You may need to do this for each side of the chair.
3. Disconnect the Hoses from the Hydraulic
Once the hydraulic is out of the chair, you will need to disconnect the hoses from it. To do this, use a pair of pliers to loosen the hose clamps holding the hoses in place. After the clamps are loosened, you can pull the hoses off of the hydraulic.
4. Reconnect the Hoses to the New Hydraulic
Now you’ll need to reconnect the hoses to the new hydraulic. Make sure that you orient the new hydraulic so that the ports are in the same position as the old one. Once you’ve done that, take your pliers and twist each hose onto their respective ports until they’re hand-tight.
5. Place the Hydraulic Back into the Chair and Replace Screws:
Once the hoses are reconnected, it’s time to put the hydraulic back into the chair. Start by orienting it so that the ports are facing downwards, then place it back into the hole in the seat. You may need to wiggle it a bit to get it in, but once it’s in, replace the screws that you removed in Step 1.
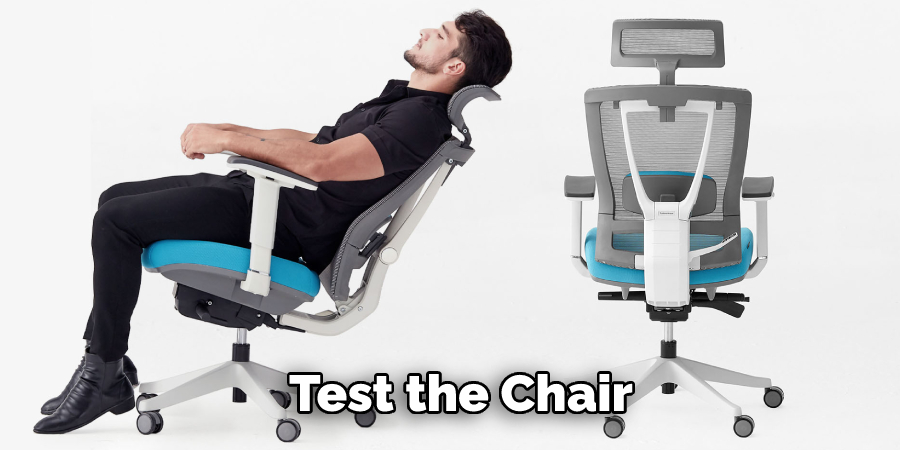
6. Test the Chair
Now it’s time to test the chair and ensure that your repair was successful. Start by sitting in the chair and lowering yourself down. If you hear any hissing or see any leaks, you’ll need to go back and tighten the hoses or check for any other damage. If everything seems to be working properly, then you’re all finished!
Hydraulic office chairs are a great way to adjust your sitting position with ease. However, the hydraulics can start to wear down and may need to be replaced over time. By following these simple instructions, you’ll be able to remove the old hydraulic and replace it with a new one.
Why Should You Remove Hydraulic from Office Chair?
In order to maintain a healthy posture while sitting in an office chair, it is important to have the ability to adjust the seat to your height. However, many office chairs come equipped with a hydraulic mechanism that locks the seat in place, making it difficult to adjust.
Additionally, hydraulic office chairs can be uncomfortable, as they often put pressure on your back and legs. It is best to remove the hydraulic mechanism from your office chair for these reasons. This will allow you to adjust the seat to your height, preventing discomfort and improving posture.
How to Remove Hydraulic From Office Chair Using a Plunger
When it comes to removing hydraulic from office chairs, there is no one-size-fits-all solution. The best method for removing hydraulics may vary depending on the type and size of the office chair, as well as the amount of hydraulic fluid that needs to be removed. However, one effective way to remove hydraulic fluid from an office chair is to use a plunger.
First, place the plunger over the hydraulic fluid reservoir and rapidly pump the handle up and down. This will create suction and draw the fluid out of the reservoir. Once the fluid level has dropped significantly, you can remove the plunger and cap the reservoir. This will help to prevent any further spillage.
Finally, use a rag or sponge to soak up any remaining fluid, then dispose of it properly. With a little effort, you should be able to remove all traces of hydraulic fluid from your office chair. Keep reading for more information about how to remove hydraulic from office chair.
How to Identify a Hydraulic Office Chair
Not all office chairs are created equal. If you’re looking for a chair that provides optimum support and comfort, you’ll want to choose a hydraulic office chair. Here’s how to identify one: hydraulic office chairs have adjustable seat heights controlled by a gas lift cylinder.
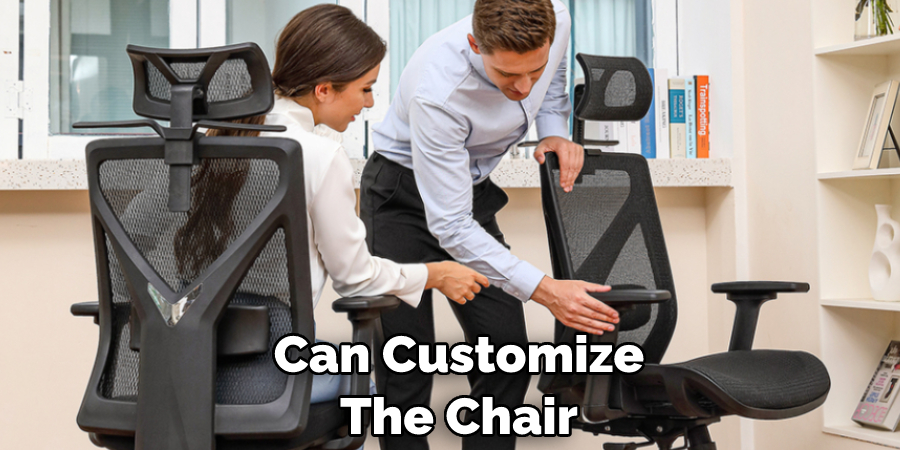
This feature allows you to easily adjust the chair to your desired height, making it easy to find a comfortable position. In addition, hydraulic chairs typically have adjustable backrests and armrests so that you can customize the chair to your own needs.
And because they’re designed for heavy use, hydraulic chairs are built to last, ensuring that you’ll be able to enjoy years of comfortable seating. So when you’re shopping for an office chair, be sure to look for one with a gas lift cylinder – it’s the hallmark of a hydraulic chair.
The Dangers of Not Removing Hydraulic from An Office Chair
If you’ve ever had an office chair with hydraulic height adjustment, you know how convenient it can be to adjust your seat on the fly. But did you know that failing to remove the hydraulic from your chair when you’re not using it can be dangerous?
If the hydraulic is left under pressure, it can suddenly release, causing the chair to collapse. This can lead to serious injuries, especially if you’re not expecting it. So if you have an office chair with hydraulic height adjustment, make sure to remove the hydraulic when you’re not using it. It’s a simple precaution that could save you from a serious accident.
Tips for Keeping Your Office Chair in Good Condition
If you’ve ever shopped for office chairs, you know that they can be a significant investment. That’s why it’s important to protect your chair and keep it in good condition. First, make sure to adjust the height and depth of the chair to fit your body. This will help to prevent strain on your back and neck.

Second, use a lumbar support cushion to maintain the natural curve of your spine. Third, take frequent breaks to stretch your muscles and move around. And fourth, invest in a good quality chair mat. This will help extend the life of your chair by protecting the floor from scratches and scuffs.
By following these simple tips, you can keep your office chair in good condition for many years to come.
Frequently Asked Question
Is It Difficult to Remove the Hydraulic from My Office Chair?
It is not difficult to remove the hydraulic from an office chair. The hydraulic is located in the chair’s base and is typically held in place by a few screws. Once the screws are removed, the hydraulic can be lifted out of the chair.
Do I Need Any Tools to Remove the Hydraulic from My Office Chair?
You will need a Phillips head screwdriver to remove the hydraulic from your office chair. The screws that hold the hydraulic in place are located on the underside of the chair. You should be able to see them by looking underneath and shining a light in that area.
Once you have located the screws, use the Phillips head screwdriver to remove them. Then, you should be able to pull the hydraulic out of the chair.
What Should I Do if I Can’t Remove the Hydraulic from My Office Chair?
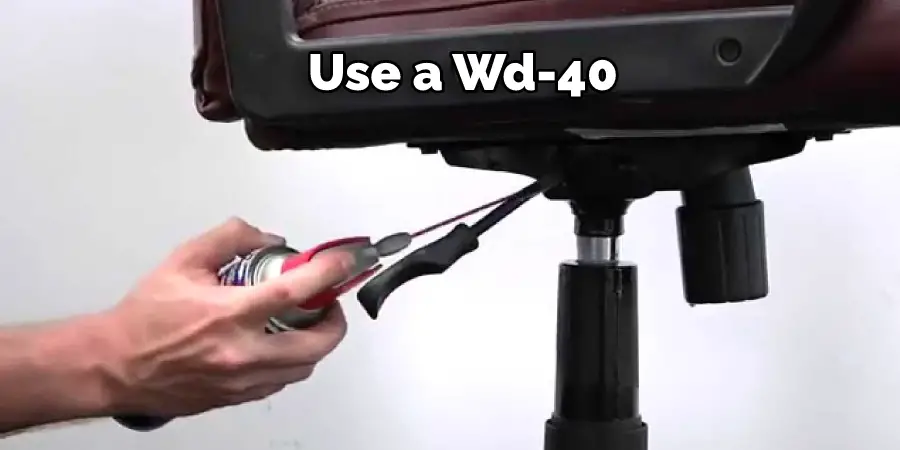
If you cannot remove the hydraulic from your office chair, you may need to take it to a professional. However, you can try a few things before taking it to a mechanic. First, make sure the chair is unplugged and empty of any objects. You may also want to try lubricating the area around the hydraulic with WD-40 or another lubricant. Finally, if all else fails, you can try using a drill to remove the hydraulic from the chair.
Conclusion
If you’re like me, you spend a lot of time sitting in your office chair. And if that chair has hydraulics, it can be hard to get out of sometimes. So here are six ways to remove hydraulic from office chair to get up easier. Thanks for reading our post about how to remove hydraulic from office chair.