Are you looking for a way to remove the piston on your office chair? This can be an intimidating task, especially if you don’t know much about chairs or furniture.

But never fear; dismantling and removing the piston from your office chair is actually a straightforward process that requires minimal effort! In this guide, we’ll walk you through all of the steps on how to remove piston from office chair quickly and effectively. Keep reading to learn how it’s done!
Can You Remove the Cylinder from Office Chair?
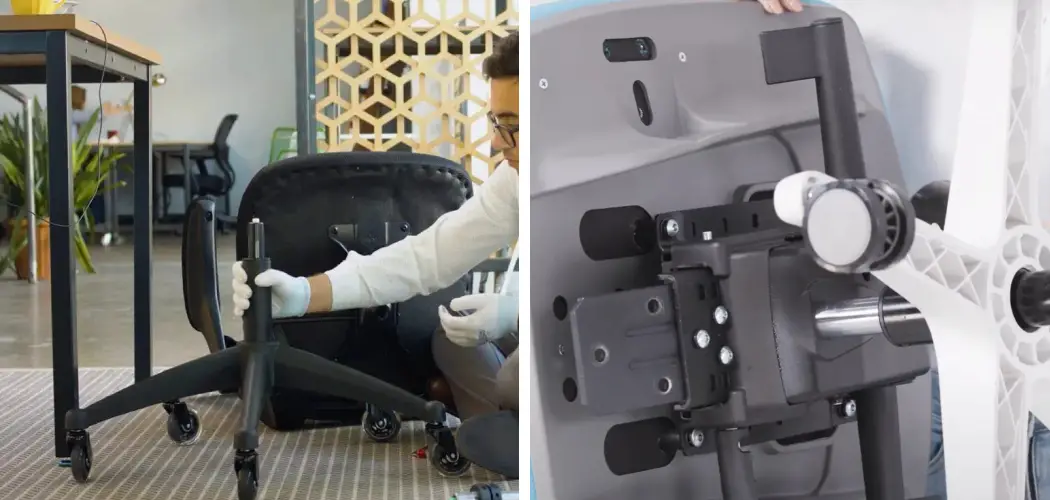
Yes, it is possible to remove the cylinder or piston from an office chair. The process involves disassembling the chair and then carefully removing the cylinder from its mounting bracket. It’s important to have a good understanding of the components involved before attempting this task, as well as the proper tools for the job.
You’ll need a screwdriver and pliers for most chairs — take extra caution when handling any parts that may be fragile or easily damaged. Additionally, you should always wear safety glasses during any removal procedure in case of debris flies into your eyes.
Once you have gathered all necessary items, begin by unscrewing any screws holding the cylinder mounting bracket in place. With these removed, you can gently pull away on either side of the bracket to free it from the chair’s base. You may need to use pliers for this step if the cylinder is tightly secured in place.
Next, you’ll need to carefully remove any support brackets or other components that are attached to the cylinder. This will vary depending on your chair’s design and could require additional tools such as a wrench or Allen key.
After all, the components have been removed and set aside, you can now pull out the cylinder from its mounting bracket for replacement or servicing. Finally, reassemble the chair according to its original configuration — making sure all parts are securely tightened before using it again.
Following these steps should help ensure the proper removal of an office chair’s piston or cylinder without damaging any of its components. With a bit of patience and the right tools, you can easily remove the necessary parts for servicing or replacement.
10 Methods How to Remove Piston from Office Chair
1. Use a Flathead Screwdriver:
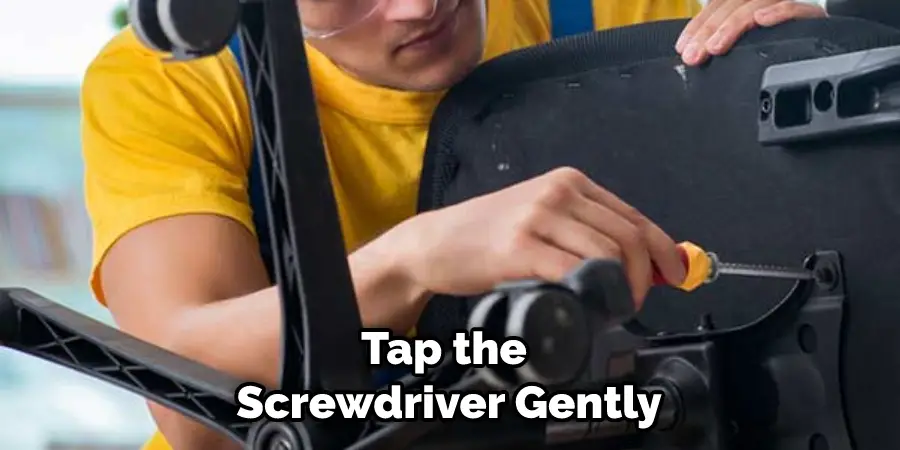
Place the flathead screwdriver against the top of the piston and twist it counterclockwise until it comes out. Be sure to hold onto the piston so that it does not fall as you are removing it. If the piston is stuck, use a hammer and tap the screwdriver gently until it comes loose.
While this method may cause some minor damage to the piston, it should not affect its function. To ensure that the piston is fully removed, you may want to use pliers and gently twist it out of the chair’s frame.
2. Use a Ratchet:
Insert the ratchet head into the piston and twist it counterclockwise until it loosens. Once it is loose enough, you should be able to remove the piston. If necessary, use a wrench to help loosen the piston further.
Be sure to hold the ratchet securely so that you don’t slip and damage yourself or the piston. To remove the piston, lift it up and out of the chair. If there are any other parts attached to the piston, such as a nut or bolt, be sure to remove those as well. Be careful not to lose any of these parts so that you can re-assemble the chair correctly later.
3. Use a Hammer and Punch:
Place a punch over the top of the piston and hit it with a hammer, then turn it counterclockwise to loosen it. Keep hitting it until you feel the piston loosen, then unscrew it out. Be careful not to hit too hard, or you may damage the piston.
Once the piston is loose, take it out of the chair and discard it. Make sure to wear safety goggles when using a hammer, as particles can fly off and cause injury. You may also want to use a rag or piece of cloth to protect the piston from damage.
4. Use Pliers:
Insert pliers into the sides of the piston and twist them counterclockwise until they come out. Make sure to do this slowly and carefully, as it can be easy to damage the piston if you twist too hard. Once the pliers have been inserted into the sides of the piston, you can start to slowly twist in a counterclockwise position until it is free from the chair.

Be sure to keep the piston and pliers in a straight line for them to come out properly. Once you have removed the piston, set it aside and use a clean cloth to wipe away any residue. You should also make sure that no dirt or dust has entered the piston, as this could affect its performance. After it is completely clean, you can reinstall the piston back into the chair.
5. Heat It Up:
Put a heating element or heat gun around the top of the piston, wait for a few minutes, then use pliers to remove it while still hot. Be sure to use protective gloves and eyewear when using a heat gun.
If you don’t have access to a heat gun, fill a bucket with hot water, then submerge the piston in it for about 5-10 minutes. This should cause the metal to expand and make it easier to remove. However, please note that this does not guarantee success in removing the piston from an office chair.
6. Soak It In Oil Overnight:
Soak the piston in oil overnight, then use a flathead screwdriver to twist it counterclockwise until it comes out. Keep in mind that some pistons are secured with a lock washer, so be sure to get a good grip on the piston before turning it. Then, lift the piston out of the base and set it aside.
You can now reinstall a new piston or reattach the old one if it is in good condition. Make sure that you lubricate the piston with oil prior to reattaching it! This will ensure that it continues to operate smoothly. Lastly, make sure to replace any parts that are worn or damaged before reattaching the piston.
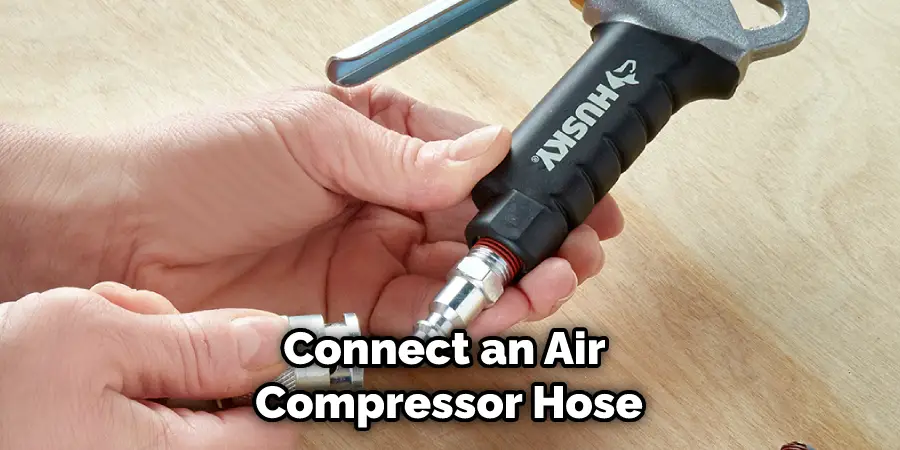
7. Use an Air Compressor:
Connect an air compressor hose to the top of the piston, and turn it on for several minutes. Then use pliers or a ratchet to finish unscrewing it. While you hold the piston steady with one hand, use your other hand to spin the ratchet counterclockwise. If necessary, apply WD-40 or another lubricant to the air compressor hose for an easier connection.
Once unscrewed, gently pull out the piston from its fitting and place it aside. Finally, turn off the air compressor and remove the hose from its fitting. Additionally, make sure to clean up any lubricants or oils left behind. With the piston removed, you can now move on to reassembling your office chair.
8. Drill It Out:
If all else fails, drill out the head of the piston using a drill bit designed for metal removal. Make sure you wear protective eyewear when doing this! Make sure to start slow and increase the speed of your drill bit on the material as you drill. Be extra careful around the edges so that you don’t cause any damage to the chair.
Once you have drilled out the head of the piston, use a pair of pliers to remove it from its seat in the chair. To put a new piston in, you will need to buy replacement parts and follow the instructions on how to install them. When finished, make sure to reassemble the chair properly.
9. Call A Professional:
If you’re still having trouble removing your office chair’s piston, contact a professional upholstery service for help. They’ll be able to safely and quickly remove your piston.
Make sure to ask them about any additional fees for their service and inquire about what kind of replacement parts they can provide. This may be the most expensive option, but it’s the surest way to get your piston removed from your office chair.
10. Replace It:
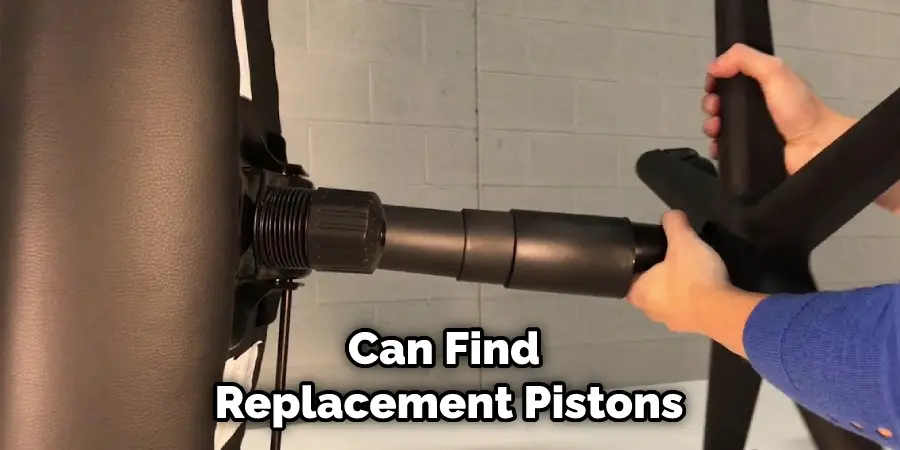
If the piston is beyond repair, consider replacing it with a new one. You can find replacement pistons online or at hardware stores near you. Make sure you purchase one that’s compatible with your chair before buying! To install the new piston, remove the old one, clean up any debris or dirt around it, and then insert the new piston into place. Secure it tightly and make sure it’s not loose before you sit in the chair.
Conclusion
Taking care of your office chair can extend its lifespan and help keep it from giving out prematurely. Nonetheless, if all else fails, knowing how to unscrew or disconnect the cylinder will save you time and money. Thus, making use of these easy steps may potentially increase the efficiency and longevity of your office seating experience.
So why wait? Take back control of your furniture today by following the instructions listed above on “How to Remove Piston from Office Chair” referencing our blog post as your guide!