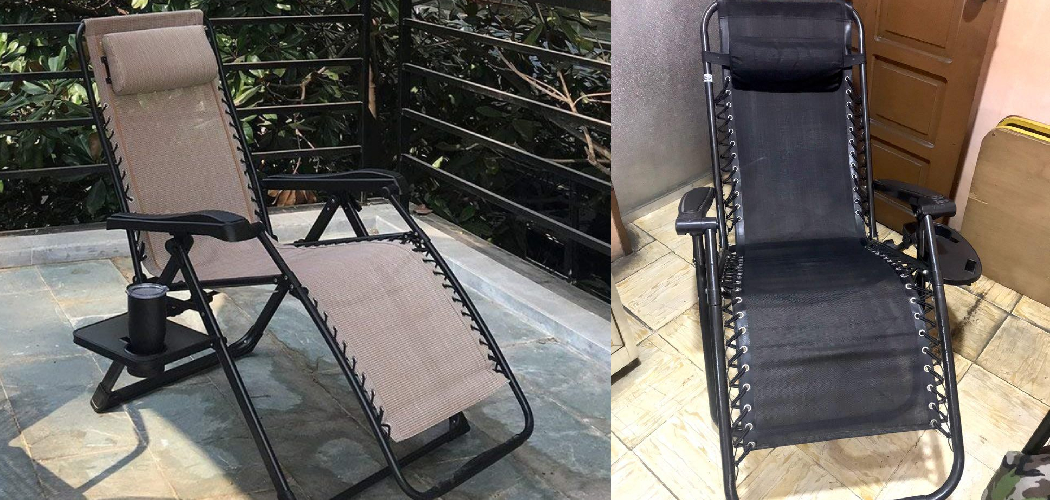
A zero gravity chair is a recliner that helps evenly distribute your weight, relieving pressure on your spine and other joints. Zero gravity chairs are often used for people suffering from back pain, as they can help to reduce discomfort and improve blood circulation.

Additionally, zero gravity chairs can be a great way to relax and unwind, as they provide a feeling of weightlessness. Whether you’re looking to improve your health or want to relax, a zero gravity chair may be a good option for you.
If you have a zero gravity chair, eventually, the fabric will wear out. Instead of buying a new one, you can easily replace the fabric yourself. This guide will show you how to do it. Keep in mind that there are many different types of zero gravity chairs, so make sure you follow your specific model’s instructions.
A broken zipper on a fabric cushion can ruin the look of your zero gravity chair. This quick guide will show you how to replace fabric on zero gravity chair. You will need a needle and thread, zip puller (or pliers), measuring tape, scissors, and a newcomer’s courage! Be sure to take your time with this project; it may seem daunting at first, but it is actually quite simple! Plus, the end result is well worth it.
13 Simple Ways on How to Replace Fabric on Zero Gravity Chair:
1. Purchase Your Replacement Fabric.
The first step is to buy your replacement fabric. You can find fabric at most local craft stores or online. Be sure to measure your chair before purchasing fabric so you know how much you need. If you are unsure of the measurements, it is better to err on the side of buying too much fabric rather than too little.
2. Use Duck Cloth.
Duck cloth is a great option for those looking for a durable replacement fabric. It is also one of the most inexpensive options on the market. Duck cloth is made from 100% cotton and is very easy to work.
3. Use A Heavy-Duty Polyester Fabric.
The best type of fabric to use for your Zero Gravity Chair is a heavy-duty polyester. This will ensure that the chair can withstand any wear and tear and be able to withstand the elements.
4. Use Canvas As Replacement Fabric.
Canvas is another great option for those looking for a durable replacement fabric for their zero gravity chair. Canvas is a heavy-duty fabric that can withstand years of use, making it a great choice for those who want a long-lasting fabric. Canvas is also a very breathable fabric, making it a great choice for those who live in hot climates.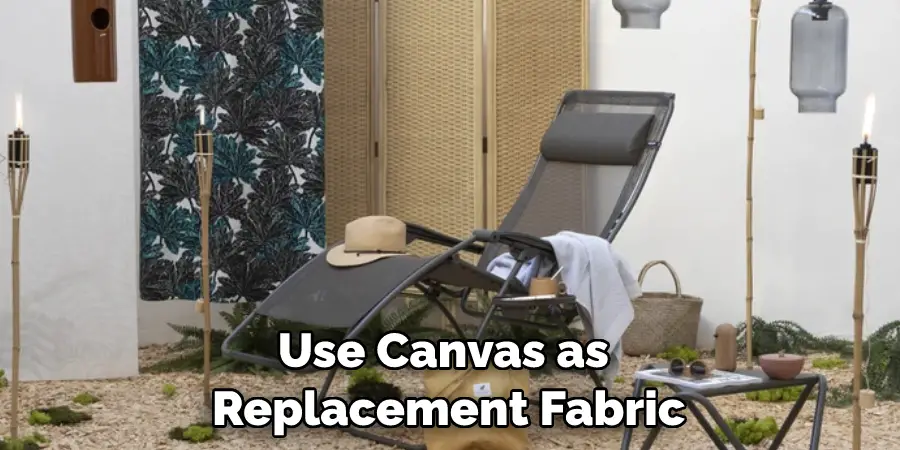
5. Cut the Fabric to Size.
Once you have your new fabric, you will need to cut it to size. Using the old fabric as a template, cut your new fabric to the appropriate size. To do this, lay the fabric out on a flat surface and measure it against the dimensions of your zero gravity chair.
Then, use a sharp pair of scissors to cut the fabric to size. If you are not confident in your ability to cut a straight line, you can always ask a friend or family member to help you out. Make sure to allow for a little extra fabric so you can tuck it under the edges of the chair.
6. Remove the Old Fabric.
Carefully remove the old fabric from your chair. If the fabric is glued on, you may need to use a putty knife or other tool to loosen it. Be careful not to damage the chair in the process. Use caution when removing the fabric so you do not rip it. Once the old fabric is removed, dispose of it or set it aside for another project.
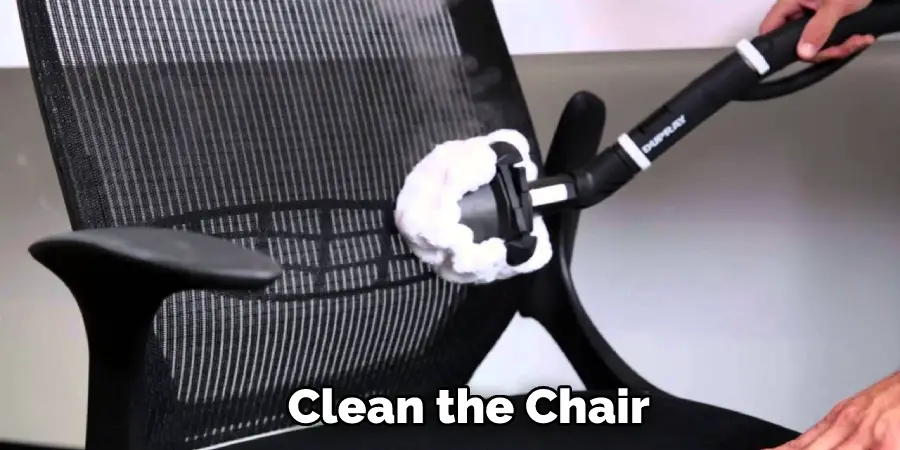
7. Clean the Chair.
Before you can attach the new fabric, you need to clean the chair. This will help ensure that the new fabric adheres properly and lasts longer. Use a mild soap and water solution to wipe down the chair, being careful not to soak the wood. You can also use a soft brush to remove any dirt or debris.
8. Sewing the New Fabric.
If you are handy with a sewing machine, you can sew the new fabric onto the chair. This is a great option if you want to match the fabric exactly or if you want to add some embellishments. You will need to remove the old fabric from the chair first. Then, cut the new fabric to size and sew it on. Use a strong thread and backstitch at the seams for extra strength.
9. Use Upholstery Staples.
If you don’t want to sew the new fabric on, you can use upholstery staples to attach it. This is a quicker method, but it may not be as sturdy in the long run. Cut the new fabric to size. Make sure that you allow for about an inch of extra fabric on all sides. Place the fabric over the old fabric and staple it into place. Start in the middle of each side and work your way out. Be sure to pull the fabric tight as you staple it. Trim away any excess fabric.
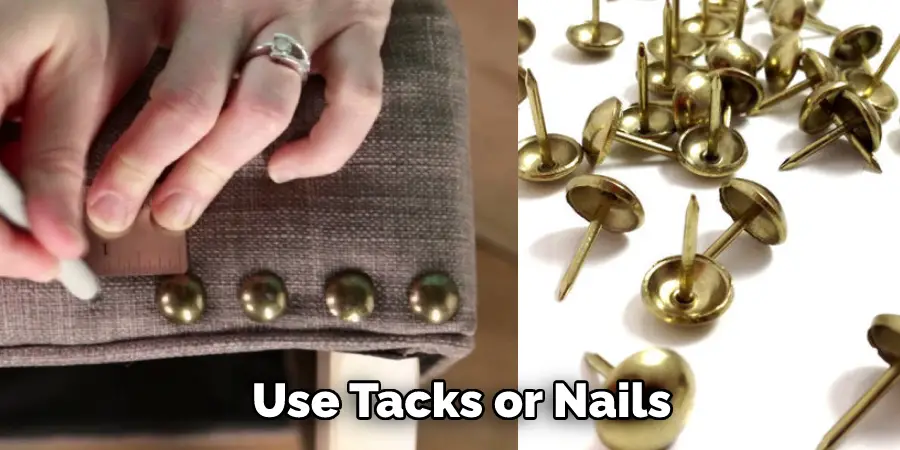
10. Use Tacks or Nails.
Another option is to use tacks or nails to attach the new fabric. This method is similar to using staples, but you’ll need to be careful not to damage the chair. Finally, you can use a heavy-duty staple gun or upholstery nails to attach the fabric. Again, be sure to Hammer them in gently, so you don’t crack the plastic.
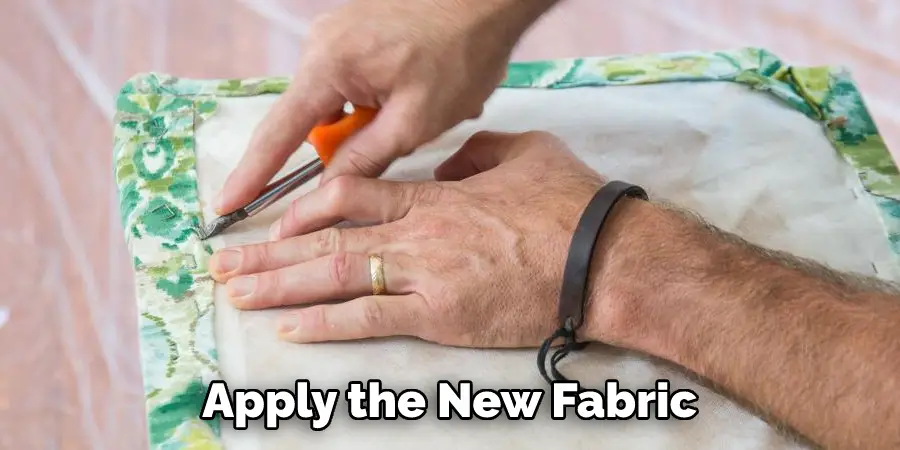
11. Apply the New Fabric.
Now, it is time to apply the new fabric to your chair. Start by applying a layer of adhesive to the chair frame. Then, lay the new fabric on top of the adhesive, making sure that it is smooth and free of wrinkles. Once the new fabric is in place, apply another layer of adhesive to the top.
12. Secure the New Fabric.
Once the adhesive has set, you can now start to secure the new fabric. Begin by tucking the fabric under the front bar of the chair. Then, take the fabric and start to wrap it around the back of the chair.
Make sure that you are pulling the fabric tight as you go. You don’t want there to be any wrinkles in the fabric. Once you get to the end, you can use a staple gun to secure the fabric in place. Make sure that you put the staples in evenly so that the fabric doesn’t tear.
13. Reattach the Sling.
Pull the two halves of the sling together and reattach them using the Velcro strips. Make sure that the fabric is tight and there are no wrinkles. Test the chair by sitting in it to make sure that the fabric is secure.
Tips and Warnings on How to Replace Fabric on Zero Gravity Chair:
Tips:
- Be sure to purchase the right size and type of fabric. The most common types of fabrics used for zero gravity chairs are PVC-coated polyester and mesh.
- Be sure to clean the chair’s surface before you begin. This will help the new fabric adhere better and also prevent dirt and debris from getting trapped under the new fabric.
- Use a strong adhesive or tape to secure the new fabric in place.
- Be sure to trim any excess fabric from around the edges of the chair.
Warnings:
- Be careful not to puncture the fabric with sharp objects while you are working.
- Be sure to follow the manufacturer’s instructions carefully when replacing the fabric on your zero gravity chair. Failure to do so could void your warranty.
- 3. Be careful not to overstretch the fabric when you are securing it in place. This could cause the fabric to tear.
Can Zero Gravity Chairs Get Wet?
The short answer is no. However, some chairs are made to be resistant to water, but we don’t recommend using them near water. It is best to keep your chair away from any moisture and if it does get wet, make sure to dry it off as soon as possible.
If you do not and the moisture is left on the chair, it could cause the fabric to mildew or even start to rot. In addition, it is important to make sure that you do not store your chair in an area where it could get wet such as a basement or garage. If you must store it in these areas, make sure to put it on a raised platform or in a waterproof container.
Conclusion
This is How to Replace Fabric on Zero Gravity Chair. We hope this guide was helpful and that you were able to replace the fabric on your chair successfully. Overall, repairing a zero gravity chair is not an overly difficult process. With the right tools and some patience, you should be able to fix your chair in no time. Have you tried this repair method before? Did it work for you? Let us know in the comments below.
You can check it out to Type With Nails