
If you long to create a comfortable and inviting living space, one of the best starting points is by adding stylish furniture pieces. Giving tired old chairs or sofas a makeover with brand-new upholstery not only adds character and unique style to your home – but it can also extend the life of your furniture.
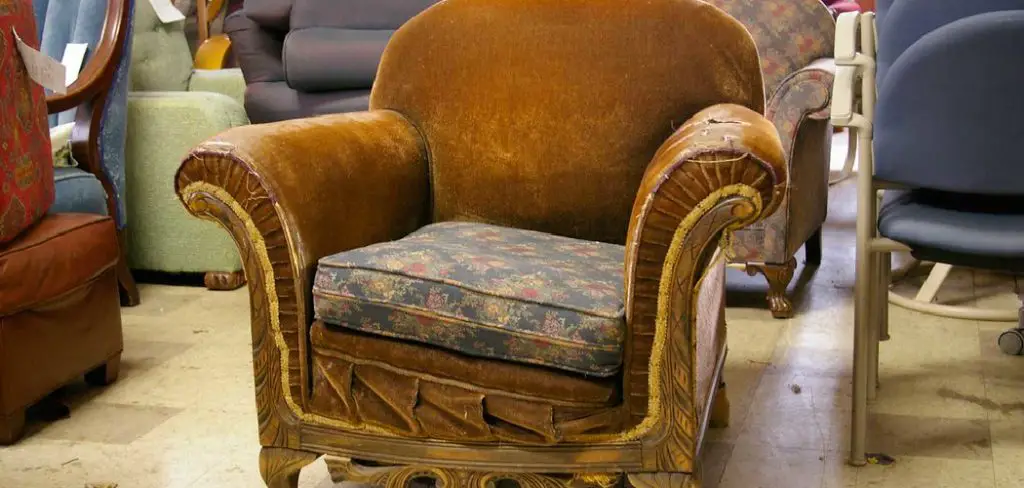
Reupholstering an item as complex as a wingback chair may seem intimidating at first; however, don’t let that discourage you! With the right technique and supplies, learning how to reupholster this type of chair is actually quite simple.
In this blog post, we will walk through all the steps on how to reupholster wingback chair and achieve perfect results when giving new life to a beloved wingback chair!
Can I Reupholster a Wingback Chair?
Yes, you can reupholster a wingback chair. In fact, it is an easy and economical way to give your furniture a new look. You don’t have to be a professional upholsterer either; there are many tutorials available that will guide you through the process step by step.
Before upholstering your wingback chair, it is important to make sure that it is structurally sound and free from damage or tears in the existing fabric. If this isn’t the case, then it might be best to take it to a professional for repair before attempting any upholstery work yourself.
To reupholster a wingback chair, start by removing all of the old upholstery and taking off the stuffing. Next, measure the chair frame for new fabric and cut it to size. Be sure to add extra length on all edges as this will help you attach the fabric securely.
Then use a staple gun or upholstery tacker to attach the fabric to the frame. Finally, stuff and reattach any padding that has been removed from the chair, such as foam or batting.
Reupholstering your wingback chair is a great way to give it a fresh new look without spending too much money or effort. With some patience and an understanding of basic sewing techniques, anyone can do this job at home successfully!
8 Methods How to Reupholster Wingback Chair
1. Choose your Fabric
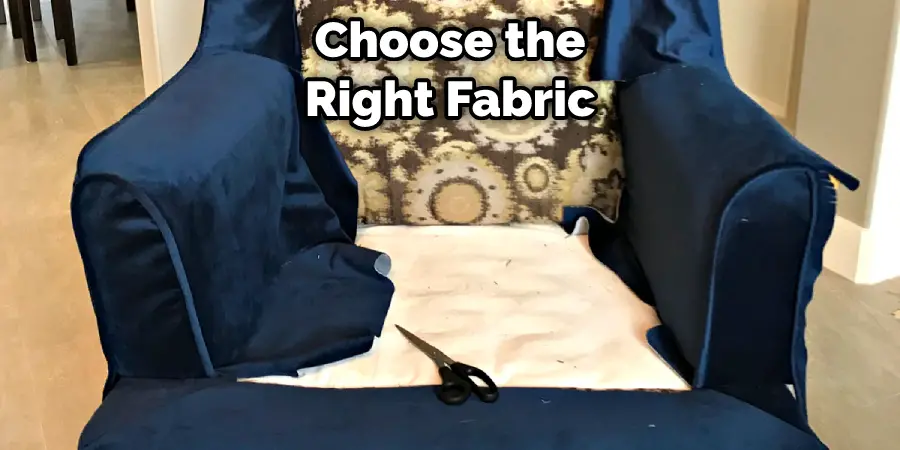
The first step in reupholstering a wingback chair is to choose the right fabric. You’ll want to choose a fabric that is durable and easy to clean, as it will likely get a lot of use. Additionally, you’ll want to make sure that the fabric you choose compliments the style of the chair.
Make sure to take into account the color, pattern, and texture when selecting the fabric. It’s a good idea to purchase a bit of extra fabric to make sure that you have enough for all of your upholstering needs.
If you’re unsure of what kind of fabric to choose, you can always seek advice from an interior designer or a fabric expert. Try to get samples of different fabrics to compare before making your final decision.
2. Remove the Old Fabric
Once you’ve chosen your fabric, you’ll need to remove the old fabric from the chair. This can be done by carefully removing the staples or nails that are holding the fabric in place. Before doing this, it is important to make sure that the fabric and cushioning are still in good condition.
If they are not, then you will need to replace them before continuing. Once all of the staples or nails have been removed, take off the old fabric and set it aside for disposal. Make sure to save any pieces of the old fabric that may be useful for later, such as trim or welting.
3. Cut the New Fabric
After removing the old fabric, you’ll need to cut the new fabric to size. To do this, lay the new fabric on a flat surface and place the chair seat over it. Using a pencil or chalk, trace around the perimeter of the chair so that you’ll have an outline indicating where to cut.
Cut away any excess fabric beyond your line with scissors. For loose covers that will need to drape over the arms of your chair, cut two pieces of fabric that are twice the length of the arm upholstery.
As you go through this process, be sure to take measurements and double-check your lines as you make cuts. Cut with precision to ensure a seamless fit when it comes time to put everything back together.
4. Attach the New Fabric
Once you’ve cut the new fabric to size, you’ll need to attach it to the chair. This can be done by stapling or nailing the fabric in place. If you’re using a staple gun, it’s best to start with the center of each side, then stretch the fabric taut and work your way toward the corners.
Make sure the fabric is evenly stretched throughout and that all staples are secure. To finish up, attach any decorative trim along the edges according to your design plan. However, if you’re using nails, it’s best to start with the corners and work your way toward the center.
Make sure each nail is securely fastened as this will ensure that your new fabric stays in place. Finally, attach any decorative trim along the edges according to your design plan.
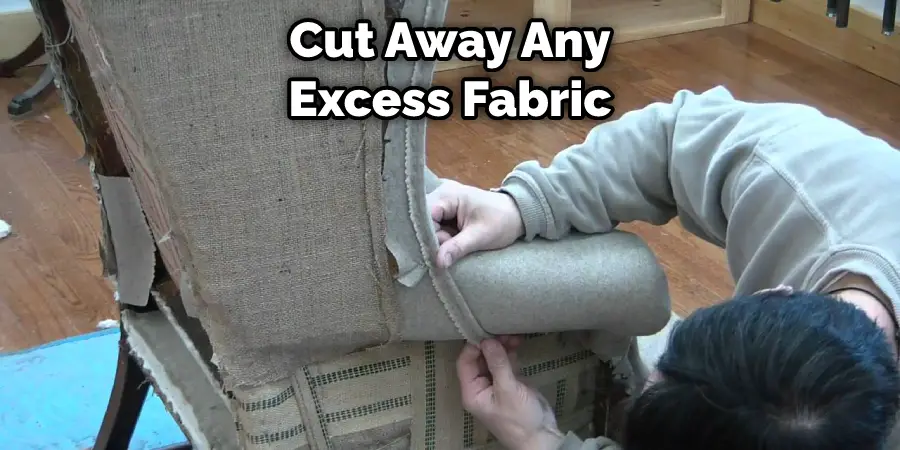
5. Trim Any Excess Fabric
Once you’ve attached the new fabric, you’ll need to trim any excess fabric that may be hanging off of the edges of the chair. Use sharp scissors to cut closely along the edges of the chair, making sure you don’t clip any of the fabric already attached.
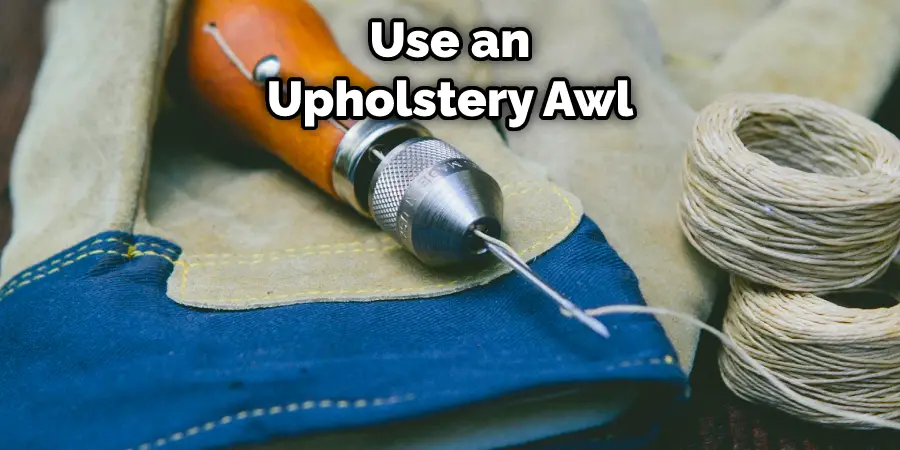
After trimming, use an upholstery awl or a pointed tool to tuck in and secure any loose ends. This will ensure your upholstery job looks neat and professional. Though it may take some time and patience, when you’re done, your chair will look brand new.
6. Add Batting
After trimming any excess fabric, you may want to add batting to help cushion the seat of the chair. Batting can be found at most craft stores and is relatively inexpensive. It comes in a variety of thicknesses and can be cut to fit your chair.
Place the batting on top of the fabric and secure it with staple gun, making sure to smooth out any creases or wrinkles. When you’re finished, trim any excess batting. Now your wingback chair is ready for upholstering!
Additionally, you may want to add some decorative pillows and throw blankets to give your chair a more finished look. Make sure to use fabrics that are designed for upholstery and won’t fade or shrink over time. With a bit of patience, you can transform your tired old wingback chair into a stylish piece of furniture.
7. Add a Dust Cover
A dust cover helps to protect your newly upholstered chair from dirt and dust. Dust covers can be purchased at most craft stores or online retailers specializing in upholstery supplies. Measure the chair and cut a piece of dust cover fabric slightly larger than the dimensions.
Place the fabric over the chair and staple it to the bottom frame. Check that all corners are secure and flat before moving on to the next step. If needed, you can use upholstery tacks to secure the dust cover in place. Your chair is now ready for years of comfortable seating!
8. Add Finishing Touches
Finish up your project by adding any desired decorative details, such as fringe, tassels, or buttons. If you’re working with fabric that doesn’t have a pattern, paint or embroider designs onto it. Once everything is complete, enjoy your new and improved wingback chair!
With a bit of hard work and some careful attention to detail, you can successfully reupholster a wingback chair for an updated look. The process may take some time, but you’re sure to be proud of the end result!

Once your chair is reupholstered, it will become a beautiful centerpiece for any room in your home. With a few simple steps, you can quickly and easily cover up an old, outdated wingback chair with a new and stylish fabric to give it a whole new look.
Whether you choose to do the job yourself or hire a professional, reupholstering your wingback chair will be well worth the effort! Now all that’s left is for you to sit back, relax, and enjoy your newly made masterpiece.
What Is the Easiest Way to Reupholster a Chair?
Reupholstering a chair is a great way to give it a new look and make use of an old piece of furniture. But it can be intimidating if you don’t know what you are doing. Here’s the good news: reupholstering chairs isn’t as hard as you might think. With the right tools and materials, you can quickly transform an old chair into a beautiful statement piece for your home.
Conclusion
It is important to be methodical and patient in order to get the desired result of reupholstering a wingback chair. Furthermore, when done correctly, you will have an appreciation for the timeless character that this chair represents, along with continued use for your convenience.
With some determination and determination, you now have all the tools necessary for you to move forward on tackling this unique project so go ahead and tackle How to Reupholster Wingback Chair!