Are you planning to install security cameras in your home or office but don’t have an attic space to run wires through? No need to worry!
Running security camera wires without the convenience of an attic can seem like a daunting task. However, with the right approach and tools, achieving a clean, professional-looking installation is possible. Whether you live in an apartment, have a home without attic access, or simply prefer not to crawl around in a dusty attic, this guide will walk you through the essential steps on how to run security camera wires without attic.
From planning your wire path to selecting the appropriate wiring methods and tools, we’ll cover everything you need to ensure your security system is set up efficiently and effectively without compromising on the aesthetics of your living space.
Why Do You Need to Run Wires Without Attic?
The lack of an attic is the most common reason people look for alternative ways to run security camera wires. Many modern homes and apartments are built without attics, making it challenging to access or run wires through them.
- Space Constraints: In urban areas, where most apartments and houses are built closer together, installing security cameras in the attic is not always feasible. This can be due to limited space or shared walls with neighbors.
- Attic Accessibility: If you live in an older home or have a small crawl space for attic access, running wires through it may not be possible or practical. In such cases, running wires without an attic can be a more viable option.
- Aesthetic Concerns: Some homeowners prefer not to have unsightly wires running through their attics, especially if the attic is used for storage or living space. Running wires without an attic can help maintain the aesthetic appeal of your home while still providing security coverage.
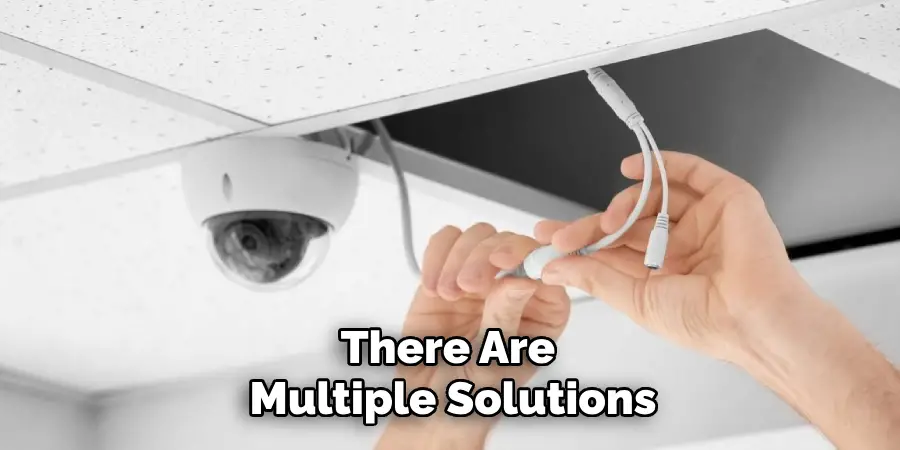
Whatever reason you may have for not being able to use an attic for your security camera wiring, the good news is that there are multiple solutions available. Let’s explore some of these options in more detail.
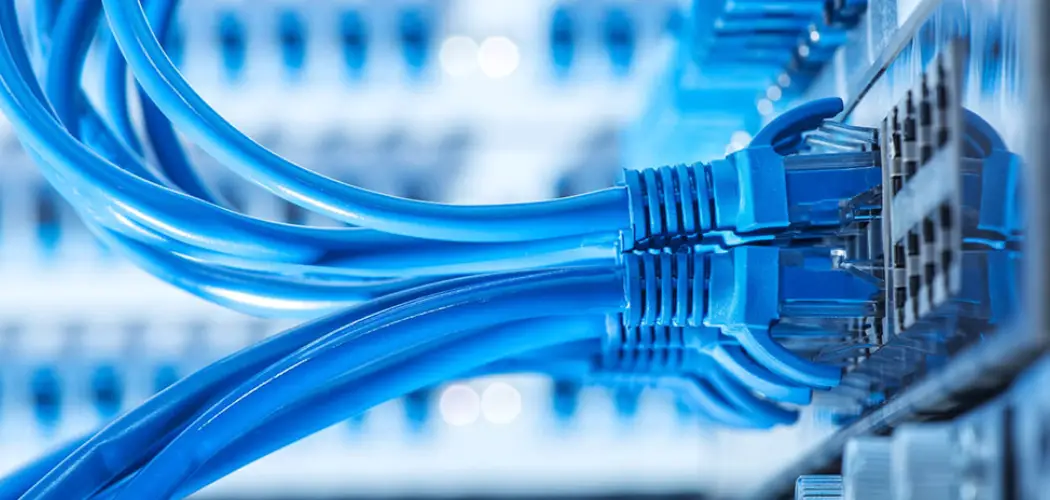
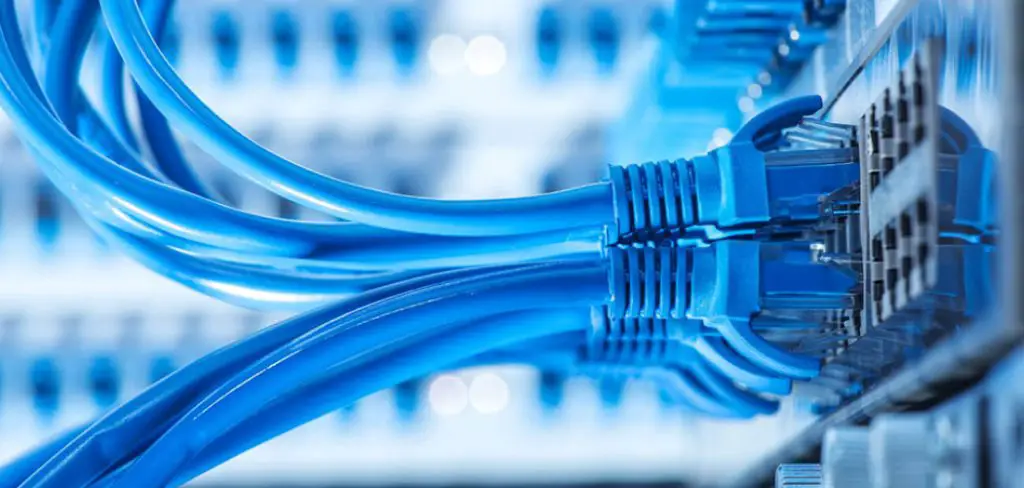
What Will You Need?
Before you begin, it’s essential to gather all the necessary tools and materials for your project. Here are some of the items you will need to run security camera wires without attic access:
- Security camera system: This includes cameras, DVR or NVR, and power supply.
- Power drill: For drilling holes through walls and ceilings.
- Fish tape or wire rods: These tools will help you run wires through tight spaces.
- Cable clips or zip ties: To secure the wires and prevent them from dangling.
- Wire cutters and strippers: For cutting and stripping the wires to connect them to your camera system.
- Electrical tape: To secure and insulate any exposed wire connections.
- Wall plates: To cover any holes or openings where the wires go through walls.
Once you have all the necessary tools and materials, you can move on to planning your wire route.
10 Easy Steps on How to Run Security Camera Wires Without Attic
Step 1. Identify Camera Positions:
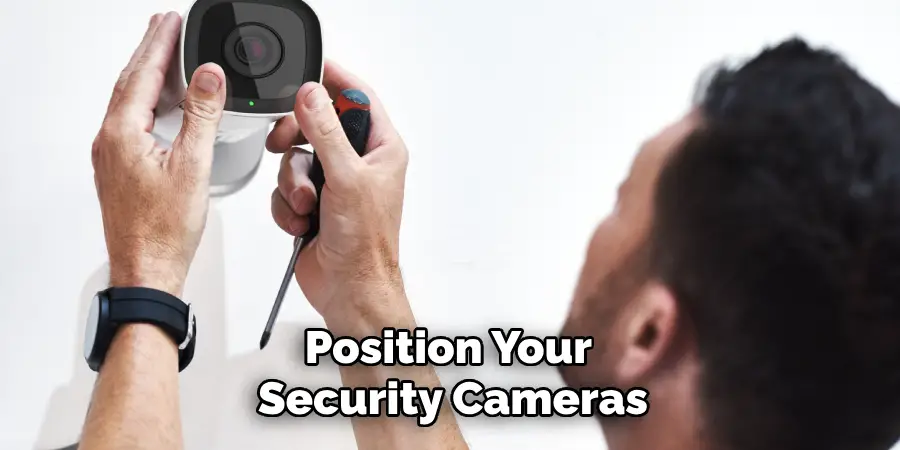
The first step is to decide where you want to position your security cameras. Consider high-traffic areas, entrances, and any vulnerable points around your property. Mark these spots as they will determine the path of your wiring. Additionally, make sure to choose locations that are close to a power source and have easy access to run wires.
Step 2. Plan Your Wire Path:
After identifying where your security cameras will be positioned, the next critical step is to meticulously plan the route your wires will take from the camera back to the recording device and power source.
When planning your wire path, aim for the least obstructive and most discreet route that avoids major obstacles within your property. Consider running wires along baseboards, door frames, or crown molding to keep them hidden from view.
Use corners and edges where walls meet the ceiling or floor as channels for your wires to maintain a neat appearance. Additionally, if you’re running wires outside or through exterior walls, look for existing conduits or pathways used by other utilities like cable or telephone services, as these can often provide a protected and inconspicuous route for your security camera wires.
This planning phase is crucial for ensuring a smooth installation process and helps avoid any unnecessary damage to your property’s interior or exterior during the installation.
Step 3. Measure and Cut the Wires:
Now that you have a plan for your wire path, the next step is to measure the length of wire needed. Start from the camera location and follow the path you’ve planned to the DVR/NVR or power source. It’s a good idea to add extra length to your measurement to account for any unexpected twists or turns.
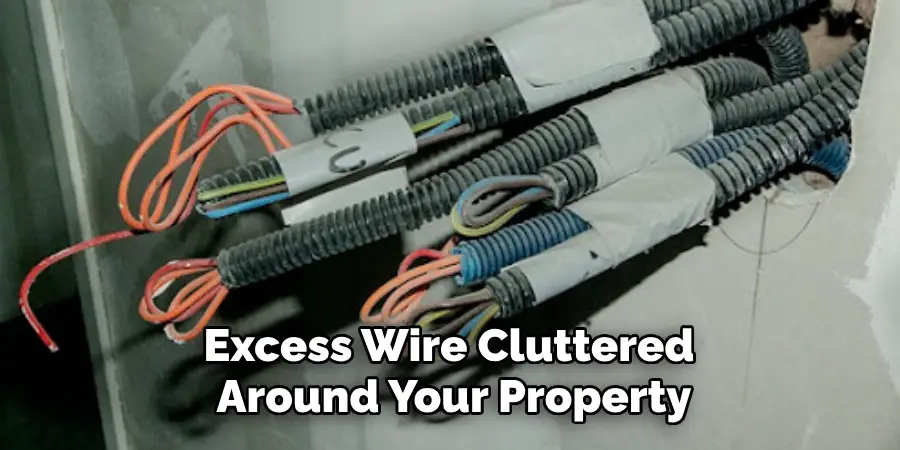
Once you have the total length, cut your wires accordingly. Make sure to label each wire based on its corresponding camera location to avoid confusion during the setup process. This step is crucial in ensuring that you have enough cable to reach each camera without stretching or leaving excess wire cluttered around your property.
Step 4. Drill Holes for Wire Passages:
With your wire path planned and measurements in hand, it’s now time to prepare the actual passage for the wires. Using a power drill, make holes at the starting and ending points of each wire path, as well as any corners where the wires will need to turn or pass through walls. Ensure the holes are large enough for your cables and connectors to fit through easily but not so large as to require excessive patching or compromise the integrity of your walls.
For exterior walls, use a drill bit suitable for the material, whether it’s brick, siding, or stucco, and consider applying a sealant around the holes to prevent water ingress. When drilling, always check for any potential hazards hidden within the walls, such as electrical wiring or plumbing, to avoid costly damages or dangerous accidents.
Step 5. Run the Wires:
After drilling the necessary holes, begin threading your wires through the planned path using fish tape or wire rods. Start from the camera’s location and gently push or pull the wire toward the DVR/NVR or power source. If you encounter resistance, avoid forcing the wire through, as this could cause damage.
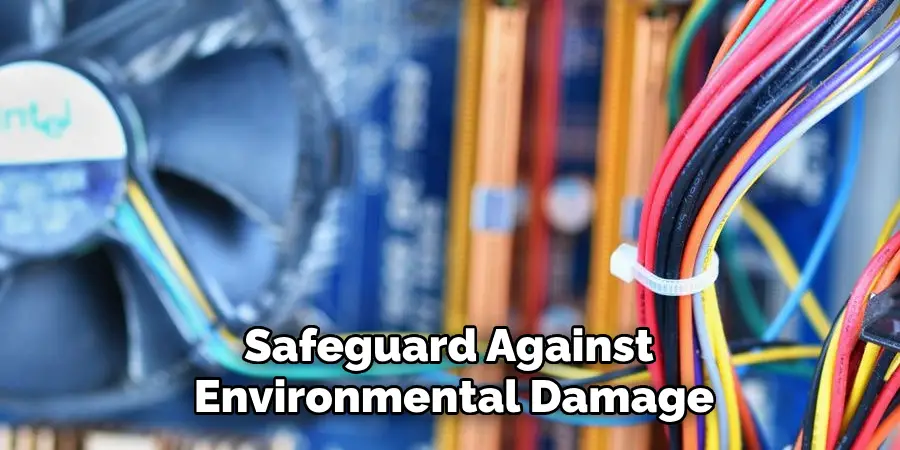
Instead, reassess the path and adjust as needed. In areas where wires must run across open spaces, use cable clips or zip ties to secure them along edges or corners, maintaining a clean and unobtrusive setup. For outdoor wiring, ensure that the cables are either weatherproof or enclosed in protective conduit to safeguard against environmental damage.
This step requires patience and precision to avoid snags and ensure that the wiring is both discreet and secure throughout its course.
Step 6. Connect the Wires to the Cameras and DVR/NVR:
Once all the wires have been successfully run to their respective locations, the next step is to connect them to the cameras and the DVR/NVR. Begin by stripping the ends of each wire to expose the conductive material, being careful not to damage the inner wiring. Follow the manufacturer’s instructions for connecting the wires to the cameras and DVR/NVR, which usually involves matching color-coded wires or attaching connectors.
Secure each connection with electrical tape to prevent short circuits and ensure a stable signal. Additionally, if your system is Powered over Ethernet (PoE), make sure that the connections support power transmission to the cameras. Take the time to double-check each connection before powering the system on, as mistakes here can lead to camera malfunction or damage to the DVR/NVR.
Step 7. Test Your Camera System:
Before proceeding to finalize the installation, it’s essential to test each camera to ensure that they are receiving power and transmitting video as expected. Power on your DVR/NVR and cameras, then check the monitor connected to your recording device. Verify that each camera is displaying a clear image and that there are no connectivity issues.
If a camera is not working, troubleshoot by checking the connections and ensuring that the wire has not been damaged during installation. This step is crucial for identifying and rectifying any issues before completing the installation, saving time and effort in having to revisit wiring or connections.
Step 8. Secure and Tidy Up Wiring:
After verifying that all cameras are functioning correctly, securing and organizing your wiring is the final step. This involves neatly bundling excess wires with zip ties or wire clips and securing them in a manner that prevents tangling and reduces any risks of damage. Ensure that all wires are taut enough not to sag or create hazards but also not so tight that they’re under strain, which could lead to wear over time.
For those wires that run along the exterior of your property, confirm they are either weatherproof or placed within a protective conduit to shield them from the elements. If any wire runs are visible, consider painting cable covers to match the wall or ceiling to minimize visual impact. This step is fundamental not only for the aesthetics of your property but also for the longevity and reliability of your security camera system.
By taking the time to neatly arrange and protect the wiring, you ensure a professional-looking install and prevent future issues caused by environmental exposure or physical disturbances.
Step 9. Configure and Adjust Camera Settings:
With the physical installation complete and all cameras functioning properly, the next step is to adjust and configure your camera settings for optimal surveillance. Access the DVR/NVR’s interface to customize settings like motion detection sensitivity, recording schedules, and resolution settings according to your specific security needs.
Most systems allow for the adjustment of individual camera angles digitally, enabling you to fine-tune the field of view and focus areas. Additionally, if your system supports it, setting up notifications for motion-triggered events can be invaluable for real-time security alerts. This configuration phase is crucial for ensuring that your security system is not just operational but also tailored to provide the most effective coverage and response to incidents around your property.
Take your time to experiment with different settings to find the ideal configuration that offers the best balance between constant monitoring and efficient storage usage.
Step 10. Regular Maintenance and Updates:
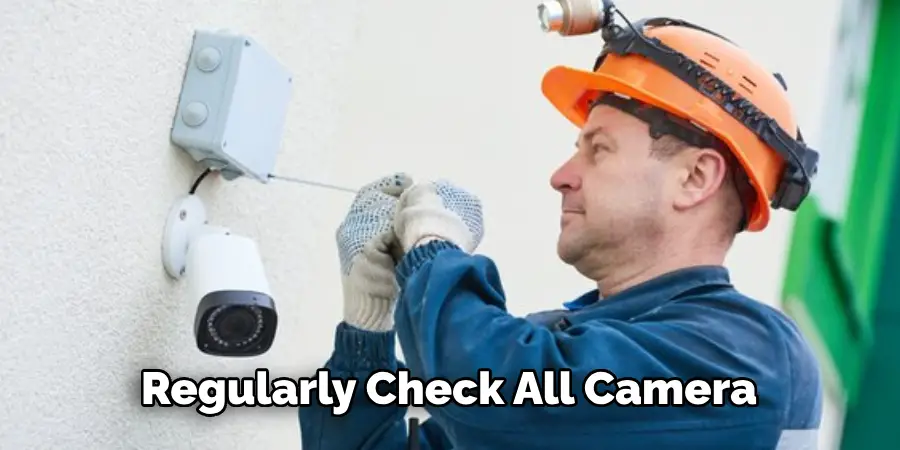
After successfully installing and configuring your security camera system, establishing a routine for regular maintenance and updates is vital to ensure its long-term reliability and effectiveness. Regularly check all camera lenses for dirt, spider webs, or any obstructions that may impair vision, cleaning them gently with a soft, dry cloth. Verify that all wires and connections remain secure and undamaged, especially after extreme weather conditions.
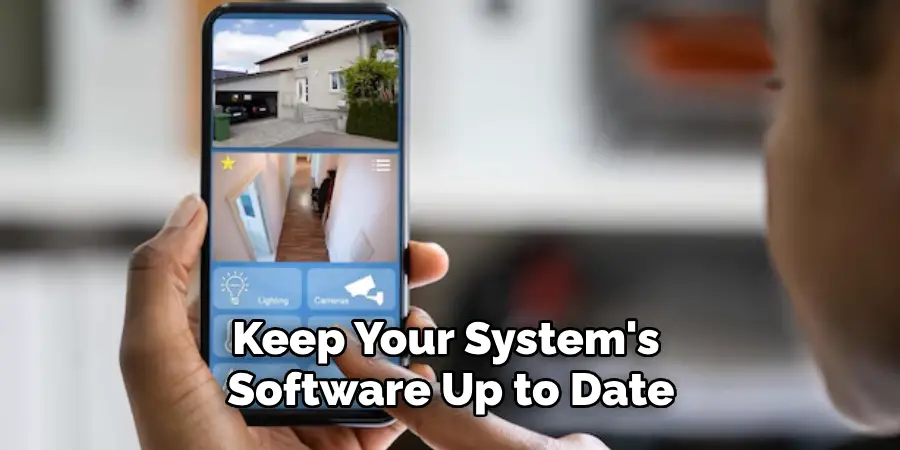
Additionally, keep your system’s software up to date by installing firmware updates provided by the manufacturer. These updates often include important security patches and improvements that can enhance the functionality of your cameras and recording devices.
By avoiding termination phrases and continuing to expand on the topic, we can provide additional information that may be helpful to those installing a security camera system.
5 Additional Tips and Tricks
- Use Flat Cable Covers: To run wires along the walls without making them an eyesore, invest in flat cable covers that can easily blend with your home’s decor. These covers protect wires from damage and can be painted to match the color of your walls, making them almost invisible.
- Adopt Wireless Cameras for Challenging Areas: In areas where it’s particularly difficult to run wires due to the lack of attic access, consider using wireless security cameras. These cameras need no wires for data transmission and only require power, which can be supplied through batteries or a nearby power outlet.
- Utilize Existing Conduit Pipes: If your property has conduit pipes used for electrical or plumbing work, you might be able to run your security camera wires through these, provided there’s enough space and it’s safe to do so. This approach keeps wires hidden and protected without the need for attic access.
- Clipping Wires to the Exterior: Use weather-resistant clips to attach wires directly to the building’s exterior for outdoor cameras. Route the wires along less noticeable areas, such as the edges of roofing or downpipes. Ensure the wires are properly insulated for outdoor use to prevent damage from the elements.
- Consider Professional Moldings and Baseboards: Professional-grade moldings and baseboards designed for cable management can be a visually appealing way to hide wires without running them through walls. These moldings are installed along the edges of floors or ceilings, incorporating space to conceal cables while blending with the room’s architecture.
With these additional tips and tricks, you can take your security camera installation to the next level and achieve a seamless, professional-looking result.
5 Things You Should Avoid When Running Security Camera Wires Without Attic Access
- Avoid Exposing Wires to Harsh Weather Conditions: Without the protection of an attic, wires may be more exposed to the elements. It’s crucial not to run wires where they can be damaged by extreme weather, such as direct sunlight, rain, or snow. Always use weatherproofed wiring and protective conduits to shield from environmental wear and tear.
- Do Not Skimp on Wire Quality: Opting for cheaper, lower-quality wires might save costs in the short term, but it can lead to issues like signal degradation or faster wear and tear. Invest in high-quality, durable wires that are designed for outdoor use or long-term exposure to ensure the longevity and reliability of your system.
- Avoid Visible and Unsecured Wiring: Running wires without an attic can result in exposed and potentially unsightly wiring. Avoid routing cables in a way that makes them easily noticeable or accessible. Use cable covers, moldings, or conduits to camouflage and protect wires, maintaining both aesthetics and security.
- Do Not Ignore Local Building Codes and Regulations: It’s essential to be aware of and adhere to any local building codes or regulations concerning running electrical wires outside of an attic space. Failure to comply can result in having to redo the work, fines, or issues when selling your property. Always research or consult a professional to ensure your installation meets all legal requirements.
- Avoid Complex DIY Solutions If Unsure: While many aspects of running security camera wires can be done as a DIY project, taking on complex installations without the proper knowledge can lead to poor system performance or even damage to property. If your wiring plan involves intricate routing or modifications to the property, consider hiring a professional to avoid any potential issues.
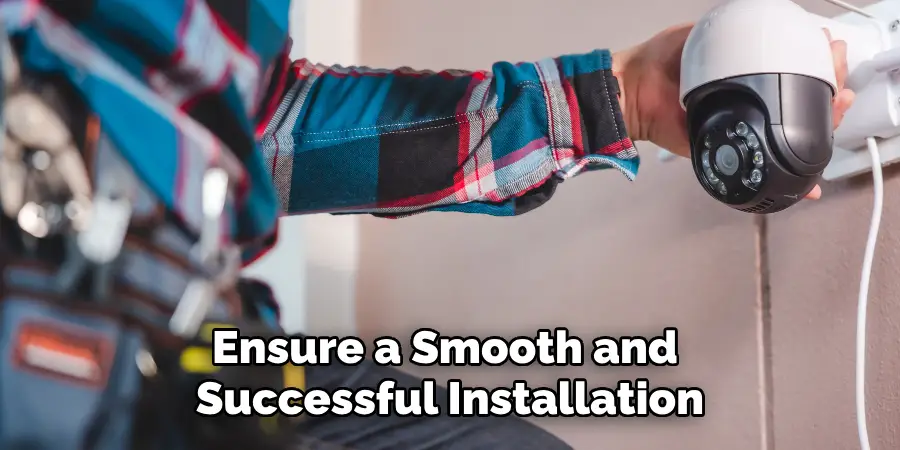
By avoiding these common mistakes, you can ensure a smooth and successful installation of your security camera system without an attic.
Conclusion
Successfully installing security camera wires without attic access requires thoughtful planning, careful selection of materials, and attention to detail. By implementing the strategies and precautions outlined in this guide, homeowners can achieve a secure and aesthetically pleasing setup that does not compromise the effectiveness of their security system.
It’s important to remember that while DIY projects can be rewarding and cost-effective, consulting with or hiring professionals can often lead to the best outcomes, especially for complex installations.
Ultimately, the goal is to enhance the safety and security of your home with minimal impact on its appearance and structure. With the right approach, running security camera wires without attic access can be a feasible and successful project.
Hopefully, this guide has provided valuable insights and tips on how to run security camera wires without attic. With careful planning and execution, you can achieve a seamless and effective setup that provides peace of mind for you and your family. Happy installing!