
Sealing a table top with epoxy not only enhances its durability but also provides a sleek, glossy finish that can elevate the aesthetics of any space. This guide will walk you through the process of how to seal a table top with epoxy, ensuring a professional-looking result.
Whether you’re refurbishing an old table or protecting a new creation, following these steps will help you achieve a smooth and long-lasting epoxy coating. It’s an excellent way to safeguard your furniture against moisture, spills, and daily wear and tear, keeping it looking pristine for years to come.
Importance of Sealing a Table Top with Epoxy
Sealing a table top with epoxy is crucial for several reasons. Firstly, it provides a long-lasting protective layer that shields the surface from moisture, stains, and heat, significantly extending the lifespan of your furniture.
This protection is particularly vital for tables exposed to heavy usage or those located in high-humidity areas, where damage from water and other liquids is more likely.
Secondly, the glossy finish of an epoxy seal enhances the visual appeal of the table, highlighting the natural grain of the wood or the intricate design of any inlays. Moreover, epoxy is highly resistant to scratches and abrasions, which helps maintain the table’s aesthetic over time despite regular use.
Why Use Epoxy for Sealing a Table Top
Epoxy is renowned for its versatility and strength, making it the ideal choice for sealing a table top. One of the main reasons to use epoxy is its superior bonding capabilities, which provide an airtight and waterproof seal that protects the table from spills and moisture damage. This property is especially beneficial in homes with children or busy environments where liquid mishaps are common.
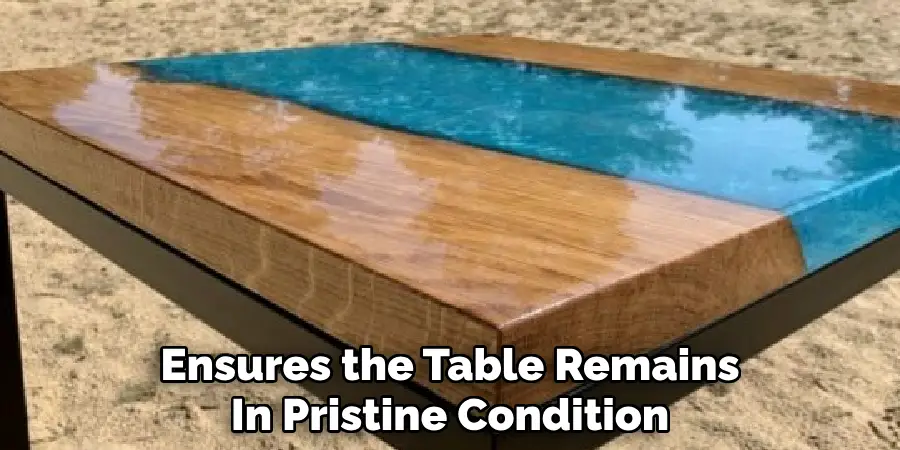
Additionally, epoxy is exceptionally durable, offering resistance to scratches, dents, and other forms of physical wear, which ensures the table remains in pristine condition despite frequent use. Another advantage of using epoxy is its aesthetic contribution; it creates a high-gloss finish that accentuates the table’s design and enhances the visual appeal of the room.
Tools and Materials Needed
Before you begin sealing your table top with epoxy, it’s essential to gather all the necessary tools and materials to ensure a smooth and successful application. Here’s a checklist to help you prepare:
- Epoxy Resin Kit: Choose a high-quality epoxy resin and hardener specifically made for table tops. Make sure the kit includes a measuring cup for accuracy.
- Mixing Containers: Have multiple containers available for mixing the epoxy to prevent contamination and ensure a thorough blend.
- Stir Sticks: Use sturdy sticks for mixing the resin and hardener together to achieve a uniform consistency.
- Disposable Gloves: Protect your hands from chemicals by wearing nitrile or latex gloves.
- Drop Cloths or Plastic Sheeting: Cover your workspace to protect against spills and drips of epoxy.
- Painter’s Tape: Tape off areas you do not want epoxy to cover, such as the edges or legs of the table.
- Heat Gun or Torch: Use to eliminate bubbles from the epoxy once it is applied to the table surface.
- Sandpaper: Have fine-grit sandpaper on hand to smooth out any imperfections on the table’s surface before and after the epoxy application.
- Level: Ensure your table is perfectly level before pouring the epoxy to prevent uneven coverage.
- Brushes or Rollers: Utilize these as necessary for spreading epoxy evenly across the table top.
Having these tools and materials ready will streamline the sealing process and contribute to a professional-looking finish.
10 Methods How to Seal a Table Top with Epoxy
1. Prepare the Tabletop Surface Thoroughly
Before sealing your tabletop with epoxy, surface preparation is crucial for a smooth and durable finish. Begin by cleaning the table thoroughly to remove dust, dirt, grease, or old finishes that could interfere with epoxy adhesion.
Use a degreaser or mild soap and water, and ensure the surface is completely dry. If the tabletop has scratches or dents, sand it with progressively finer sandpaper, finishing with a grit of around 220. This step creates a smooth, even base that allows the epoxy to adhere properly and prevents imperfections from showing through the final finish.
2. Ensure a Level Workspace
Epoxy resin is self-leveling, so it’s essential to work on a perfectly level surface to prevent uneven curing. Use a carpenter’s level to check the table and adjust it by shimming the legs or placing supports under the tabletop.
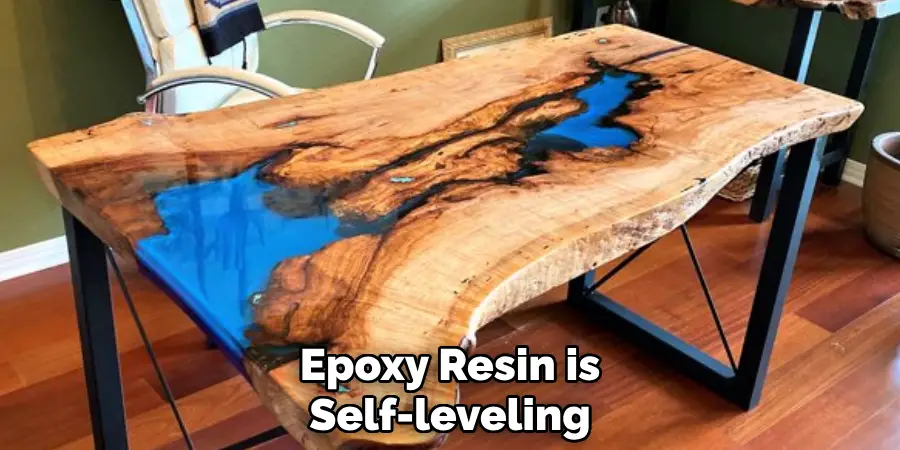
If your workspace isn’t level, the epoxy may pool in certain areas, resulting in an uneven finish. A stable and level environment also reduces the risk of spills or drips, which can be difficult to correct once the epoxy cures.
3. Mask Off Edges and Surrounding Areas
To prevent epoxy from dripping onto unwanted areas, use painter’s tape to mask off the edges of the table and any parts you don’t want covered. For tables with beveled edges, tape the underside to catch drips.
Cover the surrounding work area with plastic sheeting or drop cloths to protect it from spills. Proper masking ensures a clean finish and saves time on cleanup.
4. Mix the Epoxy Correctly
Mixing the epoxy resin and hardener in the correct ratio is essential for a successful application. Follow the manufacturer’s instructions carefully, as improper ratios can lead to incomplete curing or a tacky finish.
Pour the resin and hardener into a mixing container, and use a stir stick or drill attachment to blend them thoroughly for at least 3-5 minutes. Scrape the sides and bottom of the container to ensure the components are fully incorporated, as unmixed resin or hardener can cause uneven curing.
5. Apply a Seal Coat First
A seal coat is a thin layer of epoxy applied before the main pour to fill pores and imperfections in the wood. This step prevents air bubbles from escaping and forming in the topcoat.
Use a brush or squeegee to spread a small amount of mixed epoxy across the tabletop, ensuring even coverage. Allow the seal coat to cure according to the product instructions, typically 4-6 hours, before proceeding to the main application. This preliminary layer ensures a smooth and bubble-free final finish.
6. Pour the Epoxy Slowly and Evenly
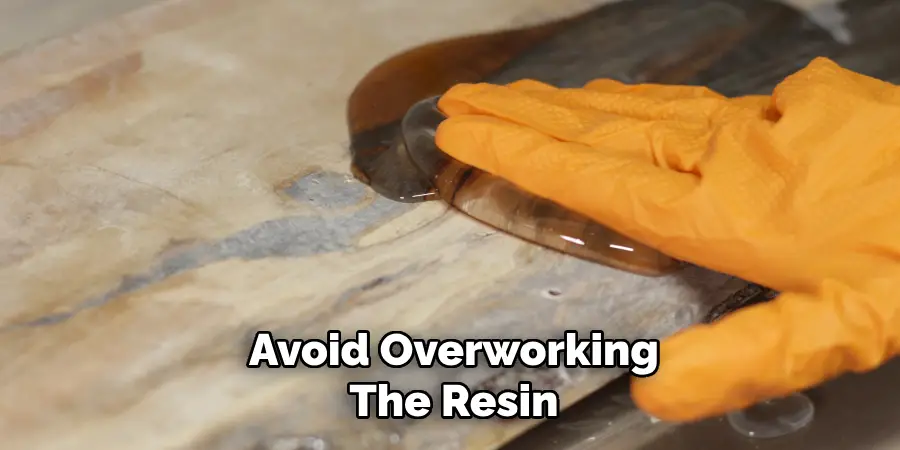
When applying the main layer of epoxy, pour it slowly and evenly across the tabletop to minimize air bubbles and ensure uniform coverage. Start at the center and work outward, letting the resin flow naturally to the edges.
Use a notched trowel or a plastic spreader to guide the epoxy and distribute it evenly. Avoid overworking the resin, as excessive handling can introduce bubbles or disrupt the leveling process.
7. Eliminate Air Bubbles with a Heat Gun or Torch
Air bubbles are a common issue when working with epoxy but can be easily removed using a heat gun or propane torch. Hold the heat source about 6 inches above the surface and move it in a sweeping motion to pop bubbles as they rise.
Be careful not to hold the heat in one spot for too long, as this can scorch the epoxy. Perform this step immediately after pouring and periodically as the epoxy cures, ensuring a glass-like finish.
8. Allow the Epoxy to Cure Properly
Curing is a critical phase in sealing a tabletop with epoxy, requiring patience and attention to detail. Follow the manufacturer’s guidelines for curing time, which can range from 24 to 72 hours depending on the product.
During this period, keep the table in a dust-free environment, as debris can settle on the surface and mar the finish. Avoid touching or moving the table until the epoxy has fully hardened to prevent fingerprints or dents.
9. Sand and Reapply if Necessary
If imperfections such as bubbles, dimples, or uneven areas occur after the epoxy cures, lightly sand the surface with fine-grit sandpaper (320-400 grit). Clean the surface thoroughly to remove sanding dust, then apply another thin layer of epoxy.
This additional coat will fill imperfections and restore the glossy finish. Proper sanding ensures a flawless surface and enhances the durability of the epoxy layer.
10. Finish with a Protective Topcoat
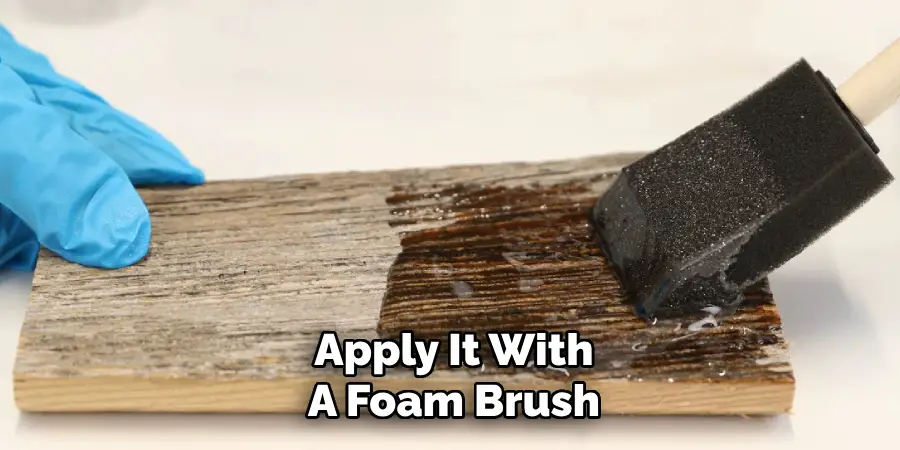
Although epoxy is durable, adding a protective topcoat can further safeguard your tabletop from scratches, UV damage, and yellowing over time. Use a polyurethane or acrylic clear coat specifically designed for use over epoxy.
Apply it with a foam brush or sprayer in thin, even layers, allowing each coat to dry before applying the next. A topcoat adds a final layer of protection and enhances the shine and longevity of your epoxy-sealed tabletop.
Conclusion
Sealing a tabletop with epoxy can transform a simple piece of furniture into a stunning centerpiece with a professional finish. By following the outlined steps carefully—from preparing the surface to applying the final protective topcoat—you can achieve a durable, glossy surface that is both visually appealing and long-lasting.
The process requires patience and attention to detail, but the results are well worth the effort, providing you with a beautifully sealed tabletop that can withstand daily use and maintain its brilliance over time. Thanks for reading, and we hope this has given you some inspiration on how to seal a table top with epoxy!