
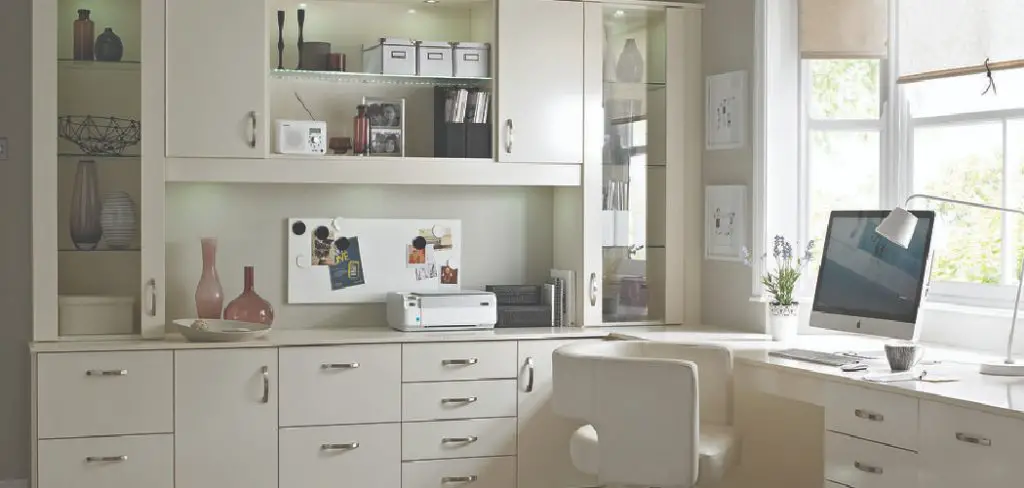
Sealing cabinets is an essential step to ensure their longevity and maintain their appearance. Proper sealing not only enhances the aesthetic appeal of your cabinets but also provides a protective barrier against moisture, stains, and everyday wear and tear.
Whether you’re working with new cabinetry or looking to refresh older units, understanding the sealing process can help you achieve professional-looking results. This guide will walk you through Introduction, ensuring they remain durable and beautiful for years to come.
Why Seal Cabinets
Sealing cabinets is crucial for maintaining their structural integrity and appearance over time. Kitchens and bathrooms are often exposed to fluctuating temperatures, high humidity, and frequent contact with water, all of which can lead to warping, swelling, or discoloration of untreated wood. By applying a sealant, you create a moisture-resistant barrier that protects the wood from absorbing water and developing mold or mildew.
Additionally, sealing helps prevent stains from food, beverages, and cleaning products, keeping your cabinets looking fresh and clean. It also offers a layer of defense against scratches and dings, which are common in high-traffic areas. For painted cabinets, sealing can prevent chipping and fading, prolonging the life of the paint job. Overall, sealing cabinets is an investment in their long-term durability and aesthetic value.
Types of Sealants for Cabinets
When it comes to sealing cabinets, selecting the right type of sealant is essential to ensure optimal protection and finish. There are several types of sealants available, each suited for different materials and desired outcomes.
- Polyurethane Sealants: These are among the most durable options, providing a hard, protective finish. They are ideal for high-moisture areas like kitchens and bathrooms. Both oil-based and water-based polyurethanes are available, with oil-based offering a richer finish and water-based being more eco-friendly and less odorous.
- Lacquer Sealants: Known for their quick-drying properties, lacquer sealants are excellent for achieving a glossy, smooth finish. They offer moderate protection and are best suited for cabinets that don’t see heavy use or exposure to moisture.
- Shellac Sealants: Made from natural ingredients, shellac provides a warm, rich tone that enhances wood grain. It is best used for furniture and interior wood surfaces rather than kitchens or bathrooms because it is less moisture-resistant than other sealants.
- Varnish: Varnish offers a clear, durable finish that preserves the natural appearance of the wood. It is suitable for both indoor and outdoor use, making it a versatile choice for various cabinet locations.
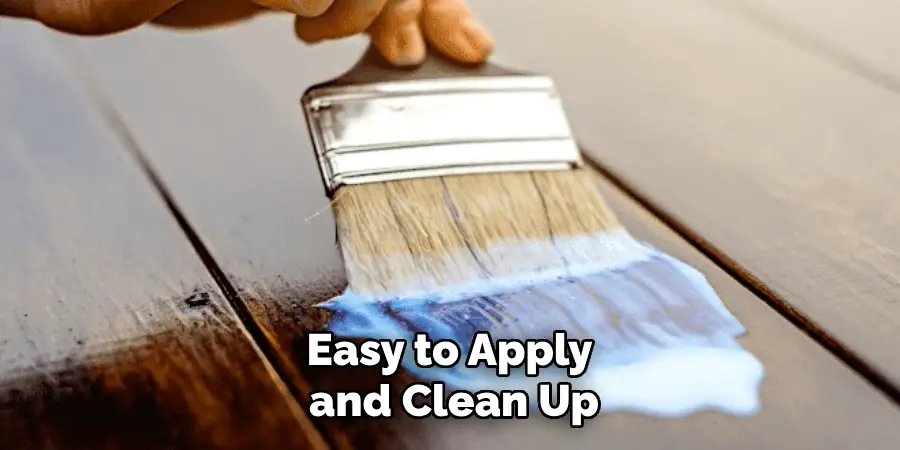
- Acrylic Sealants: These water-based sealants are easy to apply and clean up, making them a popular choice for DIY projects. They offer adequate protection against moisture and stains, though they might not be as durable as polyurethane or varnish.
Selecting the appropriate sealant will depend on your specific needs, cabinet material, and the level of protection desired. Always consider the environment in which the cabinets will be used when choosing a sealant to ensure long-lasting results.
10 Methods How to Seal Cabinets
1. Assess the Condition of Your Cabinets
Before you start sealing your cabinets, it’s essential to assess their current condition. Check for signs of wear, such as scratches, chips, or peeling paint, as well as any areas of moisture damage or mildew, particularly in kitchens and bathrooms where humidity is prevalent.
Identifying the specific needs of your cabinets will guide your sealing process and help you decide whether a simple sealant will suffice or if more extensive repairs are necessary. Take note of any areas requiring special attention, as this will inform your preparation work before sealing.
2. Choose the Right Sealant
Selecting the appropriate sealant is critical for ensuring the best results for your cabinets. There are several types of sealants available, including polyurethane, varnish, lacquer, and water-based sealants. Polyurethane is popular for its durability and moisture resistance, making it an excellent choice for kitchen and bathroom cabinets.
Water-based sealants are easier to work with and have lower fumes, while oil-based options provide a rich finish. Consider your specific needs, including the type of wood, the existing finish, and your personal preference for durability and ease of application, before making a choice.
3. Prepare the Surface for Sealing
Proper preparation is crucial for achieving a smooth and even finish when sealing cabinets. Start by cleaning the cabinet surfaces thoroughly to remove any dust, grease, or grime that may have accumulated. Use a mild detergent mixed with water and a soft cloth to wipe down the surfaces.
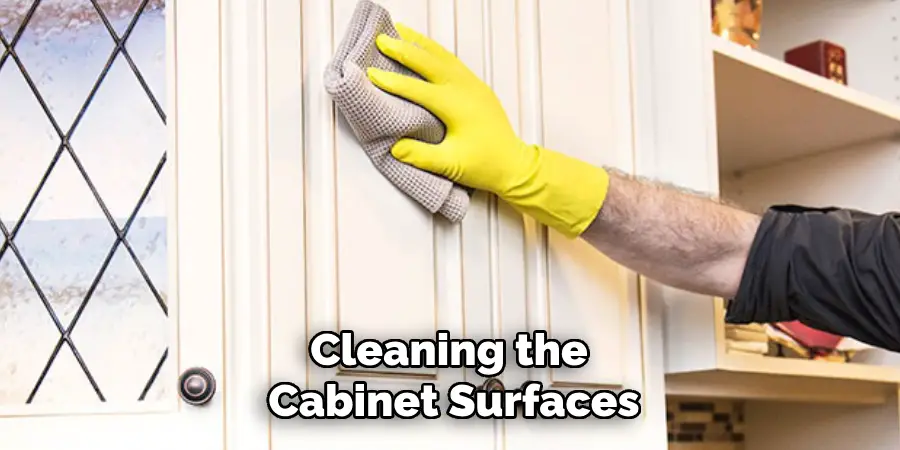
For stubborn stains, a gentle abrasive pad can be used. After cleaning, allow the cabinets to dry completely. If the cabinets have an existing finish, you may need to lightly sand the surfaces with fine-grit sandpaper (220-grit) to create a better bond for the sealant. Sanding not only helps the sealant adhere but also evens out any imperfections in the wood.
4. Repair Any Damage
Before sealing, address any damages or imperfections on the cabinet surfaces. For scratches and dents, use wood filler that matches the cabinet color. Apply the filler with a putty knife, pressing it into the damaged areas, and allow it to dry according to the manufacturer’s instructions. Once dry, sand the filled areas lightly to ensure they are flush with the surrounding surface. For more significant repairs, such as cracked or broken pieces, you may need to replace affected parts or seek professional assistance. Ensuring that the cabinet surfaces are in optimal condition before sealing is essential for achieving a polished final look.
5. Apply the Sealant
With the cabinets prepped and repaired, it’s time to apply the sealant. Using a high-quality brush or a foam applicator, apply the sealant in smooth, even strokes, working in the direction of the wood grain. Begin with a thin coat, as multiple layers will provide better protection than a single thick layer.
Avoid over-brushing, as this can create bubbles and uneven coverage. For areas with intricate details or carvings, use a smaller brush to ensure you reach all the nooks and crannies. Pay special attention to edges and corners, where moisture is more likely to accumulate. Allow the first coat to dry completely before proceeding to the next step.
6. Sand Between Coats
To achieve a professional-quality finish, sand between each coat of sealant. Once the first coat is dry, lightly sand the surface with fine-grit sandpaper (320-grit) to smooth out any imperfections and create a better bond for subsequent layers. Be sure to remove any dust created by sanding using a clean, dry cloth or a vacuum with a brush attachment.
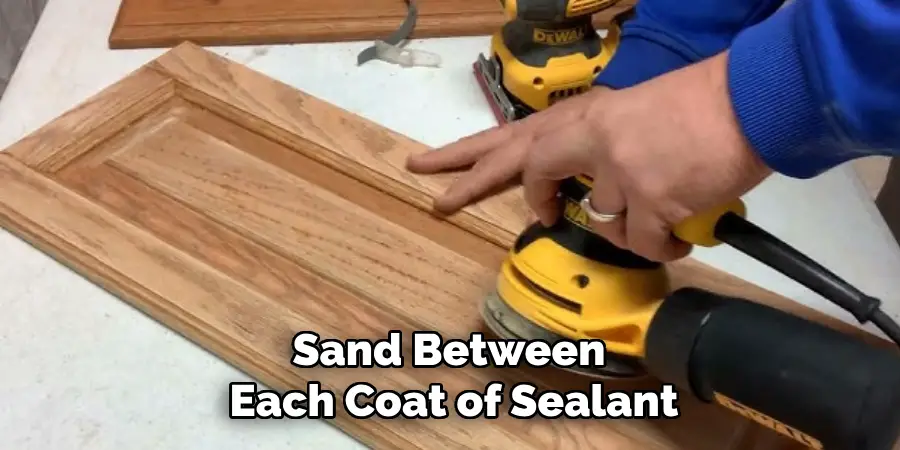
Sanding between coats not only helps with adhesion but also enhances the overall appearance of the finish, making it look smoother and more uniform. Repeat this process after applying each additional coat of sealant.
7. Apply Additional Coats
Most cabinets benefit from multiple coats of sealant, especially in high-traffic areas like kitchens and bathrooms. After sanding the first coat, apply a second layer of sealant using the same technique as before. Again, allow the sealant to dry completely before sanding and applying a third coat if necessary.
For optimal durability, three to four coats are recommended, particularly for surfaces that will experience regular use and exposure to moisture. Each layer adds to the protection and enhances the finish, so be patient and allow each coat to cure properly.
8. Allow for Proper Curing
After applying the final coat of sealant, allow the cabinets to cure properly. This step is crucial for ensuring that the sealant fully adheres and provides maximum protection. Curing times can vary based on the type of sealant used, so refer to the manufacturer’s instructions for specific guidance. During this time, avoid placing items on the cabinets or exposing them to moisture, as this can interfere with the sealing process. Allowing sufficient time for curing ensures that the finish will be durable and long-lasting.
9. Reattach Hardware and Accessories
Once the sealant has fully cured, it’s time to reattach any hardware, such as handles, knobs, and hinges. If you removed the hardware for sealing, be sure to clean it thoroughly before reinstallation. Use a soft cloth to remove any dirt or grease that may have accumulated.
If desired, consider updating the hardware for a fresh look that complements the restored cabinets. When reattaching, ensure that screws and fittings are securely fastened without overtightening, as this can cause damage to the cabinets. This final step enhances the overall appearance and functionality of your sealed cabinets.
10. Maintain Your Sealed Cabinets
After successfully sealing your cabinets, regular maintenance will help keep them looking their best. To maintain the finish, clean the surfaces with a gentle detergent and a soft cloth. Avoid harsh chemicals or abrasive cleaners that could damage the sealant.

Periodically check for signs of wear or damage, especially in high-use areas, and address any issues promptly. If necessary, consider reapplying sealant every few years or when you notice the finish starting to wear thin. By taking these steps, you can preserve the beauty and durability of your cabinets for many years to come.
Conclusion
Sealing cabinets is an essential step in preserving their appearance and functionality over time. By following a detailed approach—from thorough cleaning and preparation to applying multiple coats of sealant—you can ensure a long-lasting and beautiful finish. Each step in the process is crucial, addressing both aesthetic and protective needs. Thanks for reading, and we hope this has given you some inspiration on how to seal cabinets!