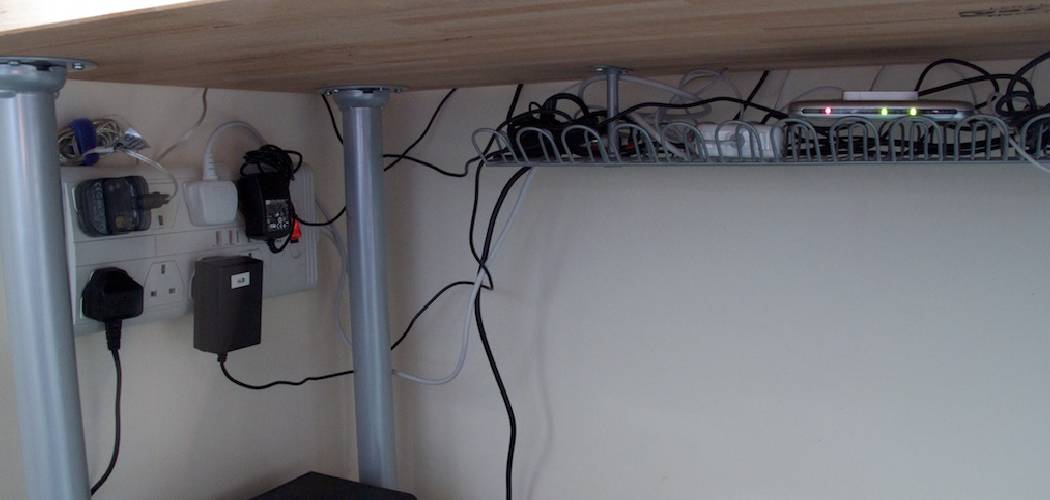
Are you constantly frustrated with tangled cords and wires on your desk? Do you find yourself wasting time untangling them every day? If so, it’s time to invest in a cord organizer for your desk.

Keeping your desk tidy and organized can significantly improve productivity and reduce stress, especially when dealing with numerous cables and cords. A cord organizer is an excellent solution for managing the clutter caused by charging cables, power cords, and other wires. You can create a more efficient and visually appealing workspace by properly setting up a cord organizer on your desk.
This guide on how to set cord organizer on desk will walk you through the basic steps and tips to ensure your cords are neatly arranged and easily accessible.
What Are the Benefits of Using a Cord Organizer?
Before diving into setting up a cord organizer on your desk, let’s quickly discuss the benefits of using one.
- Reduces Clutter: With a cord organizer, you can say goodbye to tangled cords and wires all over your desk. This makes your workspace look tidy and improves safety by reducing trip hazards.
- Easy Access: Organizing and labeling all your cords allows for easy identification and accessibility.
- Prevents Damage: Tangled cords can easily get damaged or worn out, leading to costly replacements. A cord organizer keeps them untangled and protected from wear and tear.
- Saves Time: With everything neatly arranged, you no longer have to spend time untangling cords or searching for the right one. This saves valuable time and increases productivity.
These are just a few benefits of using a cord organizer on your desk. Now, let’s move on to the steps for setting one up.
What Will You Need?
- Cord organizer or cable ties
- Power strip or surge protector
- Extension cords (if necessary)
- Labels (optional)
Once you have these items, you can start setting up your cord organizer on your desk.
10 Easy Steps on How to Set Cord Organizer on Desk
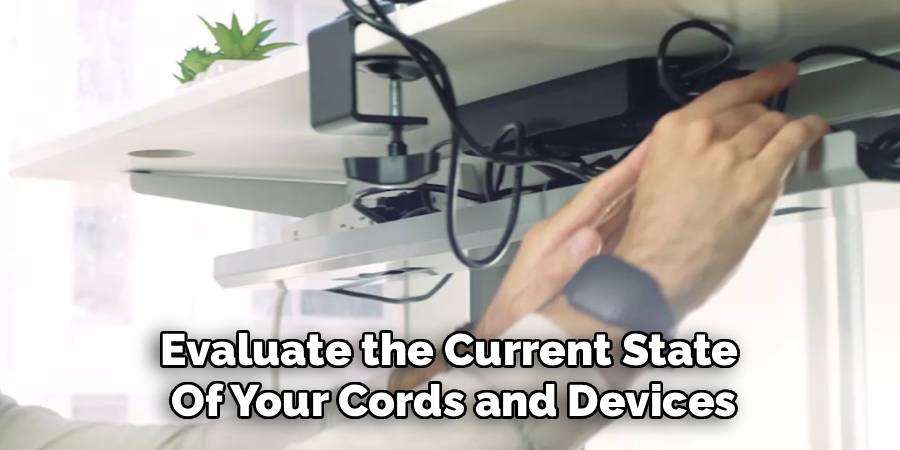
Step 1: Assess Your Desk Setup
Take a close look at your desk and evaluate the current state of your cords and devices. Identify the main sources of cord clutter, such as power cables, charging wires, or accessory connections. Take note of the number of cords you need to organize and the devices they belong to. This step is crucial for determining how many slots, clips, or ties you’ll require and whether additional items, such as an extension cord or power strip, are necessary. By taking the time to assess your setup carefully, you’ll be better prepared to ensure every cord has a designated place, making the organization process smoother and more efficient.
Step 2: Gather Your Materials
Before you begin organizing, ensure you have all the necessary materials. This includes your cord organizer, cable ties, power strip, extension cords, and additional items like labels for easier identification. Having everything ready ensures you can complete the task without interruptions. Lay the materials out on your desk so you can easily access them as you work. Being prepared will streamline the entire process and help you stay focused.
Step 3: Group and Secure Cords
Start by grouping cords that serve similar purposes or belong to the same device. For example, keep all computer-related cables and separate them from phone chargers or other device cords. Use cable ties, Velcro straps, or clips to secure each group. Be careful not to over-tighten, as this can damage the cables. Grouping and securing cords not only simplifies the organization but also helps reduce tangling and makes it easier to locate specific cords when needed. Ensure the cords are long enough to reach their respective devices while remaining neatly organized.
Step 4: Label Your Cords
Once your cords are grouped and secured, take the time to label them clearly. Use pre-made labels or create your own by using adhesive tags or masking tape with a marker. Labeling cords with their purpose or the device they belong to will save you time and frustration in the future. This step is beneficial for identifying similar-looking cables and ensuring a smoother setup when reconnecting devices. Clear, visible labels make cord management more effective and professional.
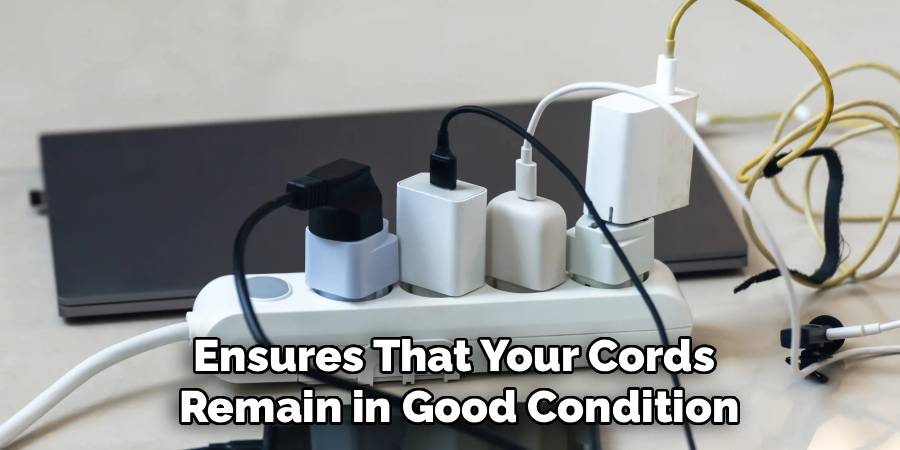
Step 5: Store Cords Properly
After labeling your cords, consider the best way to store them to maintain order and accessibility. Use containers, drawers, or specialized cord organizers to keep your cables in one centralized location. For longer cords or ones not frequently used, coil them neatly and store them in ziplock bags, small bins, or compartments to avoid tangling. Keep them in a dry, dust-free environment to extend their lifespan. Proper storage ensures that your cords remain in good condition and are easily retrieved whenever needed. Avoid storing them in a tangled mess inside a drawer or cabinet.
Step 6: Regularly Inspect and Maintain Cords
To ensure the longevity and functionality of your cords, make it a habit to inspect and maintain them regularly. Check for any signs of wear, fraying, or damage that could impact performance or pose safety risks. Replace damaged cords immediately to avoid potential hazards. Additionally, clean the cords periodically using a dry or slightly damp cloth to remove dust and debris. Regular maintenance helps prevent issues and keeps your cords in optimal condition for daily use.
Step 7: Label Your Cords for Easy Identification
Labeling your cords can save you time and frustration, especially if you have multiple devices or cables that look similar. Use cable tags, adhesive labels, or even simple masking tape to mark each cord with its associated device or purpose. Color-coded labels can be beneficial for quickly identifying specific types of cords. Proper labeling ensures you can quickly locate and reconnect the correct cords without confusion, enhancing organization and efficiency.
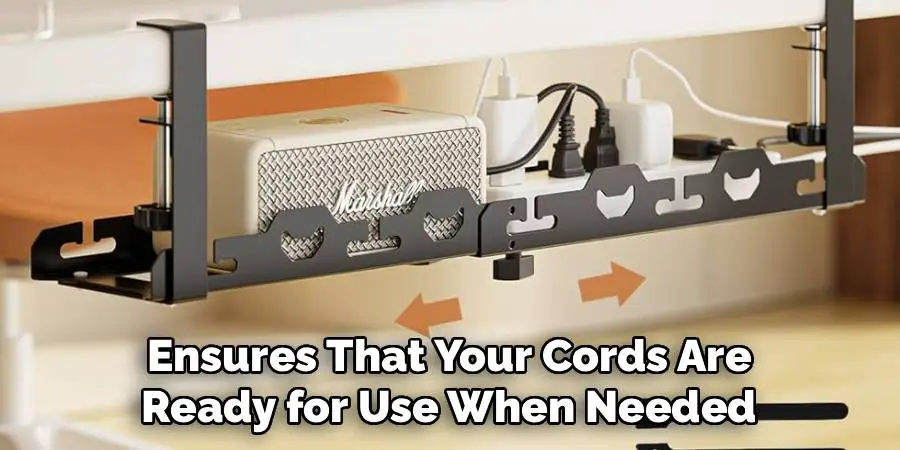
Step 8: Store Unused Cords Properly
To avoid clutter and damage, store unused cords in a designated area where they can remain organized and tangle-free. Storage solutions such as zippered pouches, drawer dividers, or cord organizers keep cables separate and easily accessible. Rolling cords neatly and securing them with Velcro straps or twist ties can prevent tangling and prolong their lifespan. Proper storage ensures that your cords are ready for use when needed while maintaining a tidy space.
Step 9: Regularly Check and Maintain Your Cables
To ensure the longevity and performance of your cords, it’s essential to perform regular checks and maintenance. Periodically inspect cables for signs of wear, such as fraying, cracks, or exposed wires, and replace damaged ones immediately to prevent safety hazards. Dust and clean your cables gently with a soft, dry cloth to remove any debris that could interfere with their functionality. Regular maintenance not only extends your cords’ lifespan but also helps maintain a safe and organized environment.
Step 10: Label Your Cables
Labeling your cables is an effective way to keep them organized and easily identifiable. Use cable tags, adhesive labels, or even masking tape with clear handwriting to mark each cord according to its purpose, device, or location. This step can save time and frustration, especially when managing multiple similar-looking cables. Proper labeling ensures quick access and minimizes the risk of accidentally disconnecting or misplacing the wrong cord.
By following these steps and incorporating cable organization into your routine, you can maintain a clutter-free, safe, and efficient workspace.
5 Things You Should Avoid
1. Overcrowding Your Organizer: Avoid cramming too many cords into the organizer, as this can make retrieving or managing individual cables difficult. Overcrowding may also damage the cords over time.
2. Forgetting to Label Cables: Neglecting to label your cables can lead to confusion when you need to unplug or reconfigure your setup. Always use labels or tags to keep things organized and identifiable.
3. Placing the Organizer in an Inaccessible Spot: Don’t place your cord organizer in a hard-to-reach location. Make sure it is conveniently located for easy adjustments or access when needed.
4. Ignoring Cable Lengths: Failing to account for the length of your cables can create unnecessary tension on the connections or leave excess cords tangled around your desk.
5. Skipping Regular Maintenance: Avoid neglecting routine checks to ensure cables are securely fastened and free from wear and tear. Regularly tidy up and adjust your organizer as needed to keep it functional and clutter-free.
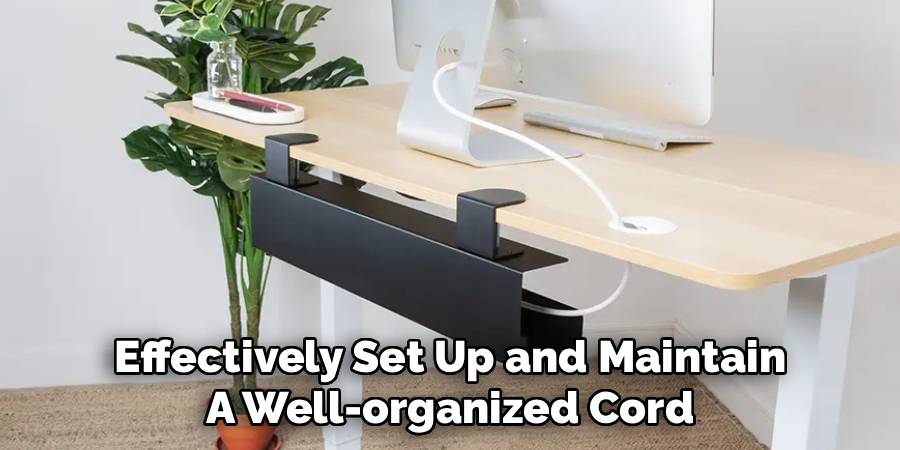
You can effectively set up and maintain a well-organized cord organizer on your desk by avoiding these common mistakes.
Conclusion
Setting up a cord organizer on your desk is a simple yet impactful way to improve your workspace’s efficiency and appearance.
You can significantly reduce clutter and make your workspace more functional by choosing the right organizer, strategically placing it, and maintaining a regular upkeep routine. Remember to label your cables, account for proper lengths, and avoid common pitfalls like inaccessible placement or tangled wires. A little effort invested in organizing your cords can go a long way in creating a productive and stress-free environment.
Hopefully, the article on how to set cord organizer on desk has been helpful, and you can now effectively manage your cords while enhancing the appearance of your workspace. Happy organizing!