

A reliable office network keeps your team connected, productive, and secure. Whether you run a small startup or manage a growing business, the right setup lets people share files, access the internet, and use shared printers without a hitch. Building a network might sound technical, but with a clear plan, you can get it done step by step.

This guide walks you through everything you need to know, from the gear required to the common mistakes worth avoiding.
Let’s dive into how to set up office network.
What are the Benefits?
A well-built office network does more than connect computers. It boosts collaboration by letting employees share documents and resources instantly. It improves security through centralized control over who accesses what. You also save money by sharing devices like printers and storage instead of buying one for every desk. On top of that, a solid network supports backups, faster communication, and smoother day-to-day operations. In short, it lays the foundation for a business that runs efficiently and scales with ease.
What Will You Need?
Before you begin, gather the right equipment. Here’s a basic checklist:
- A modem from your internet service provider
- A router (wired, wireless, or both)
- A network switch if you have many wired devices
- Ethernet cables (Cat6 recommended)
- A firewall, either standalone or built into your router
- Computers, printers, and other devices to connect
- Optional: a network-attached storage (NAS) device for shared files
Having everything ready before you start saves time and prevents frustrating mid-setup trips to the store.
10 Easy Steps on How to Set Up Office Network
Setting up an office network is easier when you tackle it one step at a time. The 10 steps below walk you through the entire process, from planning your layout to documenting your final setup. Follow them in order, and you’ll build a network that’s fast, secure, and ready to grow with your business.
Step 1: Plan Your Network Layout
Before you touch a single cable, sketch out your office and decide where everything will live. Mark the spots for your modem, router, switches, and each workstation. Count how many wired and wireless devices you need to support, including printers, phones, and shared storage.
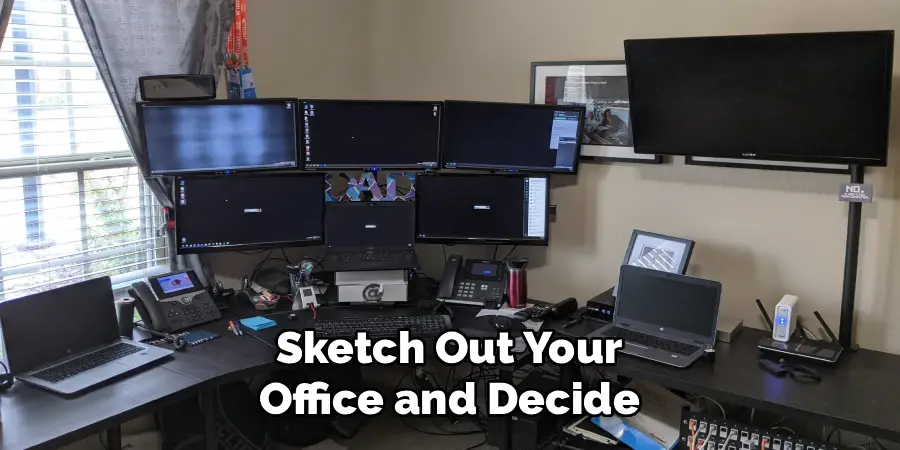
Good planning prevents two common headaches: running short on cable length and creating Wi-Fi dead zones. A quick floor plan also helps you spot the best central location for your router, away from thick walls and metal objects that block signals. Spend extra time here—every later step depends on this foundation.
Step 2: Choose the Right Internet Plan
Your network is only as fast as the connection behind it. Pick an internet plan that matches your team size and how you work. Offices that rely on video calls, cloud apps, and large file transfers need higher upload and download speeds than a team that mostly browses and emails.
Contact your internet service provider to confirm available bandwidth in your area. Ask about business plans, which often include better reliability, faster support, and a static IP address if you host servers. As a rule of thumb, estimate around 10 Mbps per active user, then add a buffer for growth. Don’t underbuy now and pay for upgrades later.
Step 3: Set Up and Test the Modem
The modem is the bridge between your office and the wider internet. Connect it to the incoming internet line from your provider, plug in the power, and wait for the status lights to turn solid. A blinking light usually means the connection is still syncing, so give it a few minutes.
Once the lights confirm an active link, test it by connecting a single laptop directly to the modem. If you get internet, your foundation is solid. If not, restart the modem or call your provider before adding more equipment. Catching connection issues now saves you from troubleshooting a tangled setup later.
Step 4: Connect and Configure the Router
The router shares your internet connection across all devices and acts as the heart of your network. Plug it into the modem with an Ethernet cable, then power it on. Open the router’s settings by typing its IP address (often printed on the device) into a web browser.

Inside the settings, do three things right away. Set a clear network name, create a strong unique password, and update the firmware to the latest version. Outdated firmware is a common security gap, so don’t skip this. If your router supports it, set up separate networks for staff and guests to keep your internal systems protected.
Step 5: Add a Network Switch for Wired Devices
If you have more wired devices than your router has ports, a network switch solves the problem. Most routers offer only four LAN ports, which fills up fast in a busy office. A switch expands that capacity—an 8, 16, or 24-port switch can handle a growing team with room to spare.
Run an Ethernet cable from a free port on your router to the switch, then connect your wired devices to the switch’s ports. For most small offices, an unmanaged switch works fine and needs no setup. Choose a managed switch only if you need advanced control over traffic and security.
Step 6: Run and Organize Your Cables
Now route Ethernet cables to each workstation. Use Cat6 cables for reliable gigabit speeds and a bit of future-proofing. Plan tidy paths along walls, under desks, or through cable trays so wires stay out of walkways and away from tripping hazards.
Label both ends of every cable. A simple tag like “Reception – Port 3” turns future troubleshooting from a guessing game into a quick fix. Bundle cables with Velcro ties rather than tight zip ties, which can damage the wires over time. Neat cabling looks professional and saves hours when something needs repair.
Step 7: Set Up Wireless Access
Enable Wi-Fi on your router and position it for the widest coverage. Central, elevated spots work best—avoid tucking the router inside a closet or cabinet, which weakens the signal. In larger offices, add wireless access points to remove dead zones and keep speeds consistent across every room.
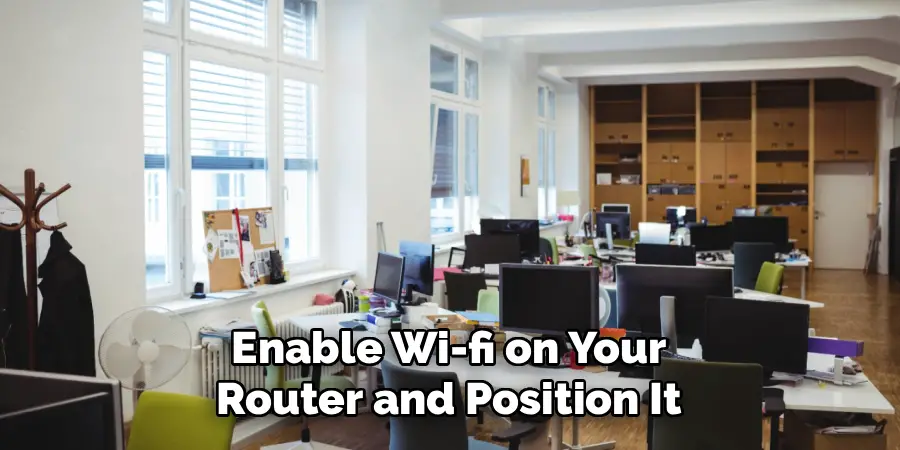
Create a separate guest network so visitors can connect without reaching your internal files and devices. Use a clear network name and a strong password for both networks. If your team handles sensitive data, consider hiding the main network name from public view for an extra layer of privacy.
Step 8: Lock Down Your Security Settings
Security protects your business from data theft, downtime, and costly breaches. Turn on your firewall, either the one built into your router or a dedicated device for stronger protection. Enable WPA3 encryption on Wi-Fi, or WPA2 if your gear doesn’t yet support WPA3.
Change every default username and password on your network equipment, since these are widely known and easy targets. Then set user permissions so staff can only reach the files and tools their roles require. A receptionist shouldn’t have the same access as your finance team. Review these settings regularly as your business changes.
Step 9: Connect Devices and Shared Resources
With the network running and secured, add your computers, printers, and storage devices. Install any required drivers and confirm each device connects and communicates properly. Test from more than one workstation to make sure access is consistent.
Set up shared folders and printers so the whole team can use them without juggling USB drives or buying a printer for every desk. If you use a network-attached storage (NAS) device, organize folders by department and apply the permissions you set in Step 8. Centralizing resources this way boosts collaboration and keeps important files in one secure, backed-up location.
Step 10: Test Everything and Document Your Setup
Before you call the job done, test the whole network end to end. Run speed tests at several desks, check that Wi-Fi reaches every corner, and confirm devices stay connected during normal use. Verify that security settings work by trying to access restricted files from an unauthorized account.

Finally, write everything down. Record your network layout, device names, IP addresses, passwords, and provider contacts in one secure document. Store a copy offline in case the network goes down. This record turns future troubleshooting, upgrades, and onboarding into a smooth process instead of a scramble.
5 Things You Should Avoid
- Skipping security setup. Leaving default passwords or open Wi-Fi invites attackers.
- Ignoring future growth. Buy gear that handles more devices than you have today.
- Messy cabling. Tangled wires cause confusion and downtime during repairs.
- Weak Wi-Fi placement. Hiding the router in a closet kills your signal strength.
- No backups. Without backups, a single failure can wipe out critical data.
Frequently Asked Questions
- How Much Does It Cost to Set Up an Office Network?
Costs vary based on office size and equipment quality. A small office might spend a few hundred dollars on a router, switch, and cables. Larger setups with managed switches and multiple access points cost more. Factor in monthly internet fees too. Investing in reliable gear upfront saves money on repairs and upgrades later. - Should I Use Wired or Wireless Connections?
Both have their place. Wired connections offer faster, more stable speeds, ideal for desktops and servers. Wireless adds flexibility for laptops, phones, and meeting spaces. Most offices use a mix of the two. For best results, wire critical devices and rely on Wi-Fi for mobile needs. - Do I Need an It Professional to Set Up My Network?
For small offices, you can follow this guide and do it yourself. As your business grows, professional help becomes valuable. Experts handle advanced security, server setups, and complex layouts. They also troubleshoot faster when problems arise. Consider hiring support once your network outgrows basic needs.
Conclusion
Setting up an office network takes planning, the right equipment, and a careful step-by-step approach. Once it’s running, you’ll enjoy faster communication, shared resources, and stronger security across your business.
Take your time with each stage, avoid the common pitfalls, and document your work for the future. With a solid network in place, your team has the tools to stay productive and ready to grow.
Hopefully, this guide on how to set up office network has helped you understand the key components of setting up an office network and provided some useful tips to make the process smoother. As your business evolves, your network will need to adapt as well.
