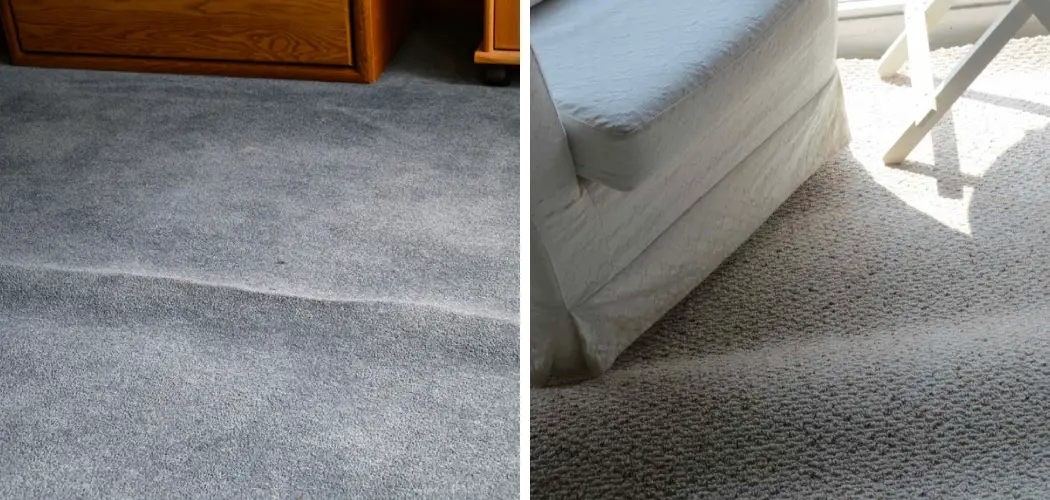
Are you tired of tripping over bumps and lumps in your carpet? Don’t worry, you’re not alone. Uneven areas on carpets are a common issue that many homeowners need help with.
Discovering bumps in your carpet can be an eyesore and a tripping hazard within your home. Whether these bumps have appeared over time from general wear and tear or immediately after a new carpet installation, it’s essential to address these irregularities to maintain the beauty and safety of your living spaces.

This guide on how to smooth out bumps in carpet will introduce you to several effective strategies for smoothing out those unsightly bumps in your carpet. From easy DIY solutions to more in-depth fixes, we’ll cover a range of methods to help you restore your carpet’s flat and smooth appearance, ensuring it looks as good as new.
What are the Causes of Carpet Bumps?
Before we dive into the solutions, let’s first understand the possible causes of bumps in carpet.
- Poor Installation: Improper stretching and securing of carpet during installation can result in lumps and bumps over time.
- Humidity Changes: Fluctuations in humidity levels can cause carpets to expand or contract, leading to uneven surfaces.
- Heavy Furniture or Foot Traffic: Constant pressure from heavy furniture or excessive foot traffic can cause the carpet’s backing to stretch, resulting in bumps.
- Wear and Tear: Over time, carpets can become worn out and develop bumps due to constant use and exposure to wear and tear.
These are just some reasons you may be experiencing bumps in your carpet. Now, let’s move on to the solutions.
What Will You Need?
To effectively smooth out bumps in your carpet, you will need:
- A utility knife
- Carpet tape or adhesive
- Knee kicker (optional)
- Carpet stretcher (optional)
Now that you have all the necessary tools, let’s start fixing those pesky carpet bumps!
10 Easy Steps on How to Smooth Out Bumps in Carpet
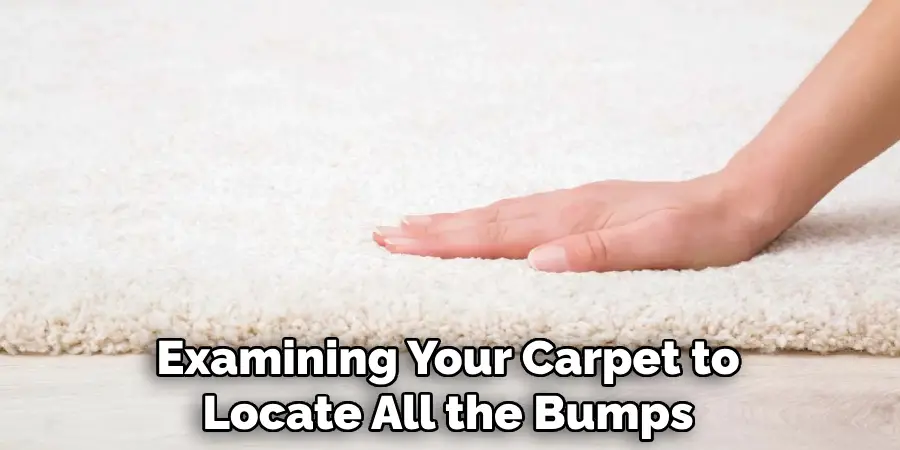
Step 1. Identify the Area:
Begin by thoroughly examining your carpet to locate all the bumps and uneven areas. This step is essential because treating all affected areas at once will prevent you from repeating the process later. Additionally, it will help you determine the severity and cause of the bumps in your carpet.
Step 2. Clear the Room:
The next step involves clearing the room of any furniture or objects that might obstruct the smoothing process. This ensures you have enough space and access to effectively address the entire carpet area. Moving furniture and other items out of the way allows you to work freely without interruptions and prevents potential damage to your belongings.
Step 3. Heat the Carpet:
Using a hairdryer, gently heat the areas of the carpet where the bumps are located. The warmth from the hairdryer will help loosen the carpet fibers, making them more pliable and easier to manipulate. Be careful to move the hairdryer back and forth to avoid overheating any single spot, which could damage the carpet. This step is particularly effective for minor bumps and can make the following steps easier by softening the carpet.
Step 4. Stretch the Carpet:
If heating the carpet doesn’t fully address the bumps, the next step is to stretch it. For this, you may need to use a knee kicker or a carpet stretcher, depending on the size of the area and the severity of the bumps. Place the knee kicker about a few inches from the bump and forcefully push your knee into it to stretch the carpet toward the edges. For larger areas, you’ll have to use a carpet stretcher, which extends across the breadth of the room to stretch the carpet evenly. This method realigns any mispositioned fibers and flattens out the bumps, ensuring the carpet lies flat and smooth against the floor.
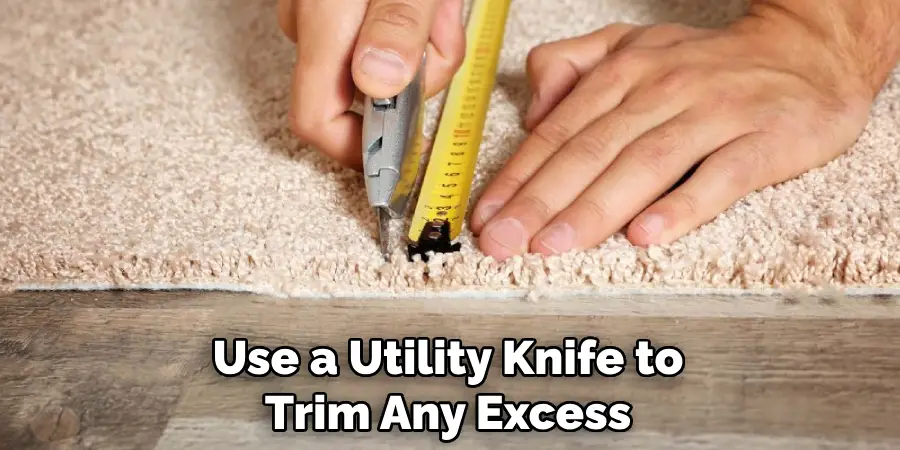
Step 5. Trim Excess Carpet:
After stretching the carpet, you may find there’s excess material that now needs trimming to ensure the carpet fits perfectly without any loose sections that could lead to future bumps. Carefully use a utility knife to trim any excess, not cutting too much or too deeply, which could damage the carpet or the underlay. Always cut with the grain of the carpet to achieve a clean, seamless trim that blends with the rest of the flooring.
Step 6. Secure the Carpet:
Once the carpet has been stretched and any excess material removed, the next crucial step is to secure it in place. For this, you will use carpet tape or an adhesive. Carefully apply the tape or adhesive along the edges and any other areas where the carpet has been cut or adjusted. This will help anchor the carpet to the floor, preventing future bumps and ensuring it stays flat and smooth. Take your time with this step to ensure the adhesive bonds are properly applied and provide long-lasting support.
Step 7. Replace Furniture Carefully:
After the carpet has been securely fixed and any adhesive used has had time to dry, it’s time to replace the furniture and other items you removed from the room. Doing this step carefully is vital to avoid creating new bumps or disturbing the freshly smoothed carpet. Lift and place furniture directly where it belongs rather than dragging it across the carpet. This precaution helps maintain the integrity of the carpet’s position and prevents any immediate re-stretching or damage.
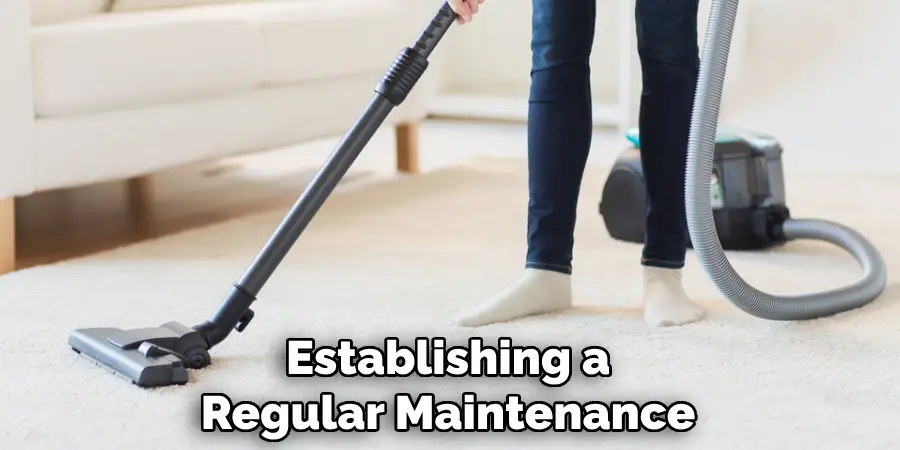
Step 8. Regular Maintenance:
Establishing a regular maintenance routine is crucial to prevent future bumps from forming in your carpet. This includes frequent vacuuming to remove dirt and debris that can accumulate under the carpet, causing it to lift or buckle. Additionally, rearrange your furniture periodically to ensure even wear and distribution of foot traffic. These simple practices can significantly extend the lifespan of your carpet, keeping it flat, smooth, and visually appealing for years to come.
Step 9. Seek Professional Help if Needed:
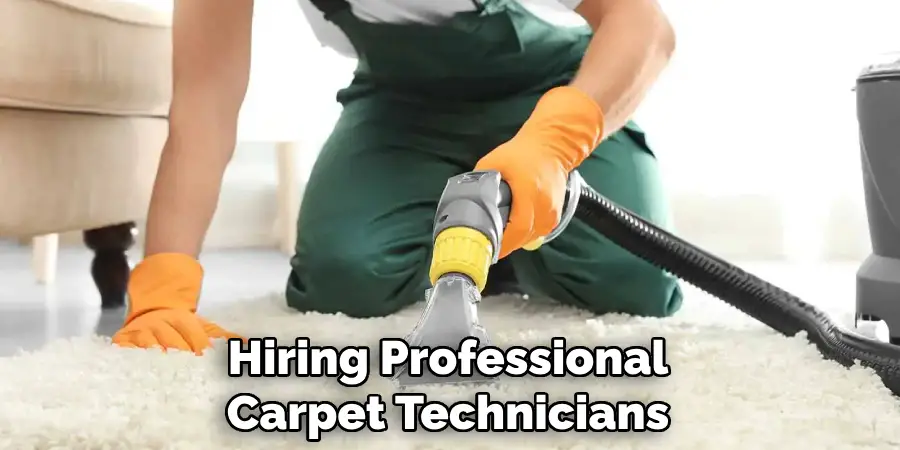
If you’ve followed all the steps but still encounter bumps or are not confident performing the repairs yourself, it might be time to call a professional. Experienced carpet technicians can assess the situation, identify the underlying cause, and employ advanced techniques to effectively smooth your carpet. Professional intervention can be particularly beneficial for addressing complex issues, ensuring the longevity of your carpet, and ultimately saving you time and effort.
Step 10. Review and Adjust:
After all efforts to smooth out the carpet, it’s important to closely review the entire area. Walk around to feel any unevenness underfoot and visually inspect the alignment and flatness across the room. If minor bumps or imperfections still exist, you may need to repeat some of the earlier steps, focusing on those areas. Remember, achieving a perfectly smooth carpet may require patience and a bit of trial and error. This final step ensures that your efforts have produced the desired outcome, leaving you with a beautifully smooth and safe carpet surface.
By following these ten steps, you can easily and effectively smooth out bumps in your carpet. Regular maintenance and prompt addressing of any new bumps will help keep your carpet looking its best for years to come, providing a comfortable and visually appealing flooring option for your home or office.
5 Additional Tips and Tricks
- Use a Carpet Stretcher: A carpet stretcher can be incredibly effective in smoothing out bumps and wrinkles. This tool works by gripping the carpet edge and stretching it towards the room’s perimeter, thereby eliminating any loose areas.
- Employ a Steam Iron: Gently steam the bumpy areas of the carpet with a steam iron, keeping the iron a few inches above the carpet to avoid direct contact. The heat helps loosen the carpet fibers, making repositioning and flattening the bumps easier.
- Adhesive Carpet Tape: For smaller bumps, applying double-sided adhesive carpet tape underneath the affected area can help secure the carpet in place, creating a smoother surface.
- Utilize Heavy Weights: After addressing the bumps, placing heavy objects, such as books or furniture, over the smoothed areas can help the carpet to settle and maintain its new position.
- Professional Carpet Stretching: Sometimes, DIY methods may not suffice, especially for large or stubborn bumps. In such cases, hiring professional carpet technicians who can stretch and re-secure the carpet, ensuring a permanently smooth surface is advisable.
With these additional tips and tricks, you can effectively eliminate bumps in your carpet and restore its smooth and even appearance. Remember to always be cautious when using tools or heat on your carpet, and if the bumps persist, don’t hesitate to seek professional assistance for a long-lasting solution.
6 Things You Should Avoid When Smoothing Out Bumps in Carpet
- Avoid Over-Wetting the Carpet: Excessive moisture can lead to the carpet’s backing material deteriorating or the development of mold and mildew. Always use minimal water or steam when attempting to flatten bumps.
- Don’t Use a Hot Iron Directly on the Carpet: Placing a hot iron directly on your carpet’s surface can cause irreparable damage to the fibers. Instead, use steam or place a thin cloth between the iron and the carpet.
- Refrain from Dragging Heavy Furniture: Dragging heavy items across the carpet can create more wrinkles and damage the carpet’s structure. Always lift furniture or place it on sliders if you need to move it.
- Do Not Skip the Measurement Step: When cutting adhesive tape or making adjustments, accurately measure the area. Guesswork can lead to improper fixes and may worsen the situation.
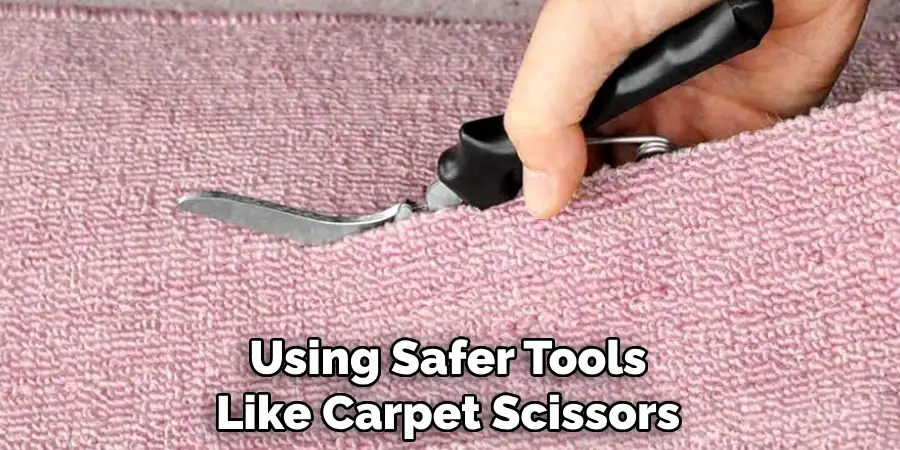
- Avoid Using Sharp Objects without Precision: Using sharp tools like knives to trim or adjust carpet can cause cuts or damage if not done carefully. Always ensure precision and consider using safer tools like carpet scissors.
- Never Ignore Manufacturer’s Guidelines: Regardless of your DIY method, ignoring the carpet manufacturer’s care instructions can void warranties and potentially damage the carpet. Always refer to these guidelines before attempting any home remedies.
By steering clear of these common mistakes, you can enhance your chances of successfully eliminating carpet bumps and maintaining the longevity and appearance of your flooring.
Some Frequently Asked Questions
1. How Do You Make Your Carpet Look New Again?
- Regular Vacuuming: One of the simplest ways to maintain the appearance of your carpet is by regularly vacuuming it. This removes dirt, debris, and allergens that can dull the carpet’s color and make it look old.
- Spot Cleaning: Address spills and stains promptly to prevent them from setting into the carpet fibers and becoming permanent marks. Use a cloth or paper towel to blot the area, avoiding rubbing or scrubbing, which can spread the stain.
- Deep Cleaning: Over time, dirt and grime can accumulate deep within the carpet fibers, dulling their appearance. Deep cleaning with a steam cleaner or hiring professional carpet cleaners once every 12-18 months can revive your carpet’s look.
- Protect High Traffic Areas: Placing rugs or runners in high-traffic areas, such as hallways and entryways, can protect the carpet from wear and tear. This can also help distribute weight and prevent bumps from forming in these areas.
- Trim Loose Fibers: Over time, some carpet fibers may become loose or frayed, giving the appearance of an old and worn-out carpet. Use scissors to carefully trim these fibers and maintain a neat and tidy look.
By following these maintenance tips and regularly keeping up with your carpet’s care, you can make it look new again, even after years of use.
2. How Do You Reshape Carpet?
- Identify the Cause: Before attempting to reshape your carpet, it’s important to understand what caused it to lose its shape in the first place. This could be due to incorrect installation, heavy furniture placement, or even moisture damage.
- Use a Carpet Stretcher: A carpet stretcher is an effective tool for reshaping carpets. Use it to stretch and pull the carpet towards the perimeter of the room in the desired shape.
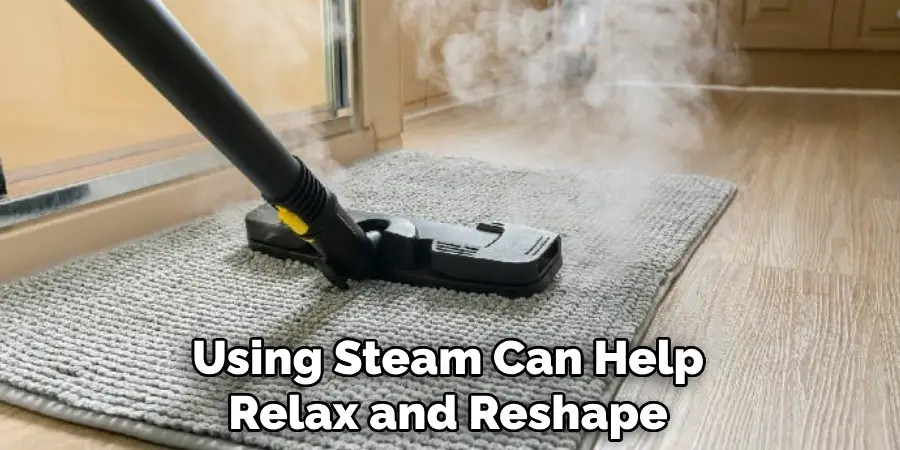
- Steam or Heat: Using steam or heat can help relax and reshape stubborn areas in your carpet. Be sure to use caution and avoid direct contact with the iron or steamer to prevent damage.
- Utilize Adhesive Tape: For specific areas needing extra support, adhesive carpet tape underneath the affected area can help reshape and secure it in place.
- Consult a Professional: If DIY methods are ineffective or the issue is severe, it’s best to consult a professional carpet technician with experience and expertise in reshaping carpets.
You can effectively reshape your carpet and restore its original appearance by taking these steps and seeking assistance when needed. Remember to always follow safety precautions and use appropriate tools for the best results.
3. Does Baking Soda Fluff Carpet?
Baking soda, or sodium bicarbonate, is a common household ingredient known for its many uses in cleaning and deodorizing. While baking soda can help freshen up carpets by removing odors, it cannot “fluff” carpet fibers.
In fact, using too much baking soda on your carpet can actually be detrimental as it can leave a residue that attracts dirt and can be difficult to remove. It is best to use baking soda sparingly and in combination with regular vacuuming for the best results.
For fluffing carpet fibers, a carpet rake or brush specifically designed for this purpose may be more effective. These tools help lift the carpet fibers and give them a fuller appearance without causing any damage.
Always test any cleaning or maintenance method on a small, inconspicuous area of your carpet before applying it to larger areas. This can help prevent any potential damage and ensure the best outcome for your carpet.
4. How Do You Dissolve Baking Soda in Carpet?
- Vacuum First: Before attempting to dissolve baking soda in your carpet, it’s important to vacuum the area thoroughly to remove any loose particles and debris.
- Use a Brush or Carpet Rake: Using a brush or carpet rake, gently work the baking soda into the carpet fibers in a circular motion. This will help break up the powder and distribute it evenly.
- Apply Warm Water: Slowly pour warm water over the baking soda and continue to brush or rake it into the carpet. This will help dissolve the powder and loosen any remaining particles.
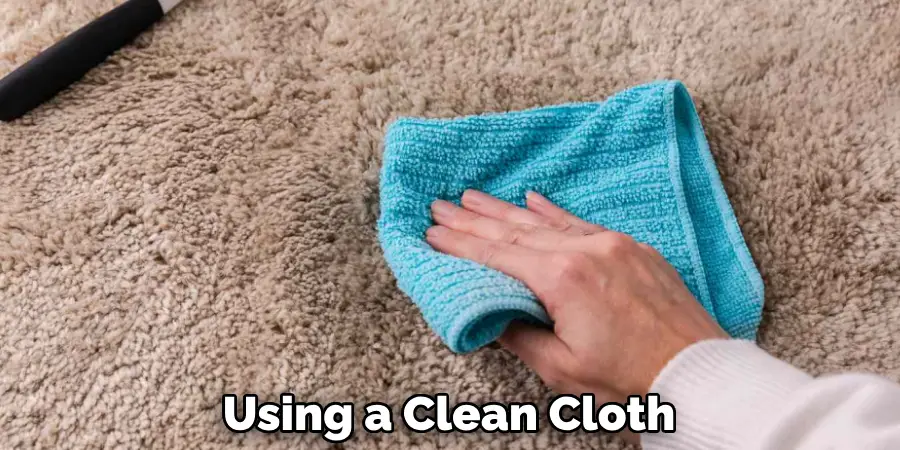
- Blot with a Cloth: Using a clean cloth, blot the area to absorb excess moisture and baking soda. Be careful not to rub or scrub, as this can spread the baking soda and cause it to settle deeper into the carpet fibers.
- Repeat if Necessary: If there are still traces of baking soda or a residue left behind, repeat these steps until the area is clean and free of any remaining baking soda.
Remember to let the carpet fully dry before walking on it or placing furniture back in place. Additionally, always read the manufacturer’s instructions and recommendations before using any cleaning or maintenance products on your carpet.
Conclusion
In conclusion, how to smooth out bumps in carpet is a manageable task that can significantly enhance the appearance and longevity of your flooring. Homeowners can effectively address these issues by employing methods such as using a carpet stretcher, applying steam or heat, or seeking the assistance of a professional. It’s vital to identify the bumps’ underlying cause to choose the most appropriate solution.
Regular maintenance, coupled with immediate action when bumps or wrinkles first appear, can prevent more severe problems down the line. Remember, a well-maintained carpet looks better and creates a more comfortable and inviting living space.
Hopefully, the tips and techniques provided in this guide will help you effectively smooth out bumps in your carpet and maintain its overall appearance for years to come. So continue to follow these methods and enjoy a beautiful, bump-free carpet in your home. Happy cleaning!