Are you tired of the color of your kitchen cabinets and want to give them a new look? How to strip cabinets to natural wood can be a great way to update the look of your kitchen without spending too much money. However, this process does require some time and effort.

Over time, cabinets can become outdated or faded, but restoring them to their original wood finish can breathe new life into your space. This process involves removing old paint, stain, or varnish, allowing the natural grain and color of the wood to shine through. With the right tools and techniques, stripping cabinets can be feasible for most DIY enthusiasts.
Following a few careful steps, you’ll create a fresh, clean canvas to enhance with new treatments or simply celebrate in its natural elegance.
What Will You Need?
Before starting the process, here’s a list of tools and materials that you will need:
- Protective gear (gloves, goggles, mask)
- Chemical stripper
- Paint scraper or putty knife
- Wire brush or steel wool
- Sandpaper (medium grit)
- Mineral spirits or denatured alcohol
Remember to work in a well-ventilated area and always wear protective gear when handling chemical strippers. These products can be harsh and may cause skin irritation or respiratory problems if not handled with care.
10 Easy Steps on How to Strip Cabinets to Natural Wood
Step 1: Prepare the Area
Before diving into the stripping process, it’s crucial to prepare your workspace to ensure safety and efficiency. Start by removing all cabinet doors, drawers, and hardware like handles and hinges.

Label each piece with masking tape to make reassembly easier later on. Lay down a drop cloth or old sheets to protect your floors and countertops from spills and debris. If possible, move the cabinets to a garage or workshop, where you can have ample space and proper ventilation to work. This will help contain any mess and minimize fumes in your living space.
Additionally, make sure there is adequate lighting in your work area to properly see the surfaces you’re working on. Once your location is prepped, you’ll have a safer and more organized environment, ready to start unveiling that beautiful wood underneath.
Step 2: Apply the Chemical Stripper
Once your workspace is prepared, it’s time to apply the chemical stripper to the cabinet surfaces. Begin by wearing your protective gear, including gloves, goggles, and a mask to protect yourself from fumes and potential skin contact.
Pour a small amount of the stripper into a disposable container, and use a paintbrush to apply an even layer over the surfaces you intend to strip. Work in small sections to ensure the chemical doesn’t dry out before you have a chance to scrape it off. Allow the stripper to sit for the recommended time specified on the product instructions; this will vary depending on the brand or type of stripper used.
The paint, stain, or varnish should start bubbling up as the stripper breaks down the old finish. Be patient and allow the chemical to fully penetrate and loosen the layers before proceeding to the next step.
Step 3: Scrape Off the Old Finish
After the chemical stripper has had adequate time to work its magic on the old finish, it’s time to scrape off the loosened material. Using a paint scraper or putty knife, gently slide the tool under the bubbling paint, stain, or varnish and lift it away from the wood. Work carefully to avoid gouging or damaging the natural wood beneath.
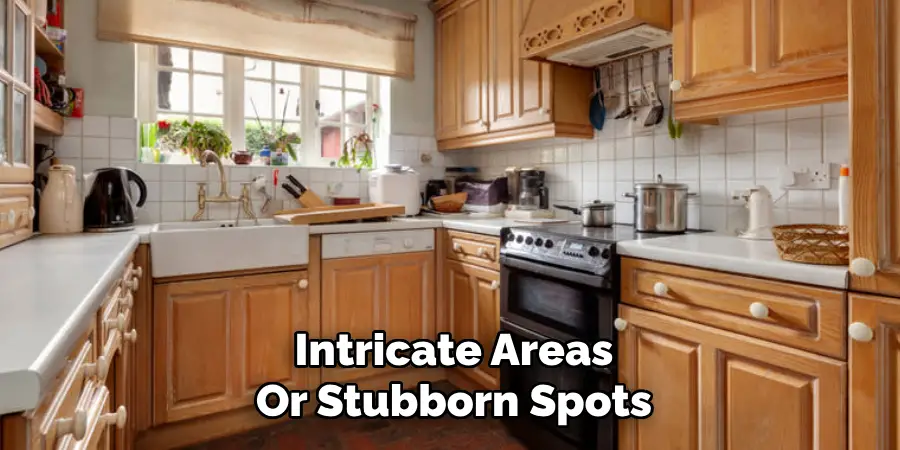
For intricate areas or stubborn spots that are difficult to reach, a wire brush or steel wool can be helpful for more precise removal. Continue this process across the entire surface until most of the old finish has been removed. Remember to clean your scraper frequently to maintain its efficiency. Properly dispose of the scraped-off material according to local regulations, as it may contain hazardous chemicals.

Step 4: Clean the Surface
With most of the old finish removed, the next step is to clean the cabinet surfaces thoroughly to ensure any residue left by the chemical stripper or old finish is eliminated. Use a clean cloth dampened with mineral spirits or denatured alcohol to wipe down the entire surface. This will help neutralize the stripper and remove any lingering chemicals or particles that could interfere with sanding or finishing later.
Pay extra attention to corners and grooves where residues might accumulate. Allow the cabinets to dry completely before proceeding to the sanding process. This step is essential to achieve a smooth, clean surface ready for further refinishing or treatment, ensuring the best results for your final appearance.
Step 5: Sand the Wood
Once the cabinet surfaces are thoroughly cleaned and dried, it’s time to smooth out any imperfections with sanding. Use medium-grit sandpaper to gently sand the wood, following the direction of the grain. This helps to eliminate any remaining residues and provides a smooth surface that is ready to absorb the new finish or treatment.
Sand all surfaces evenly, paying particular attention to any areas that might still have remnants of the old finish. Be cautious around corners and edges to avoid rounding them off excessively.
After sanding, wipe down the surfaces with a tack cloth to remove all dust and debris, ensuring a pristine surface for any refinishing steps. This step is crucial in achieving a professional look and feel, enhancing the natural beauty of the wood.
Step 6: Apply a Wood Conditioner
After sanding and cleaning the wood, it’s time to apply a wood conditioner to prepare the surface for staining or sealing. A wood conditioner helps ensure even absorption of any finish you apply, minimizing blotching and uneven coloring, especially on soft or porous wood types.
Use a clean, soft brush to apply the conditioner evenly over the entire surface, following the grain of the wood. Let it penetrate the wood for the duration the manufacturer recommends, typically around 15 to 20 minutes.
After this waiting period, wipe off any excess conditioner with a clean cloth, following the direction of the wood grain. This step sets the stage for a smooth and uniform finish, highlighting the wood’s natural beauty and making future applications of stain or varnish more effective.

Step 7: Stain the Wood
Now that the wood conditioner has been applied and the surface is ready, you can stain the wood to achieve the desired color and appearance. Choose a stain that complements your space and matches your vision for the cabinets. Stir the stain thoroughly before use to ensure even color distribution.
Using a clean, soft brush or a lint-free cloth, apply the stain in the direction of the wood grain, working in manageable sections. Allow the stain to sit for several minutes, depending on the depth of color you wish to achieve, then wipe off the excess with a clean cloth.
For a darker finish, you may apply additional coats, following the same process, until you reach the desired depth of color. Make sure to allow the stain to dry completely according to the manufacturer’s instructions before moving on to the final step.
Step 8: Seal the Wood
Once the stain has thoroughly dried, the final step in refinishing your cabinets is to apply a sealer. A good sealer will protect the wood, enhance its natural beauty, and provide a durable finish that can withstand daily use. Choose options such as polyurethane, lacquer, or shellac-based on your cabinets’ desired look and durability requirements.
Stir the sealer well before application. Using a high-quality brush or foam applicator, apply a thin, even coat across the entire surface, following the grain. Allow the first coat to dry per the manufacturer’s instructions, then lightly sand the surface with fine-grit sandpaper to remove any brush marks or imperfections.
Wipe the surface clean with a tack cloth, and apply additional coats if necessary for enhanced protection and sheen. Ensure each coat is thoroughly dried and sanded before the next application.
Step 9: Reattach Hardware and Install Cabinets
With the cabinets now sealed and thoroughly dried, you can begin reattaching any hardware and reinstalling the cabinets. Start by carefully attaching the hinges, knobs, and pulls to the cabinet doors and drawer fronts.

Ensure all screws and fixtures are tightened securely and that the hardware aligns appropriately for smooth operation. Once the hardware is in place, hang the cabinet doors back onto their frames and slide any drawers back into position. Take your time to ensure everything functions smoothly and aligns well with the surrounding cabinetry.
Step 10: Final Touches and Inspection
After successfully reattaching the hardware and installing the cabinets, conducting a final inspection and making any necessary adjustments is essential. Take a moment to step back and assess the overall appearance of the refinished cabinets.
Check for any uneven finishes, loose hardware, or areas needing an additional touch-up or coat for perfection. Pay close attention to the alignment of the cabinet doors and drawers, ensuring they open and close smoothly without any obstruction. Wipe the surfaces with a clean, soft cloth to remove any fingerprints or dust.
Following these ten steps, you can transform your tired, worn cabinets into beautiful focal points in your home.
Conclusion
How to strip cabinets to natural wood can breathe new life into your kitchen or bathroom, offering a timeless and elegant aesthetic.
This process involves several careful steps that ensure the wood is stripped of old finishes and prepared to showcase its inherent beauty. Cleaning and sanding the surfaces are crucial initial steps that lay the groundwork for a flawless finish.
Conditioning the wood prevents blotching, allowing stains to penetrate evenly and highlight the grain’s natural patterns. Finally, sealing the wood protects it while enhancing its natural luster.
By meticulously following each step, homeowners can achieve a professional-level finish that transforms dated cabinetry into a stunning feature within their home.

