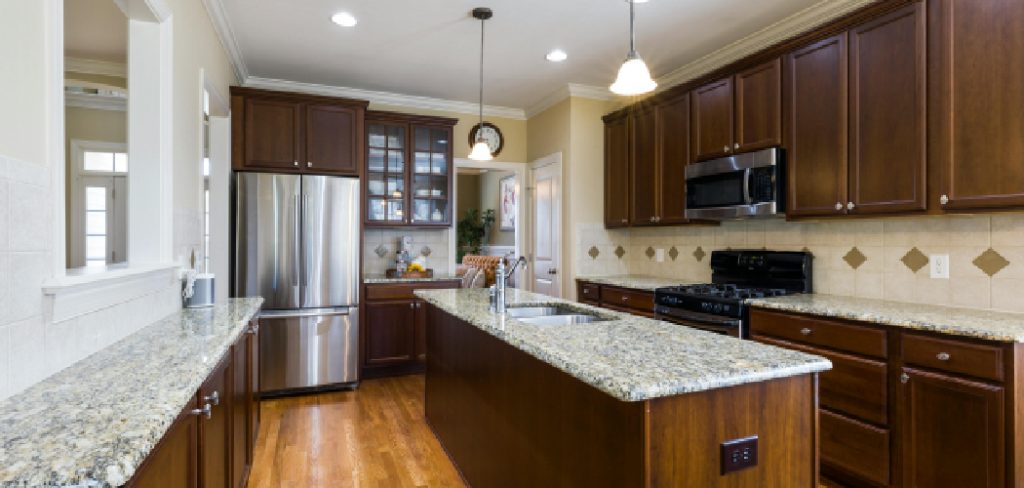
Are you tired of your old, dull-looking wood cabinets? Is their paint chipping or peeling off? If so, it’s time to give them a fresh new look by stripping the old paint off.
How to strip paint from wood cabinets is a project that can breathe new life into tired or outdated kitchen or bathroom spaces. Whether you aim to restore the natural beauty of the wood or prepare the surface for a fresh coat of paint or stain, understanding the correct approach is crucial. This guide will provide you with step-by-step instructions highlighting the tools and materials you’ll need, safety precautions to consider, and tips to achieve the best results.

By following these directions, you can transform your wood cabinets effectively, significantly impacting the overall look and feel of your home.
What Will You Need?
To successfully strip paint from wood cabinets, you will need the following tools and materials:
- Paint stripper or remover
- Safety equipment (gloves, goggles, face mask)
- Scraper
- Steel wool pads or sandpaper
- Mineral spirits/trisodium phosphate (TSP) cleaner
- Clean rags
- Plastic wrap or drop cloth
Once you have gathered all the necessary supplies, you can start stripping paint from wood cabinets.
10 Easy Steps on How to Strip Paint From Wood Cabinets
Step 1: Prepare the Area
Before beginning the paint removal process, ensure your work area is well-ventilated and protected. Open windows or use fans to allow for proper air circulation, as the chemicals in paint strippers can emit strong fumes. Lay down plastic wrap or drop cloths to safeguard floors and nearby surfaces from splatters or drips, as paint removal can get messy. Remove the cabinet doors and any detachable hardware to simplify the process and prevent accidental damage. This will also help you achieve a more thorough and consistent finish. With the area prepared, you are ready to dive into the steps of stripping paint from wood cabinets, ensuring a safe and effective outcome.
Step 2: Apply the Paint Stripper
Once your area is prepared, it’s time to apply the paint stripper to the wood cabinets. With your safety equipment on, use an old paintbrush or a disposable applicator to apply a generous coat of paint stripper to the surface of the cabinets. Be sure to work in sections, applying the stripper evenly and allowing it to sit for the recommended time, as specified on the product label. This waiting period allows the chemicals in the stripper to penetrate the layers of paint, making them easier to remove. As the stripper begins to work, the paint starts to bubble or lift. Avoid rushing this process; giving the stripper enough time to act is essential for effective paint removal.

Step 3: Scrape Off the Paint
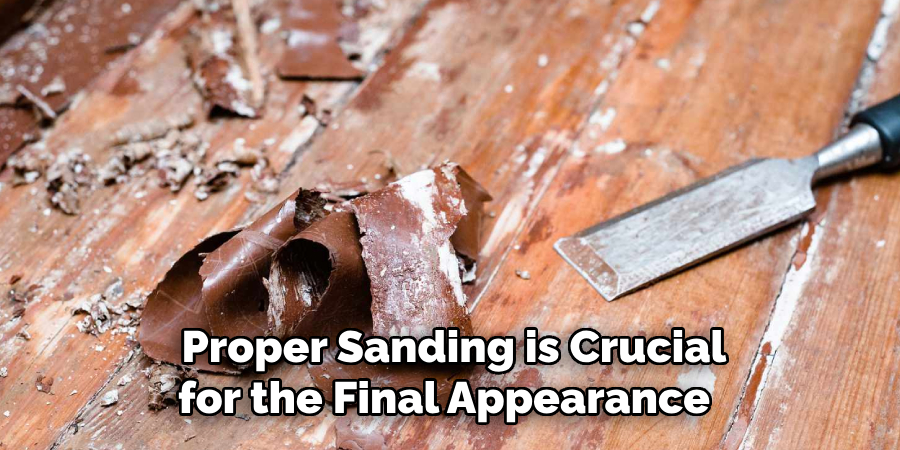
Once the paint stripper has had sufficient time to work, you can begin scraping off the loosened paint. Using a paint scraper or putty knife, gently slide the tool under the bubbled paint and lift it away from the surface. Be careful not to gouge or damage the wood underneath.
Work methodically, section by section, to ensure that all layers of paint are adequately removed. If you encounter stubborn areas where the paint doesn’t come off quickly, you may need to reapply the paint stripper and wait a bit longer before attempting to scrape again. For intricate details or corners, consider using steel wool pads to reach those tricky spots effectively. Continue this process until you have removed as much paint as possible.
Step 4: Clean the Surface
After successfully scraping off most of the paint, cleaning the wood’s surface thoroughly is crucial. Utilize a rag soaked in mineral spirits or trisodium phosphate (TSP) cleaner to wipe down the cabinets, removing any residual paint stripper and remaining paint flecks. This cleaning step is essential to neutralize the chemical action of the stripper and prepare the wood for refinishing. Be sure to follow the manufacturer’s instructions on any cleaning products used, and always work in a well-ventilated area to avoid inhaling any harsh fumes. After cleaning, allow the wood to dry completely before proceeding to further steps, such as sanding or applying a finish.
Step 5: Sand the Wood
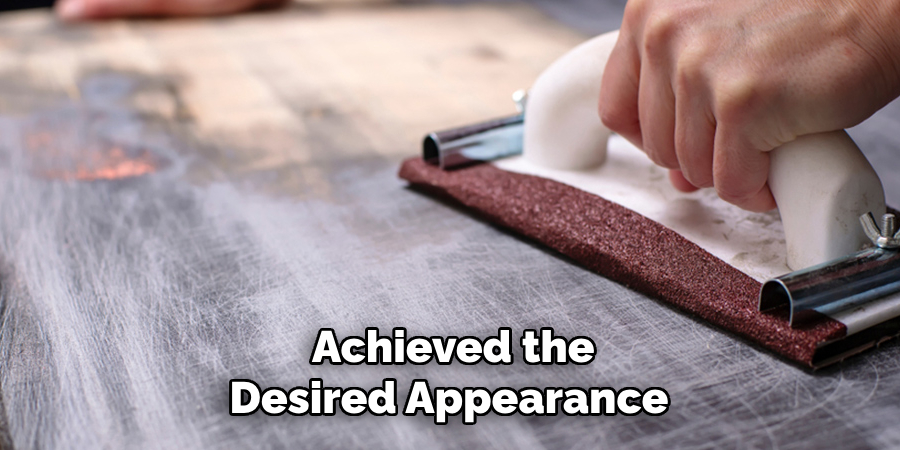
Once the surface is clean and dry, it’s time to sand the wood cabinets to achieve a smooth finish. Begin with medium-grit sandpaper to eliminate any remaining paint residue and even the wood’s surface. Gradually switch to a finer grit to smooth out any scratches left by the coarser paper and ensure the wood is ready for refinishing. Sand along the wood grain to prevent any unsightly scratches or damage. For intricate areas or detailed carvings, consider using sandpaper wrapped around a small sponge or a sanding block designed for delicate surfaces. Regularly check your progress and wipe away dust with a clean, damp cloth. Proper sanding is crucial for the final appearance and helps achieve a professional-looking result.

Step 6: Final Touches and Inspection
After you have finished sanding, take a moment to inspect the surface for any remaining imperfections. Examine all areas, especially crevices and detailed sections, to ensure they are as smooth as the rest of the cabinet. If you find any rough spots, address them by gently sanding again with a fine-grit sandpaper. Once satisfied with the condition of the wood, clean all dust using a vacuum or tack cloth, as any residue can affect the later application of paints or stains. This final inspection ensures that the cabinets are flawlessly prepped for the next phase of redecoration, guaranteeing the adhesion of finishes and contributing to a long-lasting and aesthetically pleasing result.
Step 7: Apply a Wood Conditioner
Before you begin the process of refinishing, it is beneficial to apply a wood conditioner, which helps to ensure an even application of stains or finishes. Wood conditioners can prevent the wood from absorbing the stain unevenly, resulting in blotches or streaks. Use a brush or clean cloth to apply the conditioner evenly across the surface, always going with the wood grain. Allow the conditioner to penetrate the wood for the time recommended by the product instructions, usually around 15 to 30 minutes, before proceeding with staining or painting. This step creates a more uniform surface and enhances the final appearance of your cabinets, providing a professional and polished look.
Step 8: Stain or Paint the Wood
With the wood conditioner dried and the cabinets prepped, you can now apply stain or paint depending on the desired finish. If opting for stain, use a clean cloth or brush evenly with the wood grain. Start with a light coat to assess the shade and build to your preferred color by adding more layers, allowing each to dry per the manufacturer’s instructions. When choosing paint, begin with a primer to enhance adhesion and coverage, followed by your desired paint color, applied with even brush strokes or a roller.
Consider using multiple thin coats rather than a single thick one to achieve a smooth, flawless finish. Allow adequate drying time between coats to ensure a lasting, durable finish. Staining or painting is the transformative step that highlights your meticulous preparation work, giving your cabinets a rejuvenated look that complements your space.

Step 9: Apply a Protective Finish
Once the stain or paint has fully dried and achieved the desired appearance, the final step is to apply a protective finish. This finish can be a clear polyurethane, lacquer, or a suitable sealant designed for wood surfaces, which helps protect against wear and tear, moisture, and UV light. Using a clean brush or a spray gun, apply the finish in thin, even coats, following the direction of the wood grain. Allow each coat to dry completely before applying the next, typically requiring two to three coats for optimal protection. Lightly sand between coats with fine-grit sandpaper to ensure a smooth surface, wiping away dust with a tack cloth before applying subsequent layers.
Step 10: Reassemble the Cabinets
After thoroughly drying and curing the protective finish, it’s time to reassemble your cabinets. Carefully reattach any hardware, such as hinges, handles, and knobs, ensuring everything is aligned and securely fastened. If you’ve purchased new hardware to complement your redesigned cabinets, follow the manufacturer’s instructions for installation. Once all parts are in place, reinstall the doors and drawers onto their respective frames. Check for proper alignment and smooth operation, making necessary adjustments to ensure everything looks and functions as desired. Reassembling your cabinets is the final step in completing your renovation, transforming your space with renewed beauty and practicality.

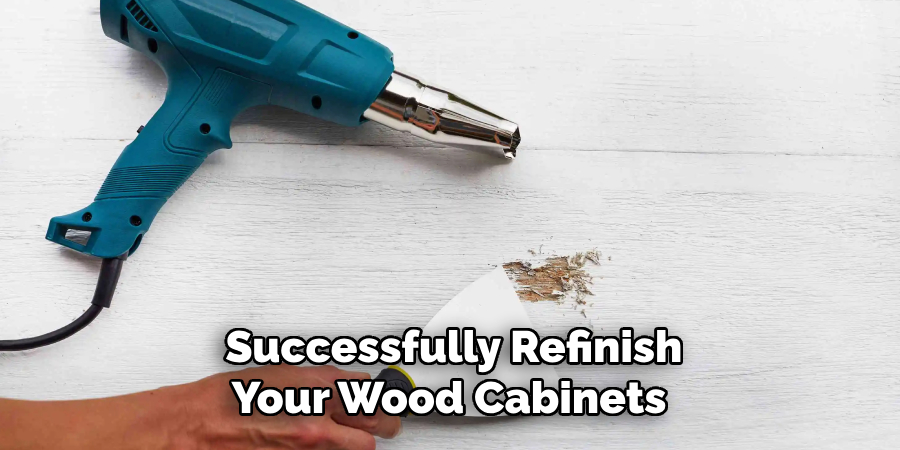
By following these steps, you can successfully refinish your wood cabinets and achieve a stunning result.
Conclusion
How to strip paint from wood cabinets is an intricate process that requires patience and attention to detail, but the results are undoubtedly worth the effort.
By thoroughly cleaning, sanding, and preparing the wood, you lay a crucial foundation for applying new finishes. Each step, from stripping the existing paint to applying a protective sealant, is vital for ensuring a lasting transformation that enhances the aesthetic and functionality of your space. Following the outlined procedure not only helps achieve a flawless surface but also extends the life of your cabinets. Remember that meticulous preparation is critical to a successful and professional-looking outcome.
Whether you stain or paint, your revitalized wood cabinets will be a testament to your dedication and skill in home improvement.
