Projectors have become indispensable tools in both professional and educational settings, enabling users to present visual content to larger audiences effectively.

Whether for a business presentation, a classroom lecture, or a home movie night, knowing how to properly turn on a projector is crucial to ensuring a seamless experience.
This guide on how to turn on projector will provide step-by-step instructions on activating your projector, along with tips for troubleshooting common issues that may arise during setup.
With the right approach, you can maximize the potential of your projector and enhance your presentations or viewing experiences.
Things to Consider Before Turning on the Projector
- Check that all necessary cables are properly connected. This includes the power cable, video or HDMI cable, and any audio cables if needed.
- Make sure the projector is properly positioned and aligned with the screen or projection surface.
- Check that the projector’s lens is clean and free of any dust or debris. This will ensure a clear and crisp image.
- If using a remote control, make sure it has fresh batteries.
- Familiarize yourself with the projector’s controls and menu options. This will make it easier to troubleshoot any issues that may arise.
8 Simple Step-by-step Instructions on How to Turn on Projector
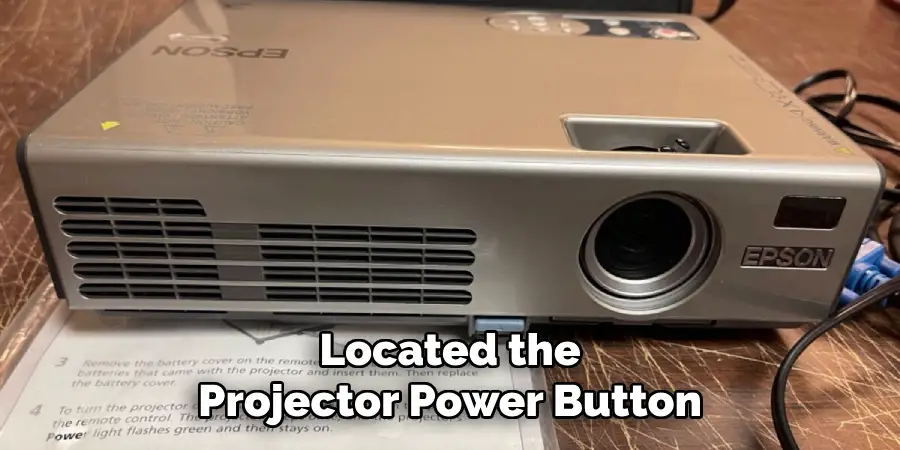
Step 1: Locate the Power Button
The first step in turning on your projector is to locate the power button. This button is typically found on the top or side panel of the projector unit.
It is often marked with a power symbol (a circle with a vertical line) and may also have a light indicator that shows whether the projector is powered on or off.
If you are using a remote control, the power button may also be present there. Ensure that you are ready to proceed by confirming that the projector is connected to a power source.
It is essential to note that projectors often take a few seconds to power on, so do not be alarmed if there is a slight delay.
Step 2: Turn on the Projector
Once you have located the power button, press it to turn on the projector. If you are using a remote control, point it towards the projector and press the power button.
After pressing the button, you should see an indicator light turn on, signaling that the projector is in the process of starting up. Be patient, as it may take a moment for the projector to warm up and display an image.
During this time, you may hear the fan begin to operate, which is normal. If the projector does not turn on, double-check that it is plugged into a working outlet and that all cables are securely connected.
Step 3: Adjust the Focus
After the projector has powered on and the image starts to appear, the next step is to adjust the focus for a clear picture.
Most projectors have a focus ring located around the lens or may include digital focus controls accessible through the menu. To manually adjust the focus, turn the focus ring clockwise or counterclockwise until the image sharpens and becomes clear.
If your projector has a digital focus option, navigate to the settings using the remote or control panel, then follow the prompts to refine the focus.
Ensuring a well-focused image is crucial for maintaining visual clarity and enhancing the overall viewing experience. Take a moment to adjust the focus as needed before proceeding to additional setups or presentations.
Step 4: Select the Input Source
Once the projector is powered on and focused, it is time to select the input source. This refers to the device or media that you want to display through the projector. Depending on your setup, this may be a laptop, DVD player, gaming console, or other devices.
To choose the input source, use either the remote control or navigation buttons on the projector panel to cycle through options until you reach the desired source. When selected, a blue screen with text indicating the name of the input source should appear onscreen.
Step 5: Connect Your Device
After selecting the input source, make sure that your device is connected and turned on. This includes HDMI, VGA, or other video cables and audio connections if needed.

Some projectors may have multiple input ports, so ensure you are connected to the correct one for your device.
If using a laptop, remember to extend the display to the projector in your computer’s settings for proper projection. This can usually be done by pressing the Windows key + P on a PC or selecting “System Preferences” > “Displays” on a Mac.
Step 6: Adjust the Display Settings
At this point, the projector should be displaying content from your device. However, you may need to adjust some display settings for optimal viewing. These options are typically found in the projector’s menu under “Display” or “Image” settings.
Common display adjustments include aspect ratio, brightness, contrast, and color. Experiment with these settings to find the best combination for your content and viewing environment.
Step 7: Control Volume
Once you have the content displayed, it’s important to ensure the audio is optimally set for your audience.
To control the volume, locate the volume buttons either on the projector itself, on the remote control, or through your connected device if the audio is being transmitted that way.
Adjust the volume levels to a comfortable listening point, taking into account the size of the room and the number of people present.
If the sound is not heard or is too low, check the audio connections and confirm that the correct audio source is selected on both the projector and your connected device. Make any necessary adjustments to balance the audio for your presentation or viewing experience effectively.
Step 8: Turn Off the Projector
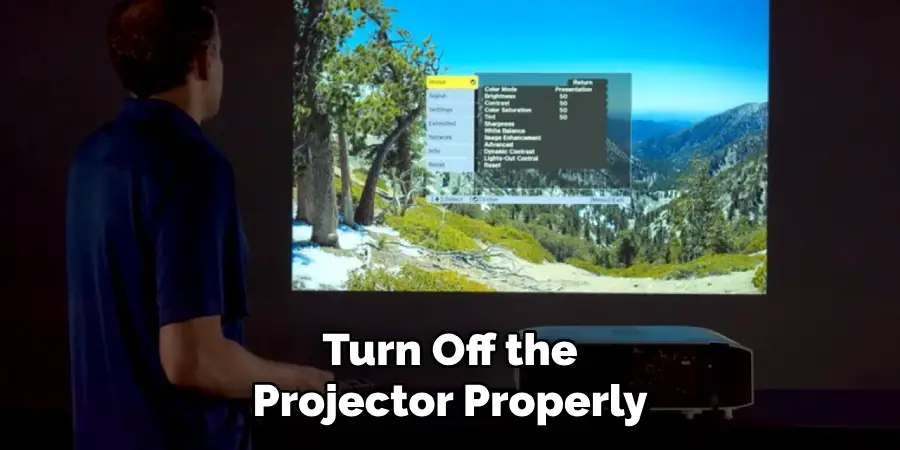
When you have completed your presentation or viewing session, it is crucial to turn off the projector properly. This helps prolong its lifespan and conserve energy.
To turn off the projector, press the power button on either the unit or the remote control. You may also need to select “Power Off” from the projector’s menu if prompted. Wait a few seconds for the projector to shut down before unplugging it or moving it.
Following these simple steps on how to turn on projector will ensure that your projector is turned on correctly and ready for use. Remember to always handle the equipment with care and turn it off when not in use to avoid any damage or energy waste.
Additional Tips
Keep the Lens Clean:
Regularly clean the projector lens with a soft, lint-free cloth to avoid dust and smudges that can affect image quality. Avoid using harsh chemicals that could damage the lens coating.
Use a Screen:
For better visuals, consider projecting onto a dedicated screen rather than a wall. A screen is designed to enhance brightness and contrast, providing a better viewing experience.
Check for Updates:
Occasionally, check the manufacturer’s website for firmware updates for your projector. These updates can improve performance and fix any existing bugs.
Create a Backup Plan:
If possible, have a backup device or method ready in case of technical difficulties. Whether it’s an extra cable, a secondary laptop, or an alternative presentation format, being prepared can save you time and stress.
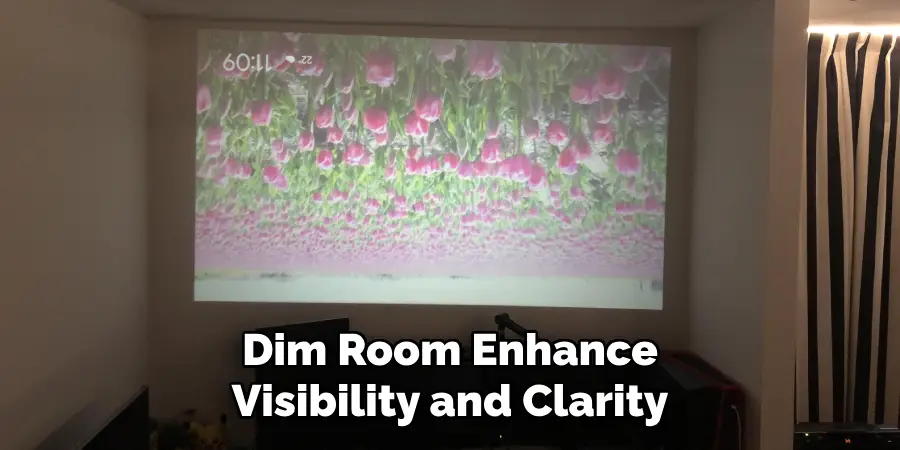
Consider Ambient Light:
Be mindful of the light in the room where you are using the projector. Dim environments enhance visibility and clarity, so use window coverings or curtains to manage light levels effectively.
Frequently Asked Questions
Q: Can I Project From My Phone or Tablet?
A: Yes, many projectors have wireless or HDMI capabilities that allow you to connect and display content from your mobile devices. Check the projector’s specifications for compatibility with your device.
Q: How Long Does a Projector Lamp Last?
A: It varies depending on usage and quality, but typically projector lamps can last between 2,000 to 4,000 hours. Make sure to replace the lamp when needed for optimal performance.
Q: Can I Connect Multiple Devices Simultaneously?
A: Some projectors have multiple input ports that allow you to connect and display content from multiple devices at once. Refer to your projector’s manual for specific instructions on setting up multiple inputs.
Q: Why is My Image Blurry or Distorted?
A: This could be due to a variety of factors such as improper focus, incorrect display settings, or a dirty lens. Adjust the focus and display settings and clean the lens to see if that improves the image quality.
Conclusion
In summary, setting up and using a projector effectively involves a series of methodical steps, from ensuring proper connections to adjusting image and sound settings for the best experience.
By following these guidelines on how to turn on projector, you can easily prepare your projector for presentations, movies, or gaming sessions, enhancing both clarity and engagement for your audience.
Remember to take care of your equipment through regular maintenance, and always be prepared with contingency plans to address any unforeseen challenges. With proper handling and attention to detail, you can maximize your projector’s performance and enjoy its benefits for years to come.