Using a projector during the day can present unique challenges due to ambient light and visibility issues. However, with the right techniques and tools, it is possible to achieve clear and vibrant projections even in sunlight.

This guide on how to use a projector during the day will explore effective strategies for optimizing projector performance in bright environments, including equipment selection, screen types, and positioning tips. Whether for business presentations, educational settings, or entertainment, understanding how to adapt your setup can enhance the overall viewing experience.
What is a Projector?
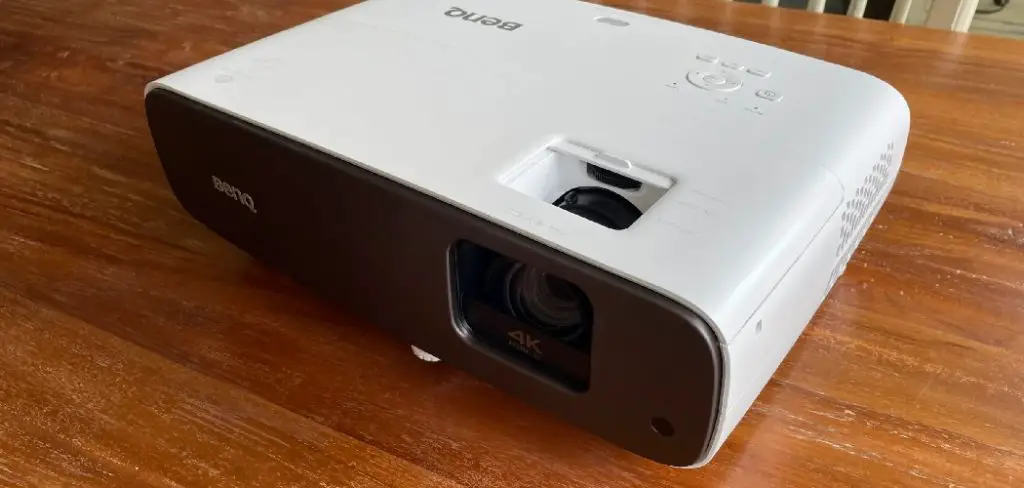
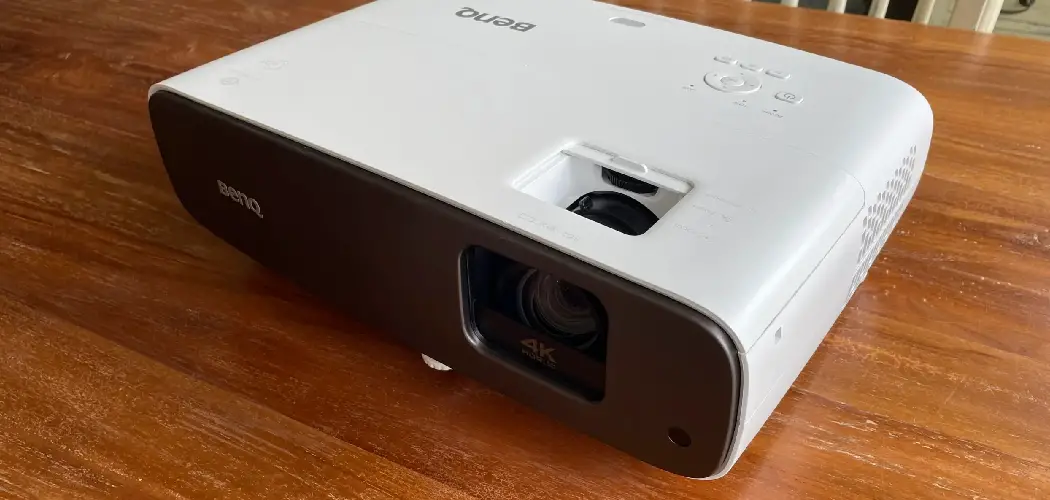
A projector is an optical device that takes images generated by a computer or other source and projects them onto a surface, typically a screen. This technology allows for the display of large visuals, making it an essential tool in various settings such as classrooms, conference rooms, and home theatres.
Projectors work by shining light through a lens to project the image from a small display onto a larger area, amplifying the content for better visibility.
Modern projectors come in various types, including LCD, DLP, and LED, each with its own strengths and suitable use cases. Understanding the different functionalities of projectors can help users select the right model for their specific needs.
Advantages and Disadvantages of Projectors
Advantages:
Large Visuals:
Projectors can create larger images compared to traditional displays, making them ideal for presentations and events. They allow for a more immersive viewing experience, especially in large spaces and auditoriums.
Flexibility:
Projectors provide the flexibility of projecting onto different surfaces such as screens, walls, or even curved surfaces. The ability to adjust screen size and position makes them versatile for various use cases.
Portability:
Most projectors are lightweight and compact, making them easy to transport and set up in different locations. This portability allows for on-the-go presentations or events.
Disadvantages:
Ambient Light Interference:
One of the main challenges of using a projector during the day is ambient light interference. Natural light sources can wash out projected images, reducing visibility and color saturation.

Maintenance:
Projectors require regular maintenance, including bulb replacements and cleaning of filters, to maintain optimal performance. This upkeep can be time-consuming and costly.
8 Simple Step-by-step Guidelines on How to Use a Projector During the Day
Step 1: Choose the Right Projector
Selecting the appropriate projector is crucial for achieving clear and effective presentations during the day. Look for models with high brightness ratings, typically measured in lumens, as these projectors can better combat ambient light conditions. A projector with at least 3000 lumens is generally recommended for daytime use. Additionally, consider the type of projector technology—LCD, DLP, or LED—as each comes with differing benefits.
For instance, DLP projectors often provide better contrast ratios and sharper images, which can enhance viewing quality in bright environments. Always aim to test the projector in similar lighting conditions before making a purchase to ensure it meets your specific visibility needs.
Step 2: Choose the Right Screen
Selecting the right screen is crucial for optimizing projector performance in daylight. Consider screens specifically designed for high ambient light environments, such as those with a matte or high-gain finish that can enhance image brightness and contrast. For outdoor or well-lit areas, a grey screen can be particularly effective as it helps to absorb excess light, improving overall visibility.
Additionally, ensure that the screen size is appropriate for your projector’s capabilities and the viewing distance of your audience. The goal is to create a clear, sharp image that captures attention and maintains clarity despite the challenges posed by daylight.
Step 3: Position the Projector Correctly
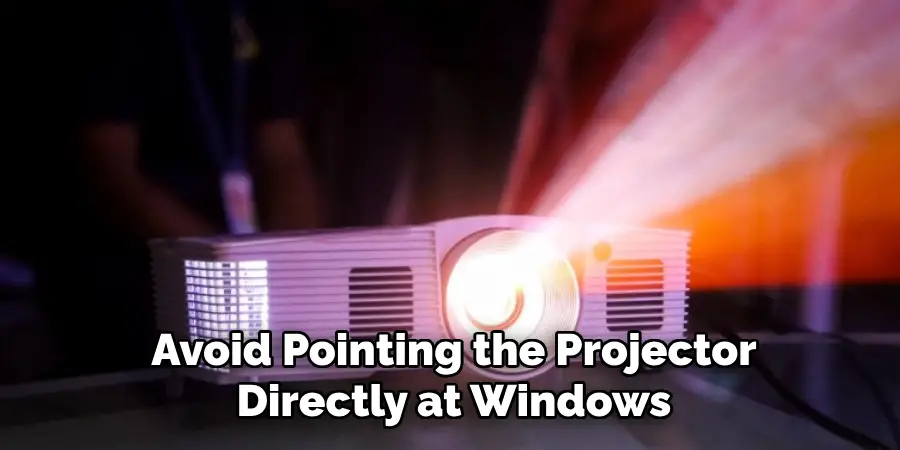
Proper placement of the projector is crucial for achieving optimal image quality during the day. Consider using a projector mount to ensure stability and precision in positioning. Avoid pointing the projector directly at windows or other light sources, as this can cause glare or wash out the image. Instead, position the projector at an angle to reduce ambient light interference.

Additionally, aim to have the center of the lens aligned with the center of the screen to avoid distortion and maintain clarity. Make use of horizontal and vertical keystone correction features on your projector if needed to adjust for any slight skewing caused by angled projection.
Step 4: Adjust Image Settings
Most projectors come with adjustable settings for color, contrast, and brightness. Experiment with these settings to find the optimum balance for your specific environment and content. For instance, increasing the contrast can help improve image visibility in bright areas while adjusting color saturation can enhance vibrancy.
Additionally, consider using a neutral or white background when projecting slides or text-heavy content as this reduces glare and increases legibility.
Step 5: Control Ambient Light Sources
Managing ambient light sources is key to maximizing the quality of your projected image during the day. Begin by assessing the room and identifying any natural light sources, such as windows and skylights, that could affect projection visibility. One effective strategy is to use blackout curtains or shades to block out direct sunlight, thereby reducing glare and shadows on the screen.
Additionally, consider the use of artificial lighting; dimming overhead lights or using softer lighting can help enhance the clarity of the projection. If possible, arrange seating to minimize the audience’s exposure to direct light or glare from windows. Implementing these techniques will create a more conducive environment for viewing, allowing for a better overall experience.
Step 6: Use High-quality Cables and Connections
Using high-quality cables and connections is essential for ensuring the best possible signal transmission between your projector and source devices. Opt for HDMI cables whenever possible, as they support high-definition video and audio with minimal interference. Ensure that the length of your cables is appropriate; excessively long cables can lead to signal degradation, so keep connections as short as necessary.
Additionally, check for any signs of wear or damage on cables before use, as frayed or damaged cables can cause connectivity issues or compromised image quality. Investing in quality connectors and adapters can further enhance the reliability of your setup, allowing for a seamless presentation experience without any interruptions.
Step 7: Test and Adjust
Before the actual presentation, it is crucial to test and adjust your projector setup in the actual environment where it will be used. This allows for any necessary tweaks or changes to be made before the audience arrives. Make use of test images or videos to check for clarity, color saturation, and contrast, making adjustments as needed.

Additionally, consider testing with different types of content, such as slides and videos, to ensure optimal performance across all media formats. It may also be helpful to have a backup plan in case of technical issues or if external factors such as weather impact visibility.
Step 8: Be Prepared
Despite careful planning and preparation, unexpected issues may still arise. It is essential to be prepared for such situations by having a backup projector or alternative methods of presenting, such as using a laptop or displaying slides on a TV screen. Additionally, ensure that all necessary cables, connectors, and adapters are readily available in case replacements are needed.
Being prepared also means anticipating potential challenges and troubleshooting solutions beforehand. This can involve familiarising oneself with the projector’s manual and understanding how to adjust settings or troubleshoot common problems quickly and effectively. By being well-prepared, you can avoid any disruptions during your presentation and ensure a successful experience for both yourself and your audience.
Additional Tips
Choose the Right Time of Day:
Whenever possible, schedule your presentations during times when natural light is less intense, such as early morning or late afternoon. This can help reduce the impact of sunlight on your projected image.
Utilize Technology:
Many projectors come equipped with features that can assist in bright environments, such as eco-mode settings that enhance image quality. Familiarise yourself with these options to make the most out of your device’s capabilities.
Consider Audience Positioning:
Make sure that the seating arrangement accommodates the best viewing angles for all attendees. Avoid placing seats in areas where glare is likely or where the projection may skew.
Stay Updated on Equipment:
Regularly check for firmware updates for your projector, as manufacturers often release improvements that can enhance performance in various lighting conditions.
Practice Setup:
Take the time to rehearse your presentation setup multiple times before the event. Familiarity with your equipment can enhance confidence and ensure a smoother execution during the actual presentation.
Have a Backup Content Strategy:
As a precaution, consider bringing physical handouts or using digital displays as a secondary presentation method. This ensures that your message is communicated effectively, even in the event of technical difficulties with the projector.

Following these tips and steps on how to use a projector during the day can greatly improve the visibility and quality of your projections in bright environments. Remember to always assess and adapt to your specific space and audience needs, making adjustments as necessary for a successful presentation experience.
Conclusion
In conclusion, achieving a successful projection in various environments requires thorough planning and attention to detail.
By understanding and optimizing key aspects such as ambient light control, equipment quality, and preparation, you can significantly enhance the clarity and impact of your presentations. Implementing these strategies not only allows for a more engaging viewer experience but also minimizes the potential for technical issues.
With careful consideration and practice this article on how to use a projector during the day, you can confidently deliver your content in any setting, ensuring that your message resonates with your audience effectively.

