Projector remotes are essential tools for enhancing the user experience when operating projectors, providing convenience and functionality that streamline presentations and movie nights alike.
Understanding how to effectively use a projector remote can significantly improve your ability to control the various settings and features of a projector, allowing you to seamlessly transition between slides, adjust volume, and navigate menus without interrupting your flow.
This guide on how to use projector remote will walk you through the key functions and tips for using a projector remote effectively, helping you make the most of your presentations and visual displays.
Why Use a Projector Remote?
Using a projector remote offers numerous advantages that enhance both functionality and convenience during presentations.
Firstly, it allows for greater mobility, enabling the presenter to move freely around the room while maintaining control over the projector, which can lead to a more engaging and dynamic presentation. Additionally, remotes often feature buttons for quick access
to essential functions like adjusting the volume, switching inputs, or navigating between slides, eliminating the need to return to the projector or computer.
This hands-free approach not only helps maintain audience attention but also reduces the likelihood of technical interruptions. Overall, a projector remote is an invaluable tool that optimizes the presentation experience, making it smoother and more professional.
Needed Materials
To use a projector remote, you will need the following materials:
Projector:
This is the primary device that displays images or videos on a screen or surface. Make sure it is connected to a power source and turned on before attempting to use the remote.
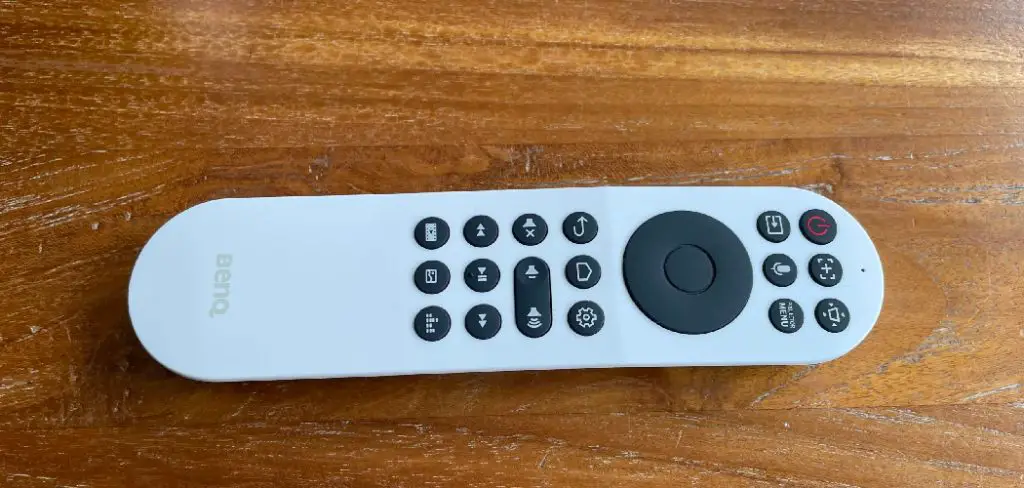
Remote:
The handheld controller is specifically designed for operating projectors. Familiarize yourself with its buttons and functions before using it.
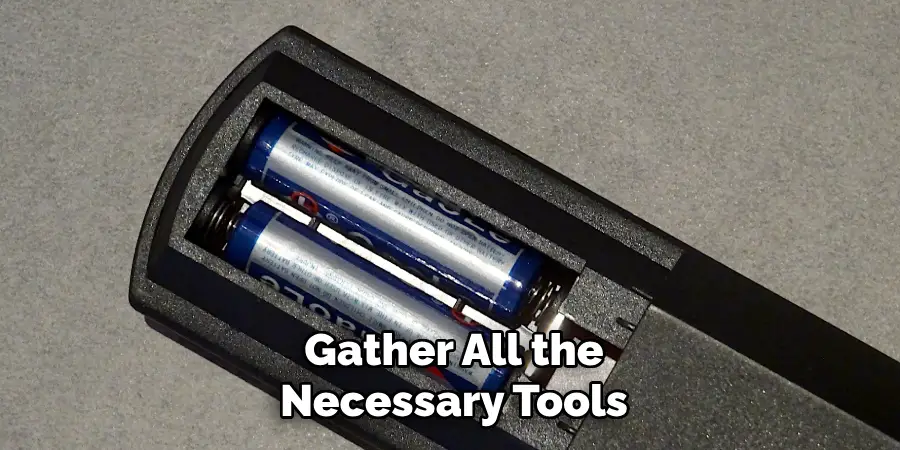
Batteries:
Most projector remotes require batteries, so make sure you have fresh ones inserted before use.
8 Step-by-step Guidelines on How to Use Projector Remote
Step 1: Check the Connection
Before using your projector remote, it is essential to ensure that the projector is properly connected to the power source and any other necessary devices, such as a laptop or media player.
Make sure the projector is powered on and displaying the input source you intend to use. Additionally, check that the remote has fresh batteries installed and that there are no obstacles blocking the infrared signal between the remote and the projector.
A reliable connection is crucial for smooth operation and effective control during your presentation or viewing experience.
Step 2: Master the Basic Functions
To maximize the effectiveness of your projector remote, it’s important to become familiar with its basic functions.
Start by identifying the primary buttons typically found on most projector remotes, which may include Power, Input, Volume, Play/Pause, and the arrow keys for navigation.
The Power button turns the projector on and off, while the Input button allows you to switch between different sources, such as a laptop, DVD player, or streaming device.
The Volume buttons let you adjust sound levels, ensuring your audio complements your visuals. The arrow keys enable you to navigate through presentations or menus effortlessly, while the Play/Pause button is essential for controlling video playback.
By mastering these basic functions, you will feel more confident and prepared to deliver a professional and seamless presentation.
Step 3: Test the Remote Range
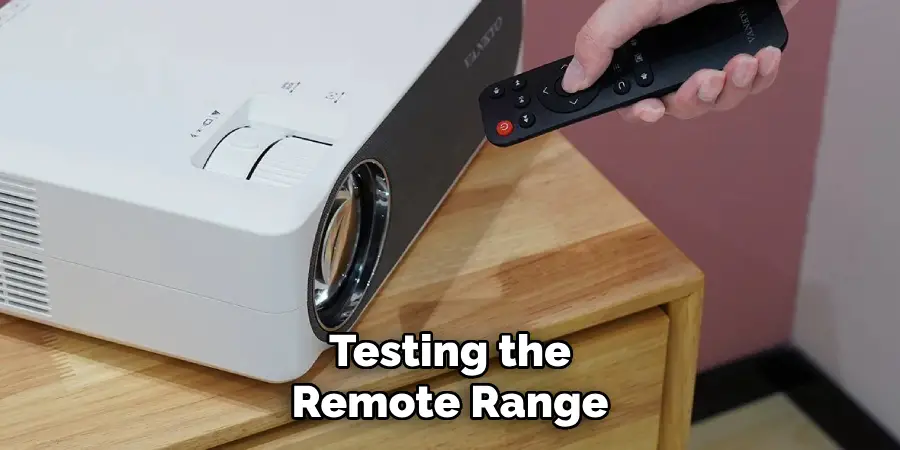
Testing the remote range is a crucial step to ensure that you can effectively control the projector from various locations within the presentation space.
Begin by standing at a comfortable distance from the projector, usually about 15 to 30 feet away, depending on the room size. Point the remote towards the projector and press a button, observing if the projector responds.
Suppose it does not try moving closer to the device to determine if any obstacles might be obstructing the signal. Additionally, the remote can be tested from different angles to identify any potential dead zones where the signal may weaken.
Ensuring that your remote functions properly within the intended range will promote a smoother and more effective presentation experience.
Step 4: Use the Navigational Buttons
As mentioned earlier, the arrow keys on a projector remote allow for easy navigation through presentations or menus.
By pressing the Up or Down arrow buttons, you can move between slides or menu options, while the Left and Right arrows let you go back and forth between previously viewed content.
This function is particularly helpful when presenting to an audience as it allows for seamless transitions between different parts of your presentation, increasing engagement and maintaining flow.
Step 5: Adjust Volume Levels
Adjusting volume levels is a key function that enhances the auditory experience of your presentation or viewing session.
Most projector remotes come equipped with dedicated Volume Up and Volume Down buttons, allowing you to modify sound levels easily without interrupting the flow of your presentation.
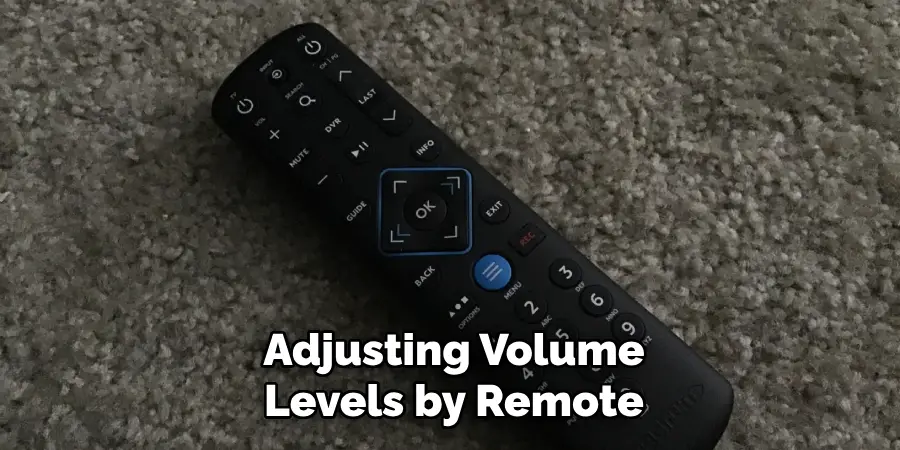
When beginning, it’s advisable to set the volume to a moderate level that suits the room’s acoustics and audience size. During your presentation, keep an ear out for audience feedback—increasing the volume if the sound is too low or lowering it if it’s too loud.
Additionally, if your projector is connected to an external sound system, ensure that its volume levels are synchronized with the remote control to avoid any discrepancies. By staying attentive to volume adjustments, you create a more immersive and comfortable experience for your audience.
Step 6: Utilize the Power Button
The Power button is a key feature on most projector remotes that is often overlooked. This button allows you to turn the projector on and off quickly, saving time and avoiding any technical interruptions.
Additionally, many modern projectors are equipped with standby modes that conserve energy when not in use.
By utilizing the Power button on your remote, you can easily put the projector into standby mode during breaks or at the end of your presentation.
Remember to power off the device completely after use to preserve its lifespan and prevent any potential malfunctions.
Step 7: Make Use of Input Selection
As mentioned earlier, input selection is a crucial function for switching between different sources on your projector, such as a laptop or DVD player. Most remotes have an Input button that allows you to select the appropriate source for your presentation quickly.
During presentations with multiple presenters, it’s important to double-check that the correct input is selected before starting each speaker’s segment.
This ensures smooth transitions and avoids any delays or technical difficulties during handover. Familiarizing yourself with this function will ensure that your presentation runs seamlessly from start to finish.
Step 8: Customize Buttons (if applicable)
Some projectors offer customizable buttons on their remote controls, allowing you to assign specific functions or shortcuts for quick access.
For example, if you frequently use a particular feature or setting, you can program it to a dedicated button on the remote for easy access.
Customizing buttons can save time and streamline your presentation process, as you won’t have to navigate through multiple menus to find the desired function.
Refer to your projector’s manual for instructions on how to customize buttons, and use this feature to enhance your overall experience with the device.
Following these tips on how to use projector remote and familiarizing yourself with your projector remote’s functions will lead to a stress-free and successful presentation.
By taking the time to test its range, utilize navigational buttons, adjust volume levels, make use of the power button, select inputs correctly, and customize buttons (if applicable), you can confidently deliver your content without any technical interruptions or difficulties.
Remember to always keep a backup remote in case of emergencies and don’t be afraid to practice beforehand to ensure a smooth and professional presentation experience.
Frequently Asked Questions
Q1: Can I Use the Projector Remote for Other Devices?
A1: It depends on your specific model and brand of projector. Some remotes may have universal functions that work with other devices, while others may only be compatible with the specific projector they come with.
Refer to your remote’s manual or contact customer support for more information.
Q2: How Do I Change the Batteries in My Remote?
A2: As batteries can vary depending on the brand and model of your remote, it’s best to refer to your device’s manual for instructions on how to change them.
In general, you will need to open the battery compartment on the back of the remote and replace old batteries with new ones according to their polarity markings (+/-).
Q3: What Should I Do if My Remote Stops Working?
A3: If your remote stops working, first check if the batteries are low and replace them if necessary. If the issue persists, try resetting your remote by removing and reinserting the batteries or pressing and holding down all buttons simultaneously for a few seconds.
If these troubleshooting methods do not work, contact customer support for further assistance.
Q4: Can I Use a Universal Remote with My Projector?
A4: It is possible to use a universal remote with your projector, but it may not have all the specific functions and buttons needed for optimal control. It’s best to refer to your device’s manual or contact customer support for recommendations on compatible remotes.
Additionally, some projectors may have specific compatibility requirements for third-party remotes, so be sure to check before purchasing one.
Conclusion
By following these steps on how to use projector remote and becoming familiar with your projector remote control’s functions, you will be able to confidently deliver professional presentations or enjoy seamless viewing experiences in no time.
Remember always to keep fresh batteries on hand, test the remote range before each use, and utilize customizable buttons for added convenience.
With this knowledge, you’ll be able to maximize the potential of your projector and impress any audience. Happy presenting!