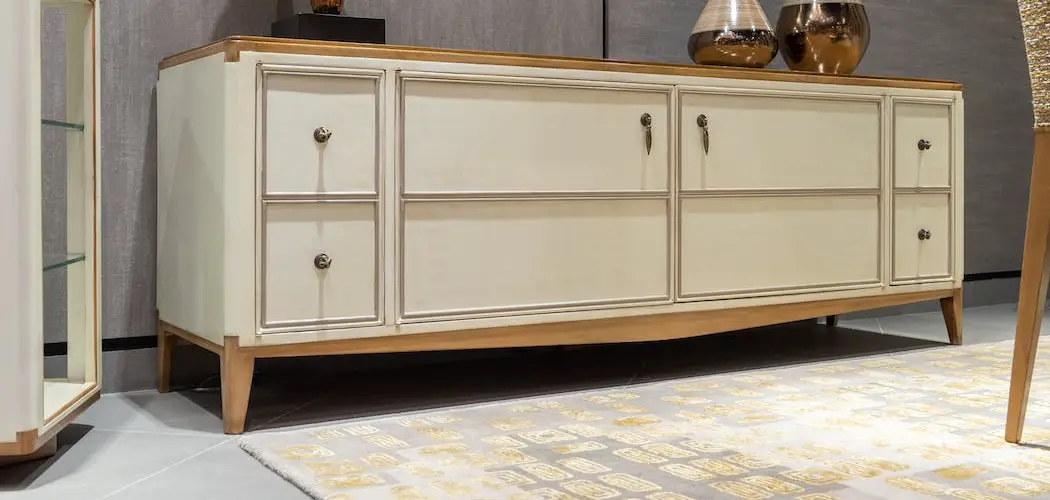
Constructing furniture can be a great way to bring custom elements into your home without the costly price tag that usually comes with buying pre-made pieces. While woodworking can be intimidating for beginners, learning how to add legs to a cabinet is not as difficult as it may seem.

In this blog post, we’ll walk you through all of the steps needed in order to attach legs to any cabinet with precision and accuracy. From selecting the right type of leg material and best measurements to nailing or screwing them into place correctly — here’s everything you need to know about adding extra support and stability to any piece of furniture!
How Do You Extend Furniture Legs?
Furniture legs can be extended to provide additional height in order to make furniture more functional or stylistic. This is a simple task that requires minimal tools.
To extend your furniture legs, first, measure the existing leg and determine how tall you want them to be. Then, find replacement legs of appropriate material (wood, metal, plastic) and length that matches the desired height.
Once you have the new legs, unscrew the existing leg by using a power drill and then replace it with the new one. Secure it into place using screws or fasteners designed for the specific type of material used in your furniture leg extension project. Your new leg should now be secured firmly into place!
By following these steps you can extend the legs of any piece of furniture to your desired height. This is an easy way to customize pieces of furniture for added comfort or for a unique style. With these tips, you can now create the perfect piece of furniture in no time!
8 Methods How to Add Legs to a Cabinet
1. Using Table Legs
One of the easiest ways to add legs to a cabinet is to simply use table legs. Table legs can be found at most home improvement stores and come in a variety of styles, so you should be able to find something that matches your cabinet.
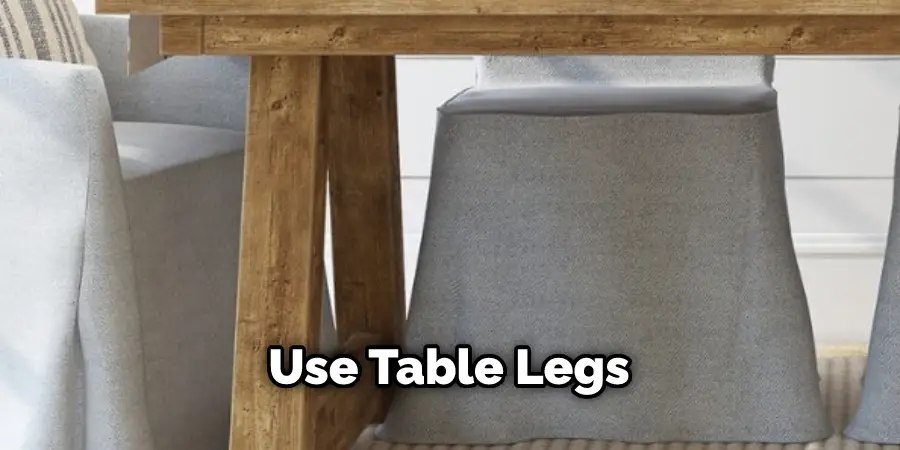
You will need to attach the legs to the bottom of the cabinet using screws or nails. If you are not sure how to do this exactly, it is best to consult with a professional or refer to online instructions. If you’re using wooden legs, make sure they are the same thickness as the cabinet so that your furniture stands evenly.
2. Adding Furniture Feet
Another option for adding legs to a cabinet is to use furniture feet. Furniture feet are often made from wood or metal and can be found at most home improvement stores. You will need to attach the feet to the bottom of the cabinet using screws or nails. Be sure to pre-drill holes for the screws or nails so as not to damage the cabinet.
Once attached, furniture feet can be adjusted to change their height and provide a more finished look to the cabinet. If you are using metal feet, be sure to use a low-strength adhesive to prevent them from rattling against the cabinet and create an unpleasant sound. After attaching the furniture feet, you can now adjust their height to achieve your desired look.

3. Installing Caster Wheels
If you want your cabinet to be mobile, you can install caster wheels on the bottom. Caster wheels can be found at most home improvement stores and come in a variety of sizes and styles. You will need to attach the wheels to the bottom of the cabinet using screws or nails.
Once the wheels are in place, you can move your cabinet around with ease. Be sure to measure the height of the wheel when installing it so that it is at a comfortable level for pushing and pulling. If your caster wheels have locks, you can use them to keep your cabinet in place when needed.
Though caster wheels can be a great addition to your cabinet, they may not be suitable for furniture with heavier weight. Make sure you consult the manufacturer’s instructions before installing ring stem caster wheels for heavier cabinets.
4. Building a Base
Another option for adding legs to a cabinet is to build a base for it. This is a more involved project, but it will give your cabinet a more finished look. You will need to measure the dimensions of your cabinet and then cut pieces of wood accordingly.

You will then need to assemble the base using screws or nails and attach it to the bottom of the cabinet. You may want to add additional supports for stability or use adhesive to attach the legs to the base. Once you have finished building a base, you can simply attach the legs of your choice directly to it and then secure them in place with screws or nails.
By adding a base, your cabinet will be much more stable and look professionally installed. To complete the look, you can add decorative trim along the edges of the base and cabinet. However, this is an optional step and can be left out if desired.
5. Adding Pipe Legs
Pipe legs are another popular option for adding legs to a cabinet. Pipe legs can be found at most home improvement stores and come in a variety of sizes and styles. You will need to attach the pipe legs to the bottom of the cabinet using screws or nails.
Before attaching the legs, make sure to measure them to ensure they are the right size for your cabinet. Once you have attached the pipe legs, you can finish them off with paint or a sealant if desired. With pipe legs, you can create a unique and stylish look that will be sure to stand out. While this may require a bit more work, the end result is worth it.
6. Installing L-Brackets
L-brackets are another option for attaching legs to a cabinet. L-brackets can be found at most home improvement stores and come in a variety of sizes and styles. You will need to attach the L-brackets to the bottom of the cabinet using screws or nails.
Once the L-brackets are in place, you can attach the legs to them with screws or bolts. This method is relatively simple and allows you to adjust the height of the legs. Once all the legs are in place, you can adjust them as needed to level the cabinet. Make sure to use lag screws or heavy-duty bolts when attaching the legs to the L-brackets for extra stability.
7. Adding Metal Legs
Metal legs are an ideal option if you want a modern look for your cabinet. Metal legs can be found at most home improvement stores, so you can easily find a style to match your cabinet. To install metal legs on your cabinet, you’ll need to measure the distance for the leg holes, then drill pilot holes and install the legs with wood screws.
Make sure to use screws that are long enough for your cabinet’s thickness. Finally, use a level to ensure the legs are even before you finish tightening the screws. With metal legs, your cabinet will have a stylish and modern look that will give your room an updated feel.
8. Finishing the Job
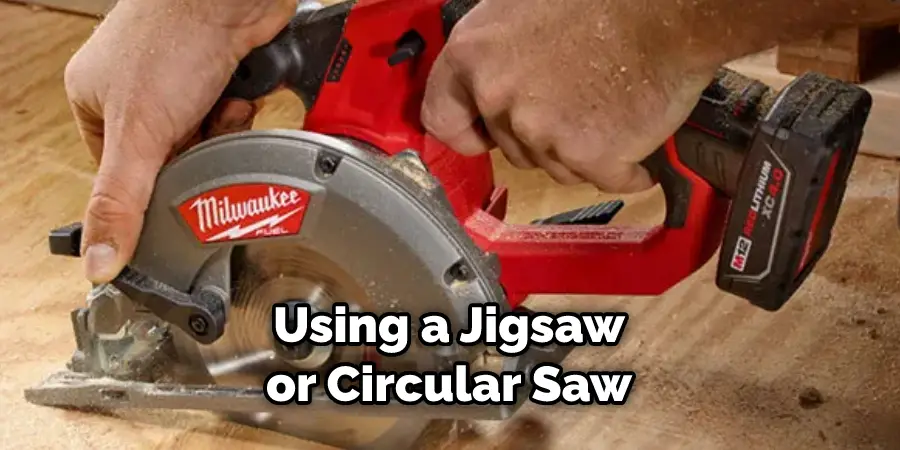
Once you have chosen your preferred method for adding legs to your cabinet, make sure that all of the screws and nails are securely fastened. If you’re using wood glue, make sure to give it ample time to dry completely before moving on. If you’ve chosen to use a jigsaw, make sure that all of the cuts are smooth and even.
Once everything is secure, give the legs a light sanding to smooth out any rough edges. You can also apply stain or paint to match the cabinet, depending on your preference.
Some Common Mistakes When Adding Legs to a Cabinet
1. Not Measuring Accurately:
Before doing any drilling or cutting, it is essential to use a tape measure and mark each spot precisely where the legs need to be attached, as even a slight miscalculation could result in an uneven installation.
2. Not Assembling Legs First:
Rather than trying to attach the legs while they are still unassembled, it is important to ensure that each leg is put together and ready before attaching them to the cabinet. This will reduce the risk of any misalignment caused by a loose connection.
3. Using Inadequate Hardware:
The hardware used to attach the legs to the cabinet should be appropriate for the weight and structure of the cabinet, as using inadequate hardware can lead to an unstable installation.
Conclusion
With a few simple steps, you can successfully add legs to a cabinet. Be sure to measure the legs accurately and drill the holes in the right spot to ensure a stable unit. Before beginning this project, consider the design of your cabinet and choose furniture legs that match your style.
Adding furniture legs could also be a great way to update an old piece of furniture, giving it a new look without too much effort or money. Thanks for reading, and we hope this has given you some inspiration on how to add legs to a cabinet!