Are you searching for a practical, cost-effective solution to enable more collaboration and productivity in your office? Triangle desks are becoming the go-to choice of professionals looking to spice up their workplace.
Apart from being space-savvy, triangle desks offer user flexibility, promoting active learning within group projects or fostering private work sessions through incorporated privacy screens. This blog post will explain how to arrange triangle desks with ease while providing aesthetically pleasing results and encouraging better communication among colleagues. Keep reading to learn how this simple desk can revolutionize your workspace!
The Unique and Efficient Design of Triangle Desks
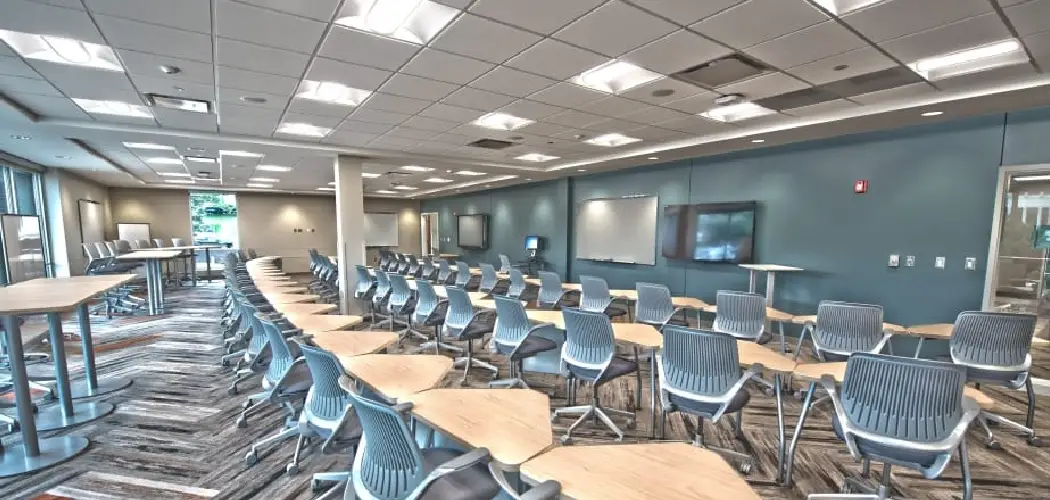
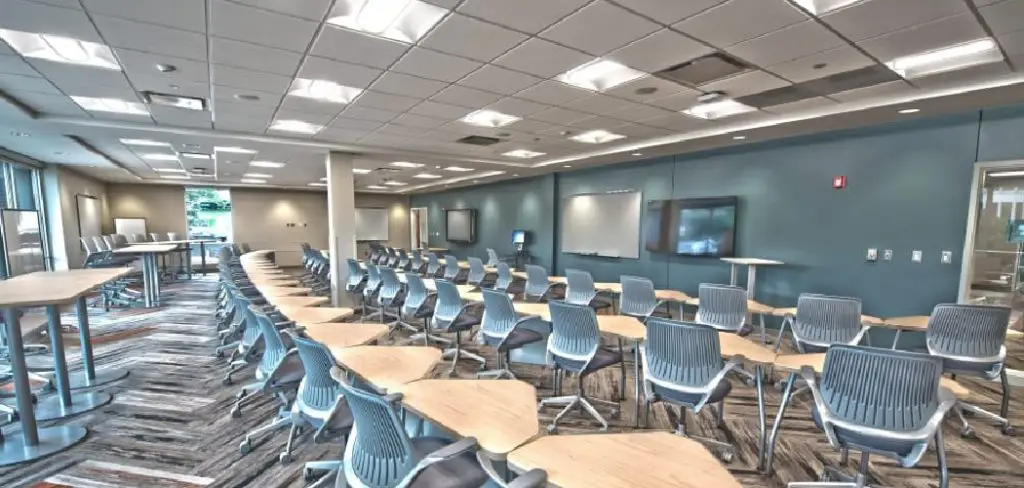
Triangle desks have become popular in classrooms and offices alike due to their unique design. Triangle desks are arranged in a series of three-sided tables that can easily accommodate any size group. This makes them ideal for collaborative projects, group study sessions, or brainstorming meetings. As the name implies, triangle desks allow for maximum space efficiency by maximizing the number of people who can be seated while still providing sufficient room for each individual.
The three-sided design also allows students to easily move around in order to share resources and equipment or to complete group projects. This makes triangle desks an ideal choice for classrooms where both individual and group work is required. Triangle desks are optimal in settings that require some degree of collaboration, as they facilitate quick communication between participants by allowing them to quickly turn towards one another without having to leave their seats.
Triangle desks also allow for more flexibility in terms of space utilization since they occupy less floor area than traditional square desks, which tend to take up a lot of space even when arranged properly. In addition, triangle desks provide improved sightlines since each student can clearly view the entire group without having to turn around. This helps keep everyone in the conversation and also reduces distractions caused by students turning away from the group.
Overall, triangle desks are an ideal choice for classrooms and offices due to their efficient design, which maximizes space utilization and facilitates
Evaluating the Available Space and Dimensions
When it comes to arranging triangle desks, the first consideration is the size and shape of the available space. Make sure to measure and consider both the width and length of the room, as well as its height. This will help you determine how many desks can fit in the available space without it becoming overcrowded or overstuffed.

The next step is to measure your triangle desks before starting to arrange them. Different models and manufacturers offer desks of various sizes, so make sure to double-check the measurements to ensure that you can make the most out of your available space.
Finally, it’s important to consider how much room each student needs to feel comfortable while studying. It’s important to allow enough space between desks for students to move freely, as well as enough surface area for them to spread out their books and other materials.
10 Methods How to Arrange Triangle Desks
Step 1: Determine the Room Layout
Assess the dimensions and shape of the room where the triangle desks will be placed. Consider factors such as natural light sources, power outlets, and potential obstructions. This evaluation will help you determine the best arrangement for the desks to maximize space utilization and workflow.
While triangle desks are not as rigid as rectangular ones, it is still important to gauge the room layout and create a plan for how to arrange them. Additionally, consider any additional elements you may need to add to the room, such as shelves and cabinets.

Step 2: Choose the Desk Placement
Decide on the placement of the triangle desks within the room. Consider the purpose of the workspace, the number of desks needed, and the desired interaction between users. Options include lining up the desks along the walls, creating clusters, or forming larger collaborative workstations.
Once the placement is determined, mark the location of each desk on the floor with painter’s tape. This will help visualize where each desk should go when it comes time to assemble. Additionally, plan the direction of each desk with respect to the walls and other desks before beginning assembly.
Step 3: Consider User Interaction
Take into account the desired level of interaction and collaboration among the users. If fostering teamwork is a priority, arrange the triangle desks in a way that allows easy communication and visibility between users.
Alternatively, if individual focus is essential, provide sufficient space between the desks to minimize distractions. Consider the environment in which you will be arranging the triangle desks and make sure to leave enough space for users to get up, move around, and collaborate as needed.
Step 4: Evaluate Ergonomic Considerations
Ensure that the triangle desks are arranged ergonomically to promote comfort and reduce the risk of strain or injury. Position the desks at a height that allows users to maintain a neutral posture with their elbows at a 90-degree angle.

Provide adequate legroom and ensure proper alignment of chairs, keyboards, and monitors. If the desks are adjustable, ensure that users can easily adjust them to fit their individual needs. Encourage users to take regular breaks and stretch or move around to reduce the chance of discomfort or injury.
Step 5: Plan for Equipment Placement
Consider the placement of equipment such as computers, monitors, printers, and other essential devices. Ensure that each user has a sufficient workspace for their equipment while keeping cables organized and out of the way.
Create designated areas for shared equipment, if applicable, to promote accessibility and efficiency. Position the equipment to ensure that users have good posture and limited glare from monitors. Additionally, consider a mobile setup if desired for increased flexibility.
Step 6: Organize Storage Solutions
Incorporate storage solutions into the arrangement of triangle desks to keep the workspace organized and clutter-free. Utilize drawers, shelves, or filing cabinets to provide users with convenient storage options for documents, supplies, and personal belongings.
Place shelving units near the walls behind the desks or between two adjacent desks to provide ample space for users and create a neat area. Make use of cubbies to store items such as extra textbooks, binders, and folders. Consider incorporating rolling carts for users to transport items throughout the classroom.
Step 7: Establish Common Areas
Designate common areas within the triangle desk arrangement to encourage collaboration, brainstorming, and informal discussions. These areas can consist of shared tables, whiteboards, or lounge seating, providing opportunities for users to gather and exchange ideas. It’s important to think carefully about the furniture in this space.
Choose pieces that are comfortable enough for people to converse but also conducive for work. Be sure that the common areas are not too close to individual desks so as to avoid distraction. Lastly, if this is a multi-purpose space, consider using mobile furniture that can be configured for different activities. This allows users to easily adapt to their environment as needed.
Step 8: Create Pathways and Accessibility
Ensure that there are clear pathways between the triangle desks for easy movement and accessibility. Avoid creating cramped spaces or obstacles that hinder users’ mobility. Consider the flow of traffic within the room and position the desks accordingly.
Place the desks near walls or other structures so that students can move freely in and out of their seats. Make sure to leave at least two feet of clearance between desks for easy access. Also, consider the size and shape of the room when arranging desks to ensure there is enough space for everyone.
Step 9: Personalize Workspaces
Encourage users to personalize their workspaces within the triangle desk arrangement. Provide opportunities for users to display personal items, artwork, or motivational quotes. This personal touch can enhance productivity, morale, and a sense of ownership in the workspace. Place storage bins under desks or add shelving for any items that can’t be hung on the walls. Provide office supplies such as staplers, paperclips, and pens for desktop use.
Step 10: Regularly Evaluate and Adapt
Periodically evaluate the effectiveness of the triangle desk arrangement and gather feedback from users. Identify any areas for improvement or modifications based on user needs and workflow patterns. Adapt the arrangement as necessary to optimize the workspace and promote continuous improvement. Consider reconfiguring the triangle desk arrangement from time to time, making sure users are comfortable and productive in their workspace.

Conclusion
Triangle desks offer students the ability to collaborate without compromising their own personal learning space. Traditionally, these desks are arranged in a U-shaped configuration to promote ease of conversation between group members. For teachers looking for a way to mix up their classroom design, consider setting up the triangle desk structure in a line or circular formation—or even interspersing them among traditionally shaped desks.
It’s important to consider the needs of your students and the type of work you plan on doing when thinking through desk arrangement decisions. Working collaboratively should be fun and purposeful and promote engagement within the classroom setting. Thanks for reading, and we hope this has given you some inspiration on how to arrange triangle desks!