
Embarking on the journey of crafting a tall cabinet opens the door to both practical storage solutions and creative woodworking endeavors. Building a tall cabinet is a gratifying project that melds functionality with aesthetics, catering to the dual needs of organizing clutter while enhancing the visual appeal of your living or working spaces.
Whether you’re a seasoned woodworking enthusiast or a novice eager to explore the realm of DIY furniture, this endeavor offers an opportunity to hone your skills and unleash your artistic flair.
From selecting the right materials and precise measurements to mastering joinery techniques and finishing touches, the process demands a blend of meticulous planning and hands-on craftsmanship.
This article delves into the essential steps required how to build a tall cabinet that seamlessly integrates into its surroundings while accommodating your storage needs. So, roll up your sleeves, gather your tools, and prepare to delve into the rewarding world of woodworking as we guide you through the intricate process of building your very own tall cabinet.
Importance and Functionality of Tall Cabinets
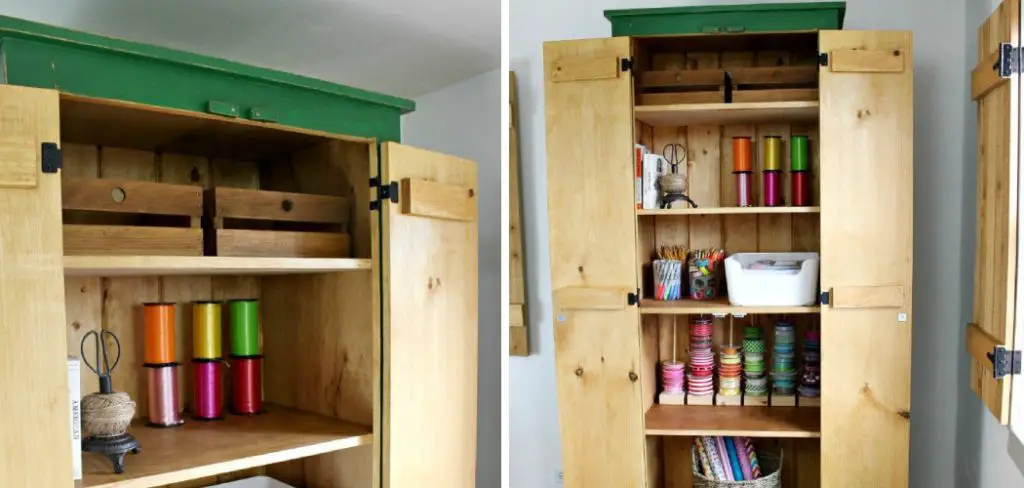
Building a tall cabinet is a great way to add functionality and style to your home. Tall cabinets provide extra storage for items such as linens, dishes, cookware, and other items that may otherwise take up valuable space in your home.
Additionally, they can be used as an aesthetic addition to any room in the house. With their height, tall cabinets make a dramatic statement, adding style and sophistication to any room.
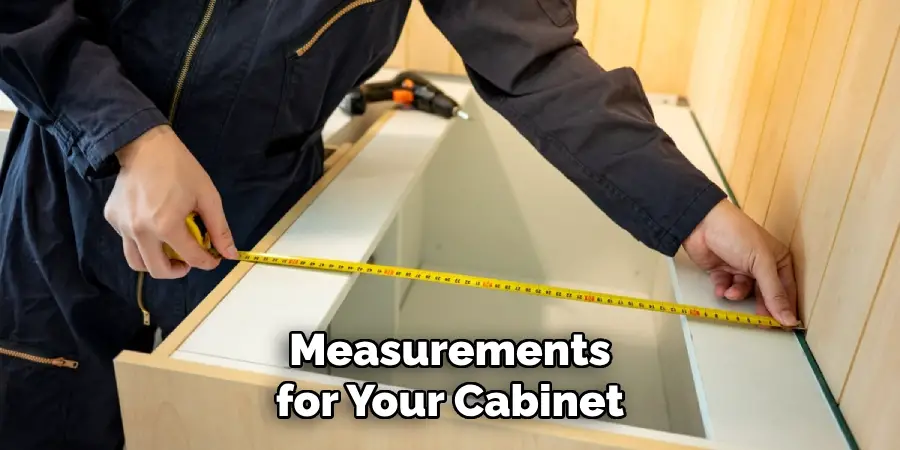
When building a tall cabinet, it is important to consider the size of the area that will house it. Make sure that the measurements for your cabinet are correct so you have enough space for all the contents and won’t have to make adjustments after construction is complete. Additionally, when constructing the cabinet, be sure to use high-quality materials for a more durable and longer lasting piece.
When you install your tall cabinet, make sure to secure it securely in place. The last thing you want is for the cabinet to become loose over time, or even worse, have it tip over due to an improper installation. Additionally, be sure to measure twice and cut once; mistakes can be costly when building a tall cabinet.
Finally, it is important to think about the aesthetic of your tall cabinet. Paint or stain the wood to match existing furniture and fixtures in your home for an attractive and polished look. You can also add decorative hardware or glass inserts to further customize the piece.
Defining the Location of the Cabinet
Before you start building your tall cabinet, it’s important to determine where it will go. Make sure that the floor or wall is able to support the weight of the cabinet.
You may want to use a stud finder in order to locate any beams or supports in the wall and/or floor. If you plan on installing the cabinet into a wall, make sure that you’re aware of any wiring or plumbing that may be hidden behind the wall.
Once your location is determined, you’ll want to decide on the size and design of the cabinet. The easiest way to do this is to use a measuring tape with a pencil so that you can mark out where the different parts will go. Plan ahead for how much storage space you’ll need in the cabinet and make sure that the design reflects this.
Now you’re ready to start building your tall cabinet! Use a saw to cut out the pieces according to your measurements, then assemble them using screws or nails.
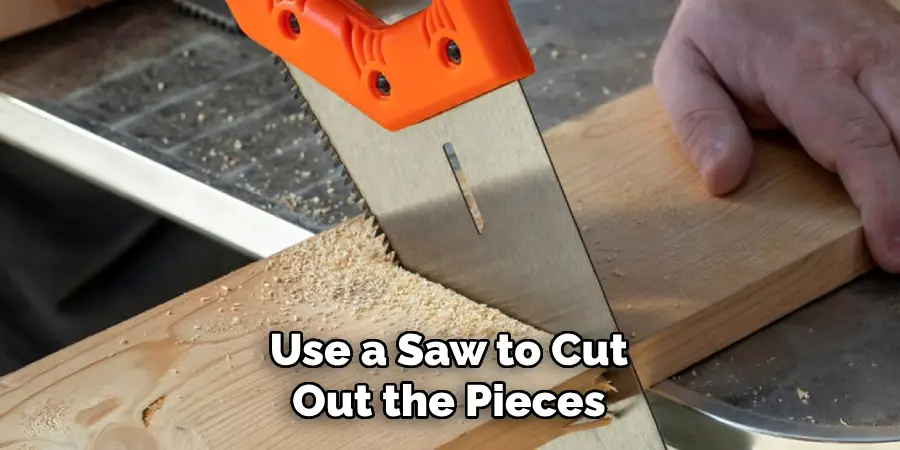
Make sure that all pieces are securely fastened together before moving onto the next step. When everything is put together correctly, you can then add your finishing touches like paint or a stain. With a few simple steps, you’ll have a beautiful and functional tall cabinet that will be sure to last for years to come!
Taking Accurate Measurements of Available Space
Before you begin construction of your tall cabinet, it is important to take accurate measurements of the available space in which you plan to build. Measure from floor to ceiling and wall-to-wall so that your tall cabinet will fit snugly in its intended spot. Consider any objects like windows or doors that may affect the size and placement of your tall cabinet, and make sure to measure around them.
Additionally, you should draw out a simple sketch of the space with measurements included so that it can be used as a reference during construction. Once you have your measurements and reference sketch in hand, you’re ready to start building!
While it may seem daunting at first, building a tall cabinet is actually quite straightforward and can be accomplished with the right tools and materials.
10 Steps How to Build a Tall Cabinet
Step 1: Planning and Design
Begin by envisioning the purpose and placement of your tall cabinet. Are you creating a kitchen pantry, a linen closet, or a storage unit for your garage? Consider the dimensions, style, and features you desire. Sketch out a basic design, noting measurements and any specific requirements such as shelves, drawers, or doors. This planning phase is crucial for a successful project.
Step 2: Gather Materials and Tools
Compile a comprehensive list of materials based on your design. Commonly used materials include plywood, hardwood boards, screws, hinges, and cabinet hardware. Select high-quality materials to ensure durability. Additionally, gather essential tools such as a tape measure, circular saw, jigsaw, power drill, clamps, and safety gear like goggles and gloves.
Step 3: Measure and Cut Materials
Accurate measurements are pivotal. Begin by cutting the plywood for the cabinet sides, top, bottom, and back. The dimensions should match your design. Use a circular saw for straight cuts and a jigsaw for curved or intricate ones. Double-check measurements before cutting to avoid mistakes.
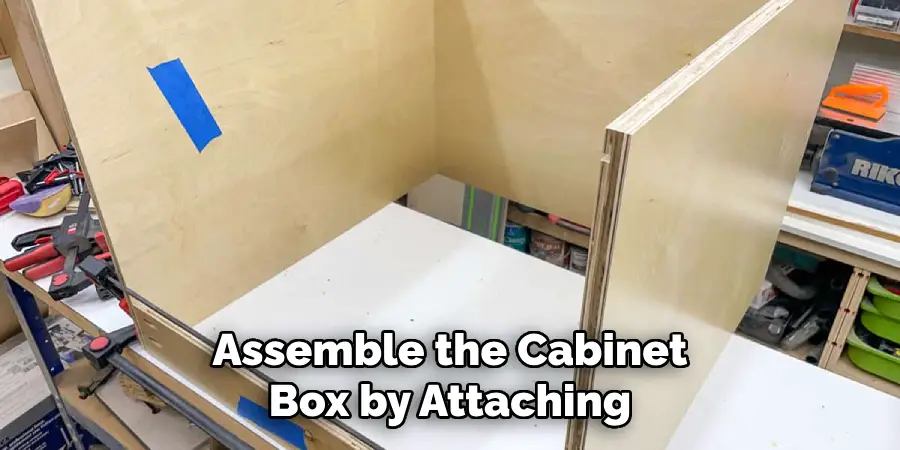
Step 4: Assemble the Cabinet Box
Assemble the cabinet box by attaching the sides, top, bottom, and back using screws and glue. Ensure the box is square by measuring diagonally from corner to corner. If the measurements are equal, the box is square. Reinforce joints with corner braces for added stability.
Step 5: Install Shelves and Dividers
If your design includes shelves and dividers, install them now. Measure and mark the desired shelf positions on the cabinet sides. Attach shelf supports or brackets and slide the shelves into place. For dividers, secure them vertically between shelves for structural integrity.
Step 6: Add Doors and Drawers
For cabinets with doors, measure and cut the door panels from plywood. Attach hinges to the doors and cabinet frame, ensuring they open and close smoothly. Install handles or knobs for a finished look. If your cabinet includes drawers, measure and cut drawer fronts and install drawer slides according to the manufacturer’s instructions.
Step 7: Apply Finishing
Sand all surfaces of the cabinet to ensure a smooth finish. Fill any gaps or imperfections with wood filler and sand again. Choose a suitable finish for your cabinet, such as paint, stain, or clear sealant. Apply the finish in thin, even coats, allowing proper drying time between each layer.
Step 8: Attach Backing
Cut a piece of plywood to size for the cabinet’s backing. Attach it to the back of the cabinet using screws, ensuring it’s flush with the edges. The backing provides structural support and prevents items from falling out the back of the cabinet.
Step 9: Install Cabinet Hardware
Install any hardware such as door handles, knobs, or pulls. Measure and mark the positions accurately to maintain uniformity. Use a template or jig for precise drilling. Cabinet hardware not only enhances functionality but also contributes to the cabinet’s overall aesthetic.

Step 10: Positioning and Mounting
Move the finished tall cabinet to its designated location. Use shims if necessary to level the cabinet. Secure it to the wall using screws driven through the back panel into wall studs. This step is essential to prevent the cabinet from tipping or falling, especially if it’s top-heavy.
Conclusion
Building a tall cabinet can seem like a daunting task, but with the right supplies, knowledge and hard work, you’ll be able to achieve this goal. With the right tools and the correct steps, you can quickly build something that is both beautiful and practical. Assemble all your materials before starting out, measure carefully, use quality lumber for longevity, and sand any surfaces until they are smooth.
Take your time and use caution during assembly for maximum safety during installation. When completed, you will have created a tall cabinet that not only looks amazing but serves its purpose perfectly. We hope this blog post has provided you with some helpful tips on how to build a tall cabinet.
If you follow these instructions closely and exercise discipline along each step of the process, your newly-built tall cabinet will withstand whatever test of time may throw at it! Best of luck in building your own cabinet – we know it’ll turn out fantastic!