Booth seating is a popular and versatile option for creating comfortable and space-efficient seating arrangements. Whether you’re planning to build booth seating for your home, restaurant, or any other space, this article will guide you through the process.
Building booth seating requires careful planning and execution to ensure a sturdy and aesthetically pleasing result.

From designing the layout and measuring the space to selecting appropriate materials and constructing the booth, there are several key steps to consider. In this introductory guide, we’ll explore the essential elements of how to build booth seating, including framing, upholstery, and finishing touches.
Whether you’re a DIY enthusiast or a professional builder, this article will provide you with the knowledge and insights to successfully build your own booth seating and create a cozy and inviting seating area.
Benefits of Booth Seating
Booth seating is a great way to add style and functionality to any space. It offers several advantages over traditional seating arrangements, including increased comfort and privacy, more efficient use of space, and improved aesthetics.
In addition to being a stylish way to seat guests, booth seating provides superior comfort. Unlike chairs with backs that can be hard on the spine after extended periods of sitting, booth seating offers a cozy cocoon-like feel. It also provides more privacy than traditional seating arrangements, since it’s typically designed to wrap around a table.
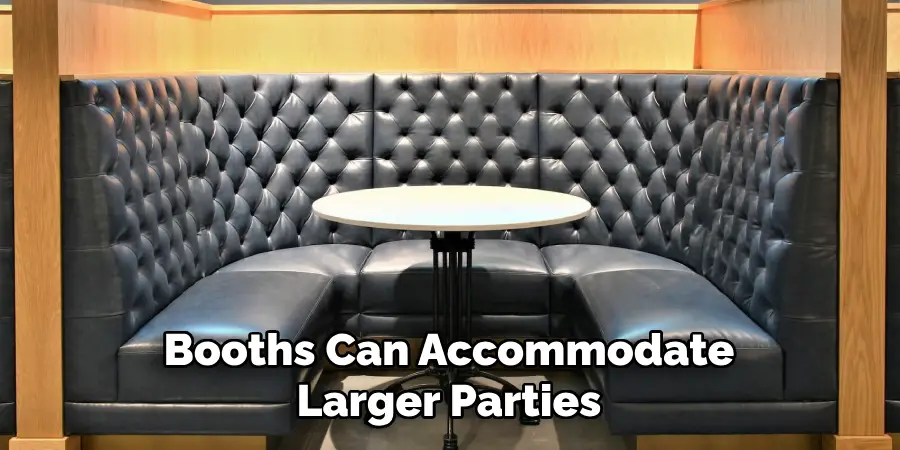
When it comes to making the most of limited space in restaurants, bars, and other public areas, nothing beats booth seating.
By allowing guests to sit side by side without having their legs interfere with one another’s space, booths can accommodate larger parties while taking up much less room than chairs spaced out across the room. This makes them ideal for establishments that need to make the most of every square foot.
Finally, booths look great! Whether you choose sleek modern designs or classic tufted styles, they add an air of elegance and sophistication to any space. This makes them an ideal choice for restaurants, bars, cafes, lobbies, and other public areas.
Factors to Consider Before Building Booth Seating
When it comes to building booth seating, there are a few factors to consider before getting started. For starters, you need to consider the space and layout of your restaurant. Depending on the size of the area, you may not have room for a large booth seat.
Additionally, you should take into account how much seating you will need in order to maximize your space. Furthermore, you need to decide if you want to add storage or other features into the seating area such as a USB port or built-in charging station.
You should also consider the style and design of your booth seating when it comes to comfort and usability. Different materials can offer different levels of comfortability, so choose wisely based on how much use your booth seating will receive.
Additionally, think about how deep and long you want the benches for each side of the booth seat to be. The size will affect how comfortable people are while sitting in them, as well as their ability to move around comfortably in the booth.
Finally, think about budgeting for any additional costs associated with building a custom booth seat. Depending on your chosen materials, you may need to hire a professional to construct the booth seating.
Additionally, you will need to purchase any necessary cushions or additional features like cup holders that you plan on including in the space. Make sure that all costs are factored into the budget before beginning construction.

Measuring the Space and Determining Dimensions
The first step in building booth seating is to take careful measurements of the space you plan to use for your seating. You will need to measure both the width and length of the area, as well as any obstructions that might interfere with the construction process, such as furniture or other items in the room.
Once you have a good idea of the dimensions, you can begin to determine the size of your seating area. Consider how many people you plan to seat in the booth, as well as how much space each person needs for comfort. This will help you decide on the ideal dimensions for your booth seating.
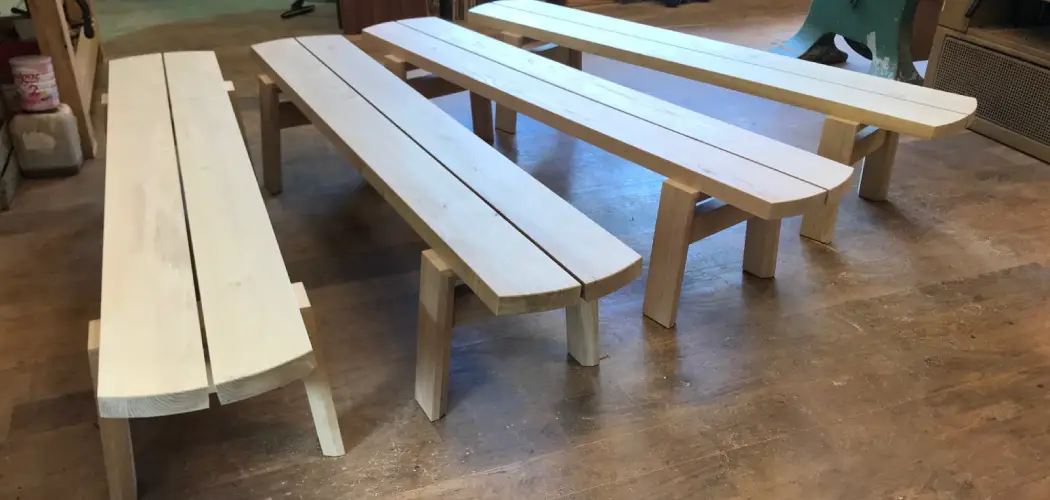
Next, consider the materials you’ll need to construct your booth seating. Different types of wood can be used depending on your preferences and budget. For a more professional look, use hardwood such as oak or maple. For a more cost-effective option, softer woods like pine are available.
If you’re unsure which type of wood is best for your project, consult with an experienced carpenter or visit your local home improvement store for advice.
Once you have determined the right materials, you can begin to assemble your booth seating. The construction process will vary depending on the type of wood you choose and the design of your seating area.
However, most projects share a few common steps: measuring, cutting, assembling and sanding down any rough edges. Follow these steps carefully for best results! With the right tools and supplies, progress should go smoothly and in no time you’ll have your own custom-made booth seating.
10 Steps How to Build Booth Seating
Step 1: Plan the Design and Layout
Begin by planning the design and layout of your booth seating. Consider the available space, the desired seating capacity, and any specific requirements or restrictions. Sketch out the dimensions and placement of the booth, taking into account factors such as table height, aisle width, and comfortable seating depth.
Step 2: Gather Materials and Tools
Collect all the necessary materials and tools for the construction of the booth seating. This typically includes plywood or MDF boards for the frames and seat bases, foam padding for the seats, fabric or vinyl upholstery, screws, a circular saw, a drill, a staple gun, and a tape measure.
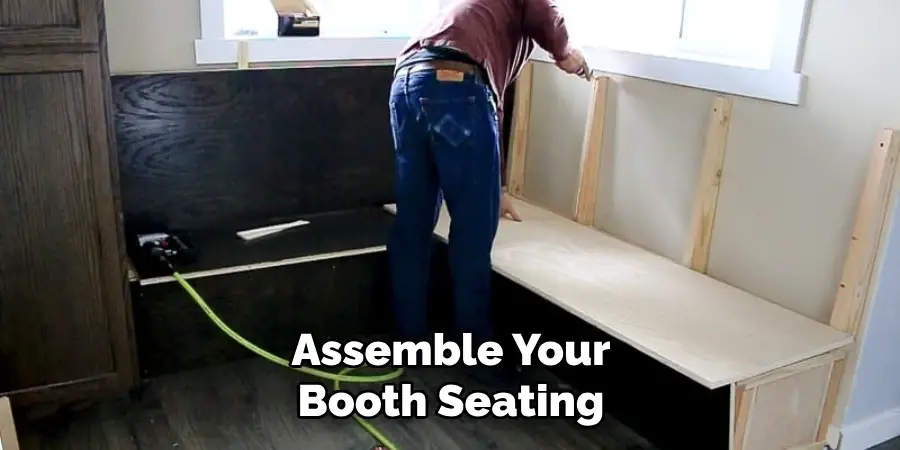
Step 3: Build the Frame
Start by constructing the frame of the booth seating. Measure and cut the plywood or MDF boards to the desired dimensions for the booth sides, backs, and seat bases. Assemble the frame using screws, ensuring that it is sturdy and well-supported. Attach additional support beams and corner braces as needed for added stability.
Step 4: Install the Seat Base
Attach the seat base to the frame using screws. Ensure that the seat base is level and securely fastened. Consider adding additional bracing underneath for added strength, especially for longer booth seating units. Test the stability of the seat base by applying pressure and making any necessary adjustments.
Step 5: Add Foam Padding
Measure and cut foam padding to fit the seating area of the booth. Use a high-density foam for maximum comfort and durability. Attach the foam to the seat base using adhesive or spray adhesive, ensuring a smooth and even surface. Trim any excess foam using a utility knife for a clean finish.

Step 6: Upholster the Seats and Backs
Cut upholstery fabric or vinyl to the appropriate size, leaving some extra material for wrapping around the edges. Place the fabric or vinyl over the foam and seat base, making sure it is centered and taut.
Begin stapling the fabric or vinyl to the underside of the seat base, pulling it tightly as you go. Repeat the process for the booth backs, ensuring a neat and professional appearance.
Step 7: Secure the Upholstery
Continue stapling the fabric or vinyl to the seat base and booth backs, securing it tightly to prevent wrinkles or sagging. Trim any excess fabric or vinyl, leaving a clean edge. Use a staple gun with appropriate staples for a secure and long-lasting upholstery finish.
Step 8: Add Finishing Touches
To enhance the aesthetic appeal and functionality of the booth seating, consider adding finishing touches. Install a decorative trim or molding along the edges of the booth sides and backs for a polished look. Paint or stain the exposed wood surfaces of the booth frame to match your desired color scheme.
Step 9: Install the Booth Seating
Move the completed booth seating into its designated location. Ensure that it is properly aligned and level. Attach the booth seating to the floor or wall using brackets or screws for added stability and safety. Test the seating for stability and make any necessary adjustments before finalizing the installation.
Step 10: Maintain and Care for the Booth Seating
Regularly clean and maintain the booth seating to ensure its longevity. Vacuum or brush off any debris or crumbs from the seats and backs. Use a mild detergent and warm water solution to spot clean any stains or spills on the upholstery. Periodically inspect the booth seating for any signs of wear or damage, and address any issues promptly to prevent further deterioration.
Conclusion
After reading this blog post, you are now well-versed in how to build booth seating. The process is reasonably straightforward, and using the right materials can provide a finished product that is both durable and stylish. With a few additional steps, you can even customize the design and fabric of your booth seating to suit any theme or aesthetic.
Regardless, you can find confidence knowing you have all the tips needed for successful booth seating construction. Building booth seating may appear daunting at first, but if given enough time and attention to detail, it’s an excellent way to turn any room into a multifunctional space. So don’t wait – get started today on sprucing up your indoor setting with beautiful homemade booth seating.