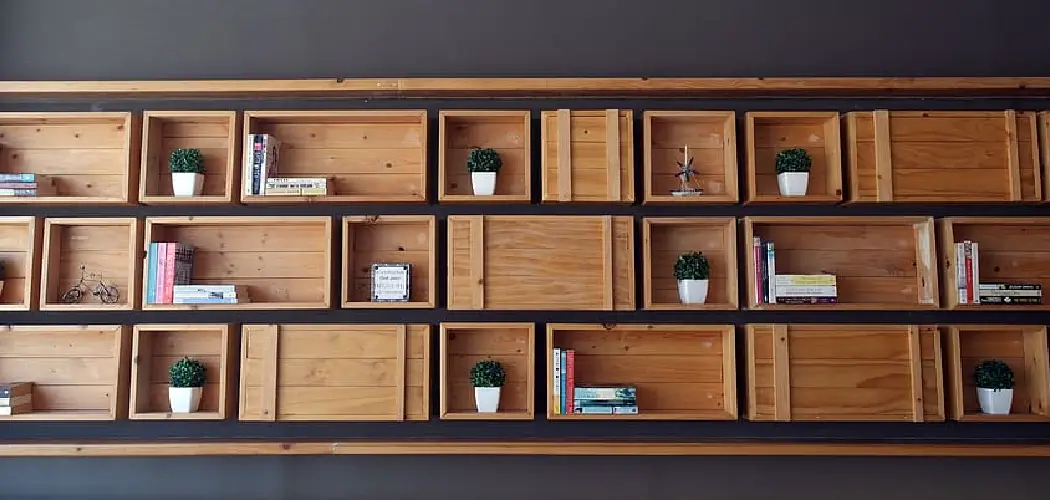
Building cubicle shelves can greatly enhance the functionality and organization of your workspace, whether it’s in an office setting or a home office.
Cubicle shelves provide valuable storage and display options, allowing you to maximize the limited space within your cubicle. In this article, we will guide you through the process of how to build cubicle shelves from scratch.
From planning the design and measurements to selecting the right materials and assembling the shelves, we’ll cover the essential steps to help you create custom cubicle shelves that meet your specific needs.
With the right tools and a little creativity, you can transform your cubicle into an organized and efficient workspace, making the most of your available vertical space and enhancing your productivity.
10 Steps How to Build Cubicle Shelves
Step 1: Assess Your Cubicle Space
Begin by assessing the available space in your cubicle. Measure the height, width, and depth of the area where you want to install the shelves. Consider any limitations or restrictions imposed by your office or cubicle layout. You may need to adjust the size and placement of your shelves to fit around existing components such as walls or desks.
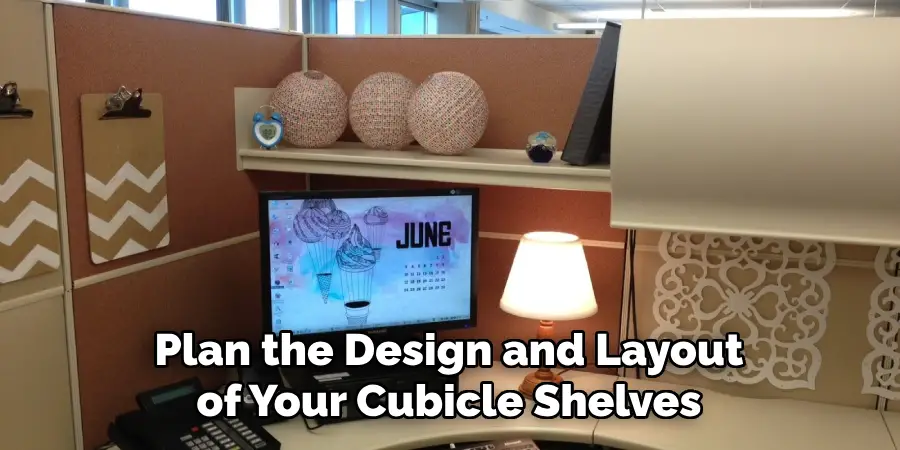
Step 2: Plan the Design and Layout
Based on your measurements, plan the design and layout of your cubicle shelves. Determine the number of shelves you want and their desired dimensions. Sketch out a rough diagram to visualize the arrangement and placement of the shelves within your cubicle. This will help you to make sure that the shelves fit and are spaced appropriately.
Once you have your layout planned, it is time to gather the necessary materials. Depending on your design, you may need wood boards, screws, nails, a saw and some sandpaper. It is important to make sure that you have all of the materials needed before beginning the construction process.
Step 3: Gather Materials and Tools
Collect all the necessary materials and tools for building the cubicle shelves. This typically includes sturdy brackets, shelf boards, screws, a drill, a level, a tape measure, a saw (if custom cutting is required), and a stud finder (if necessary).
Make sure to get an adequate number of brackets, based on the desired size of shelves. Also check that all materials are in good condition and can handle the weight of items to be placed on the shelves.
Step 4: Locate Wall Studs (if Applicable)
If your cubicle walls have studs, use a stud finder to locate them. This step is crucial for ensuring proper support and stability when attaching the brackets to the walls. Mark the stud locations for reference during the installation process. While most cubicle walls have studs, some may not. If your wall does not have studs, skip to the next step.
If you do not have access to a stud finder, use a hammer to tap along the wall until you feel a solid object behind it. That should indicate the presence of a stud. Once you have located and marked all wall studs, proceed to the next step.
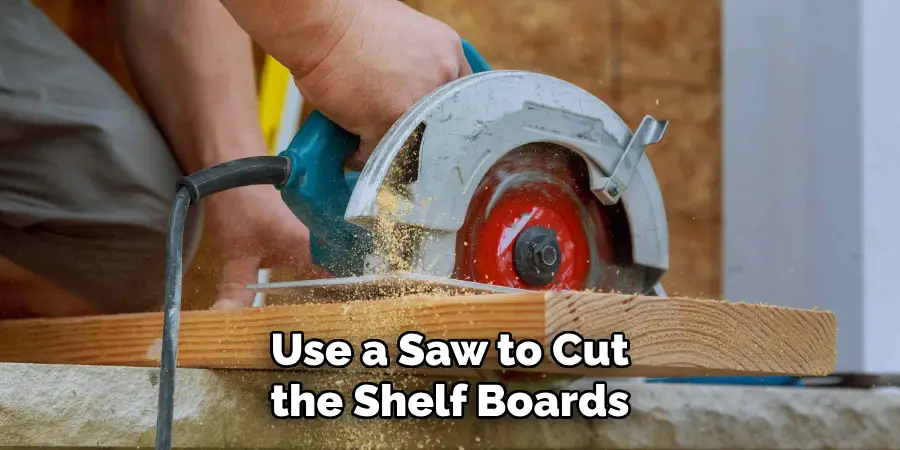
Step 5: Cut Shelf Boards (if Necessary)
If your shelves require custom sizing to fit your cubicle, use a saw to cut the shelf boards to the desired dimensions. Ensure accurate and precise cuts for a seamless fit within your cubicle space. To avoid injury, use proper safety gear such as goggles and gloves.
Additionally, make sure to measure twice and cut once for the most accurate fit. Finally, use sandpaper to smooth the raw edges of the shelf boards. This will create a more uniform look and feel as well as protect against any potential splinters.
Step 6: Install Brackets
Attach the brackets to the cubicle walls using screws. If studs are present, position the brackets directly over the studs for added strength and stability. Use a level to ensure that the brackets are straight and even. To support heavy items, you may need to use additional brackets.
If so, use the same procedure for attaching them. Though varying sizes of brackets are available, the recommended size is 4 inches wide and 2 inches deep.
Step 7: Position the Shelf Boards
Place the shelf boards onto the installed brackets. Ensure that the boards are level and securely resting on the brackets. Double-check the alignment and adjust as needed before proceeding.
If the shelf boards are not level, the books and other items may topple. Though it may be difficult to get the boards perfectly level, try to be as close as possible. However, small variations in the levels of the boards are not a major concern.
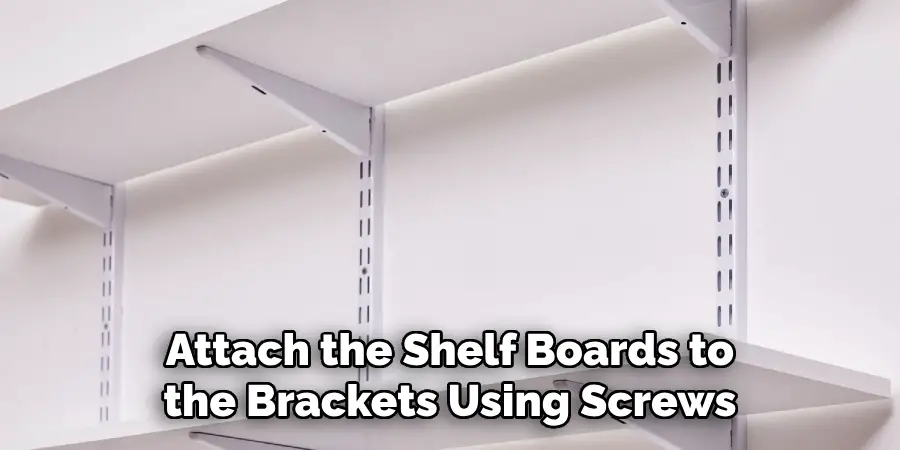
Step 8: Secure the Shelf Boards
Attach the shelf boards to the brackets using screws. Make sure to secure them firmly to prevent any wobbling or movement. For added stability, consider using additional support brackets at the center of longer shelf boards.
You may also want to use corner caps to give the shelves a finished look. Once you have your shelves set up, you can add decorations and supplies to complete the look. With a little bit of effort, you can easily create custom cubicle shelves that fit your space perfectly. Have fun with it and make it your own!
Step 9: Test Stability and Adjust as Needed
Once the shelves are securely installed, test their stability by applying gentle pressure and checking for any movement or sagging.
Make any necessary adjustments to ensure that the shelves are sturdy and level. Use screws to strengthen any weak connections, and adjust the supports as needed. If the shelf is not level, use shims under the support feet or the top shelf to level it out.
Consider adding a third support beam if needed for additional stability. Once all adjustments are complete, you should have a secure and level cubicle shelf. Enjoy the extra storage space in your workspace!
Step 10: Organize and Decorate the Shelves
Finally, organize your belongings on the cubicle shelves and add decorative elements to personalize your workspace. Utilize storage bins, baskets, or desk organizers to keep items neatly arranged. Consider adding small plants, picture frames, or other decorative items to enhance the aesthetic appeal of your cubicle shelves.
To keep the shelves looking neat, remember to regularly clear away any clutter or items that are not being used on a regular basis. With your new cubicle shelves made, your workspace will look much more organized and inviting!
Things to Consider When Building Cubicle Shelves
Once you decide to build cubicle shelves, there are several important factors to consider. First and foremost is the size of your shelf. Cubicles often come in standard sizes, but if you need something a bit bigger or smaller to fit your space, you should measure carefully before beginning your project.
Next, consider the materials you’ll use to build your shelves. A good choice is particleboard or medium-density fiberboard, which are both lightweight and affordable. Plywood is also an option, but it is heavier and more expensive.
The type of fasteners you choose will affect the strength of your cubicle shelves. Screws offer excellent durability, but can take a long time to install. Nails may be quicker to use but are not as strong as screws.
Finally, you’ll need to decide whether or not you want additional hardware such as brackets or braces for extra stability. This will depend on how much weight your shelves will need to hold, so consider this carefully before making your purchase.
By keeping these factors in mind when building cubicle shelves, you can ensure that the project goes smoothly from start to finish. With the right materials, fasteners, and hardware, you’ll have sturdy shelves that can last for years to come.
Some Common Mistakes When Building Cubicle Shelves
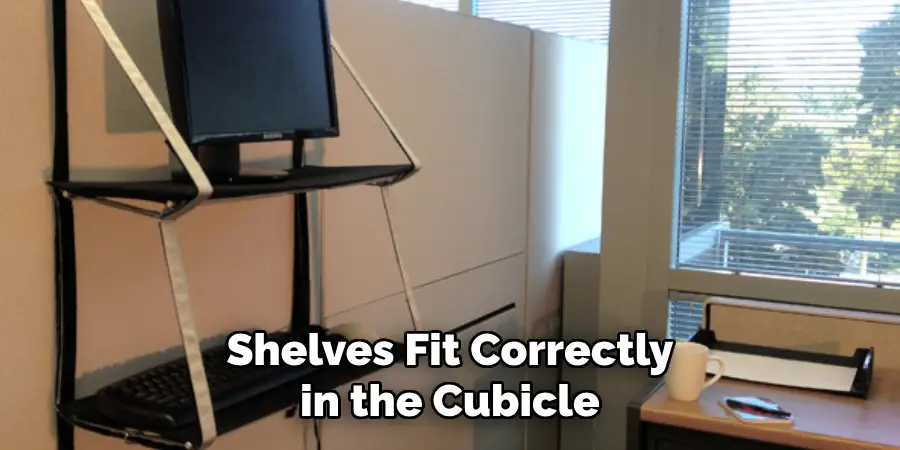
One common mistake when building cubicle shelves is failing to measure the space accurately. It’s important to ensure that your shelves fit correctly in the cubicle, as shelves that are too big or too small can be difficult to work with. Additionally, it’s important to measure the sides of each shelf correctly so they fit together properly.
Another mistake people make when building cubicle shelves is not using strong enough materials. It’s important to use sturdy materials such as wood and metal, as these will help ensure that your shelves last longer and are able to support heavier items without sagging or warping over time.
Finally, some people forget to use appropriate fasteners when constructing their shelves. Make sure you use screws or nails that are suitable for the material you’re working with, as improperly secured shelving can pose a safety hazard if it unexpectedly collapses.
Conclusion
So, now that you know more about how to build cubicle shelves, don’t wait any longer to get started! Whether it is for decorative purposes or storage needs, the focus should be on building something that looks great and is durable.
Be sure to measure twice before cutting wood and consider using quality screws and glue to make your creation last as long as possible. Remember to experiment with different colors, materials, or shapes— whatever would fit best with your design. Taking some extra time on the design process will ensure you have the perfect shelves for whatever purpose they might serve!