
Do you want to improve the functionality of your office? If so, building an L-shaped cabinet is one of the most cost-effective and practical solutions for making use of those tight spots in your office corners. Whether you’re an expert woodworker or just getting started with DIY projects, constructing a quality custom-made L-shaped cabinet doesn’t have to be hard!
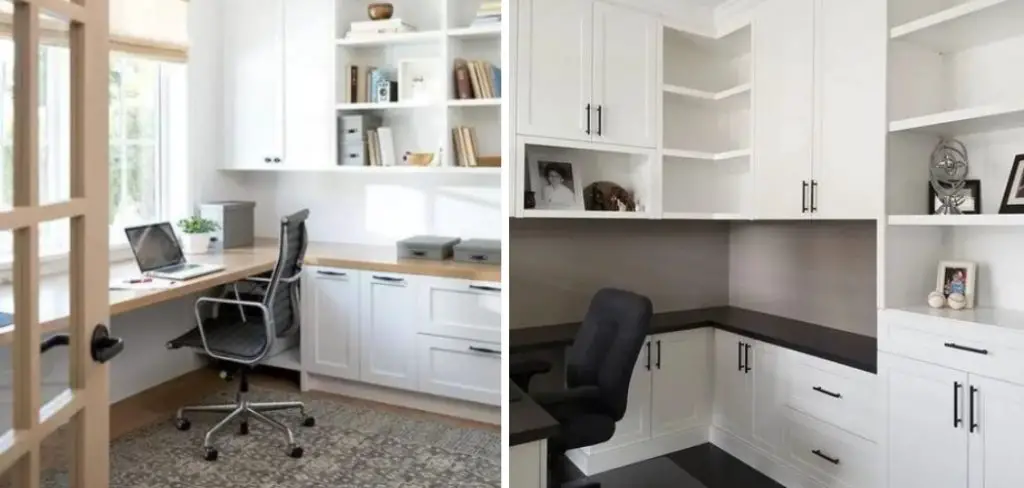
This blog post will provide step-by-step instructions as well as helpful tips that will ensure you how to build L shaped cabinet and durable piece of furniture that will last for years to come. So let’s get ready to tackle our next project– build an L-shaped cabinet in no time!
Tools and Materials You Will Need to Build L-Shaped Cabinet
Before you begin building your L-shaped cabinet, make sure to gather all the necessary tools and materials. Here’s a list of what you will need:
- Wood planks for the frame of the cabinet
- Wood screws
- Paint or stain (optional)
- Sandpaper
- Drill and drill bits
- Measuring tape
- Jigsaw
- Miter saw
- Circular saw
Step-by-step Guidelines on How to Build L Shaped Cabinet
Step 1: Measure and Cut the Wooden Planks
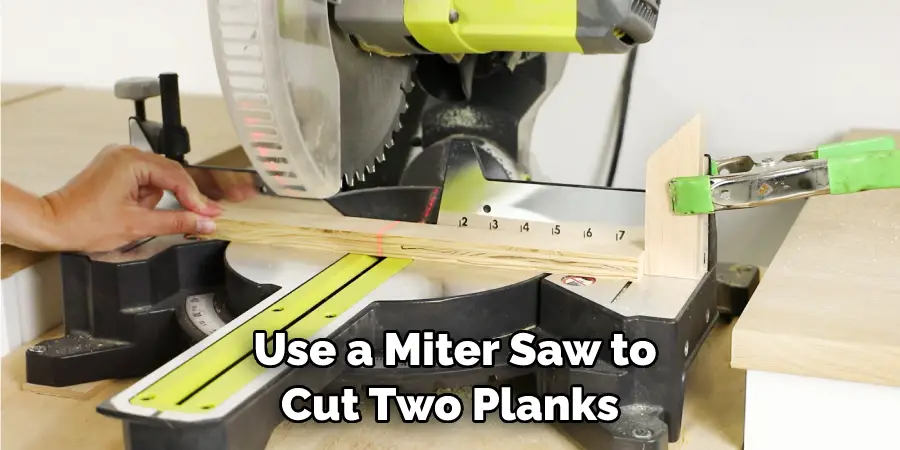
Start by measuring your desired dimensions for the L-shaped cabinet with a measuring tape. Once you know the width, length, and depth of each side of your cabinet, use a miter saw to cut two planks in half for the frame – one for each side. Measuring and cutting the planks correctly is key to having a quality L-shaped cabinet in the end.
Step 2: Assemble the Sides of the Cabinet
Next, you will use wood screws to attach each side of your frame together at the corner. Make sure that all screws are inserted evenly and securely for a sturdy hold. If desired, at this point you can apply a coat of paint or stain to your cabinet frame. This step is optional but it will give your cabinet a finished look.
Step 3: Add Shelves and Doors
Now it’s time to add your shelves and doors. Measure the interior of your cabinet frame and cut plywood planks to fit the dimensions. Use wood screws to attach the shelves to the predrilled holes on both sides of the frame.
Once installed, you can start adding your custom doors to the cabinet. If you don’t have access to a jigsaw, use a circular saw to cut out the door openings and then customize the doors according to your preference.
Step 4: Attach Hinges and Handles
The last and final step is to attach the hinges and handles. For this project, you will need to use cabinet door hinges with a concealed look for a clean finish. Once you have installed the hinges on both sides of each door, choose handles or knobs that match your desired style. Finally, use wood screws to attach the handles and knobs to your custom doors.
Step 5: Final Touches
It’s finally time to admire your handiwork! Make sure to use some sandpaper to give the cabinet a nice and smooth finish. You can also add additional features, such as drawer pulls or decorative trim, if desired. Make sure before you start using your L-shaped cabinet, use wood screws to make sure that everything is securely attached.

Now that you know how to build an L-shaped cabinet, it’s time to take on the project and enjoy the results! Building an L-shaped cabinet may seem like a daunting task at first, but with these step-by-step instructions and helpful tips, it’s easy to create a functional and beautiful piece of furniture in no time. Good luck!
Additional Tips and Tricks to Build L-Shaped Cabinet
- Think of using corner blocks to secure the two sides of the cabinet. Corner blocks can help provide extra stability and strength to your L-shaped cabinet.
- Consider adding a partition or divider within the cabinet for storage purposes – this will help you stay organized and make use of all available space in your L-shaped cabinet.
- Invest in quality tools and materials such as screws, nails, sandpaper, wood glue, etc. to ensure that your L Shaped Cabinet is built with strong yet lightweight components.
- Be sure to measure twice and cut once – it’s a good rule of thumb when it comes to any type of carpentry project, especially the construction of an L L-shaped cabinet!
- Talk to a professional about what type of finish would best suit the cabinet – you may consider staining or painting it, depending on your preferences.
- If you’re unsure about how to construct an L-shaped cabinet, there are several guides online that can provide helpful instructions and tips for getting started.
- Finally, remember to take your time when building an L-shaped cabinet – this is a project that requires patience and precision! Good luck and have fun!
Following these tips and tricks can help make your project smoother and ensure that you end up with a sturdy, well-built L-shaped cabinet. With the right materials and tools, you can create something to be proud of! Whether it’s for storing items or simply adding a new design element to your home, the possibilities are endless when building an L-shaped cabinet. Happy constructing!
Precautions Need to Follow for Building L-Shaped Cabinet
- Before starting with any construction, make sure of the measurements and cutting directions to be taken.
- Assemble all tools and components such as saw, glue, screwdriver, screws, etc., so that you don’t have to search for them in between work.
- Wear protective eyewear while making cuts or drilling holes with power tools to protect your eyes from sawdust or flying particles.
- Keep children away from the workspace to avoid any accidents or harm.
- Make sure you have sufficient light in the area to carry out your task efficiently.
- Be very conscious of the wooden pieces that were cut as they can be sharp along their edges and can cause injury if not handled with care.
- Make sure you are using good quality material to build your cabinet and it is of the appropriate size as per space availability.
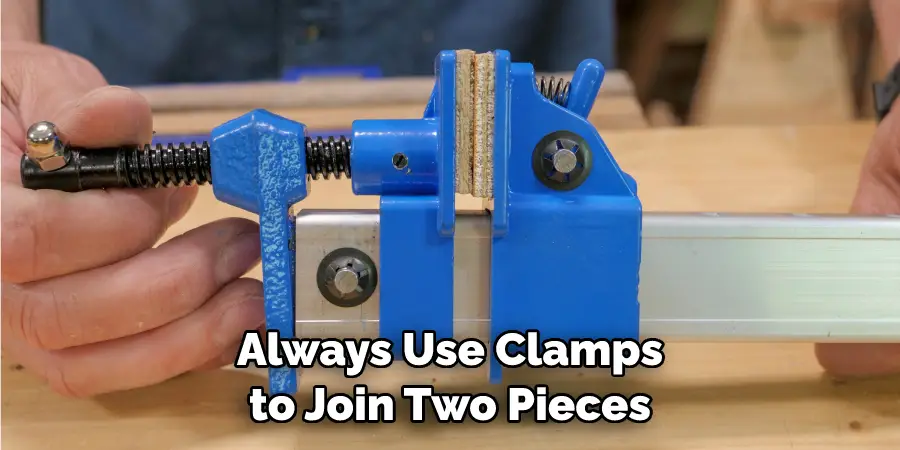
- Always use clamps to join two pieces together while gluing them together. This will ensure that extra pressure is applied and the connection is stronger between the surfaces.
Following these precautions will help you to build an L-shaped cabinet with utmost safety. Once your cabinet is ready, you can start adding the decorative items and accessories according to your choice.
Frequently Asked Questions
What Are Some Common Mistakes in Building an L-shaped Cabinet?
One common mistake is not taking precise measurements before cutting the wood pieces. It’s important to take careful measurements and double-check them before making any cuts.
Additionally, it’s important to use the right screws and fasteners for your project. Make sure that the screws or nails you use are appropriate for the type of wood you’re working with. Finally, make sure to pre-drill pilot holes before driving in the screws.
How Can I Finish My L-shaped Cabinet?
Once your cabinet is constructed, you can finish it in whatever way you choose. You may want to simply apply a stain or sealer, or you may want to paint the piece with a brush or spray gun.
Whatever method you use for finishing, make sure that all surfaces are properly sanded before applying the finish of your choice. Additionally, be sure to wear protective clothing and a mask when working with finishing products.
What Are Some Tips for Installing an L-Shaped Cabinet?
Before attempting to install your cabinet, make sure that you have the necessary tools and supplies. This includes a level, drill and screws, wood glue, clamps, and any other hardware needed for assembly.
Additionally, make sure that the area where the cabinet will be installed is level, clean, and free of debris. Finally, take your time when installing the cabinet to make sure that all the pieces fit together perfectly.
How Can I Make Sure My L-Shaped Cabinet Lasts?
Taking proper care of your L-shaped cabinet can ensure that it lasts for many years. This includes cleaning it regularly with a damp cloth or dusting it with a soft brush.

Additionally, it’s important to make sure that all surfaces are sealed and protected from moisture. Finally, check for potential wear and tear such as loose screws or hinges, and be sure to tighten any loose connections as needed. This will help ensure your cabinet remains in great shape for many years to come.
Conclusion
The L-shaped cabinet requires some knowledge and skills to build, but it is certainly a great addition to any home. Building your own L-shaped cabinet can be both a practical and frugal option for storage that enhances the look of your living space. With a few simple measurements and tools, the process doesn’t have to be overly complicated or expensive.
Knowing what materials you need, understanding how to measure accurately, and planning the steps carefully will help ensure that you can build an attractive and reliable piece of furniture for your home. Having detailed plans and any additional pieces like hinges and knobs ready before starting will also make the process easier.
In the end, you may be surprised by just how much pride one can take from building their own L-shaped cabinet! So why not take on this project today? Now that you’ve learned all about how to build L Shaped Cabinet , all that’s left is for you to give it a try!